Installation manual
5
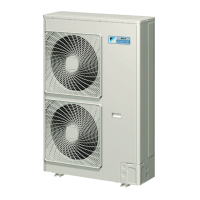
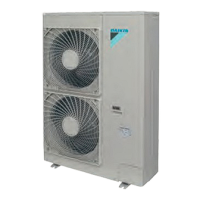
LRYEQ16A7Y1
CONVENI-PACK
4P448939-1A – 2016.07
1. An inverter CONVENI-PACK may cause electronic noise gener-
ated from AM broadcasting. Examine where to install the main
CONVENI-PACK and electric wires, keeping proper distances
away from stereo equipment, personal computers, etc.
Particularly for locations with weak reception, ensure there is a dis-
tance of at least 3 meters for indoor remote controllers, place
power wiring and transmission wiring in conduits, and ground the
conduits.
2. When installing in a locations where there is heavy snowfall, imple-
ment the following snow measures.
• Ensure the base is high enough that intakes are not clogged by
snow.
• Mount a snow protection hood (optional accessory)
• Remove the rear intake grille to prevent snow from accumulat-
ing on the fins.
3. If condensate may drip on downstairs (or walkway) depending on
the floor condition, take a measure such as the installation of cen-
tral drain pan kit (sold separately). If the unit is installed in cold
areas the drain pan should be heated by a heater (field supply) to
prevent drain water from freezing.
4. The refrigerant R410A itself is nontoxic, nonflammable and is safe.
If the refrigerant should leak however, its concentration may
exceed the allowable limit depending on room size. Due to this it
could be necessary to take measures against leakage.
See "Engineering Data" for details.
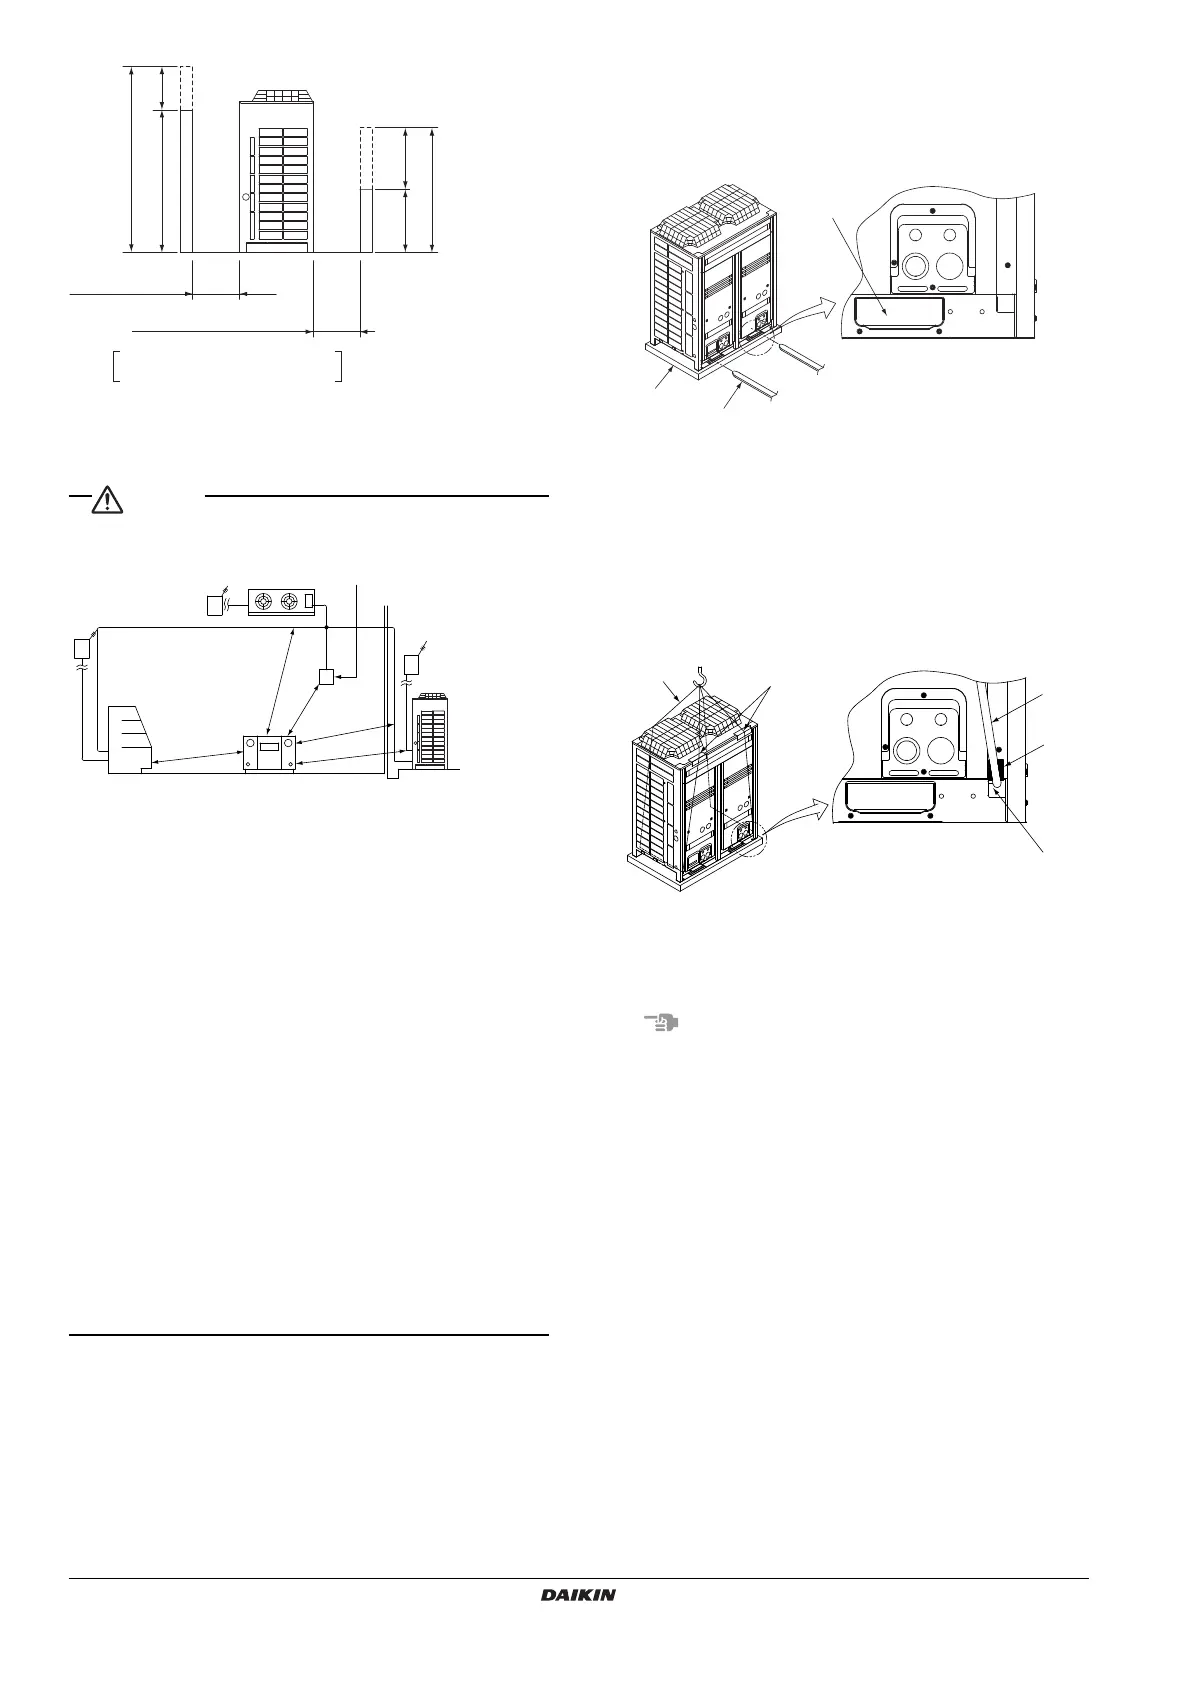
4. HANDLING THE UNIT
1. Decide on the transportation route.
2. If a forklift is to be used, preferably transport the unit with pallet first,
then pass the forklift arms through the large rectangular opening at
the bottom of the unit.
1 Opening (large)
2 Fork
3 Pallet
When lifting the unit, use a cloth sling to prevent damaging the unit.
Keeping the following points in mind, hang the unit following the
procedure shown in the following figure.
• Use a sling sufficiently strong to hold the mass of the unit.
• Use 2 belts of at least 8m long.
• Place extra cloth in the locations where the casing comes in
contact with the sling to prevent damage.
•
Hoist the unit making sure it is being lifted at its center of gravity.
1 Belt sling
2 Patch cloth
3 Belt sling
4 Patch cloth
5 Opening
Use filler cloth on the forklift arms to prevent damaging the unit. If the
paint on the bottom frame peels off, the anti-corrosion effect may
decrease.
A
B
1500
500 h2
Front side
Service space
Service space
Suction side
h1
h1 = A (Actual height) – 1500
h2 = B (Actual height) – 500
X = 500 + h1/2 or over
Y = 300 + h2/2 or over
(Y = 100 + h2/2 or over)
[Values in parentheses are for pattern 2]
X
Y
≥1500
≥1500
≥1500
≥1500
≥1500
Branch switch,
overcurrent breaker
(Earth leakage breaker)
Branch switch,
overcurrent breaker
(Earth leakage breaker)
Control panel
Warning panel
Showcase
(mm)
2
3
4PEN448939-1A.book Page 5 Monday, September 5, 2016 7:12 PM
 Loading...