18 | Piping installation
Installer and user reference guide
86
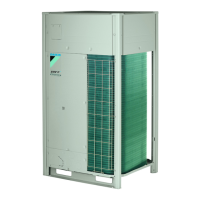
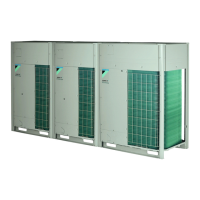
REYQ8~20+REMQ5U7Y1B
VRV IV+ heat recovery
4P561154-1A – 2020.10
NOTICE
▪ Be sure to use the supplied accessory pipes when carrying out piping work in the
field.
▪ Be sure that the field installed piping does not touch other pipes, the bottom
panel or side panel. Especially for the bottom and side connection, be sure to
protect the piping with suitable insulation, to prevent it from coming into contact
with the casing.
Connect the stop valves to the field piping using the accessory pipes supplied with
the unit.
The connections to the branch kits are the responsibility of the installer (field
piping).
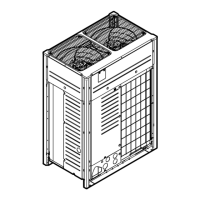
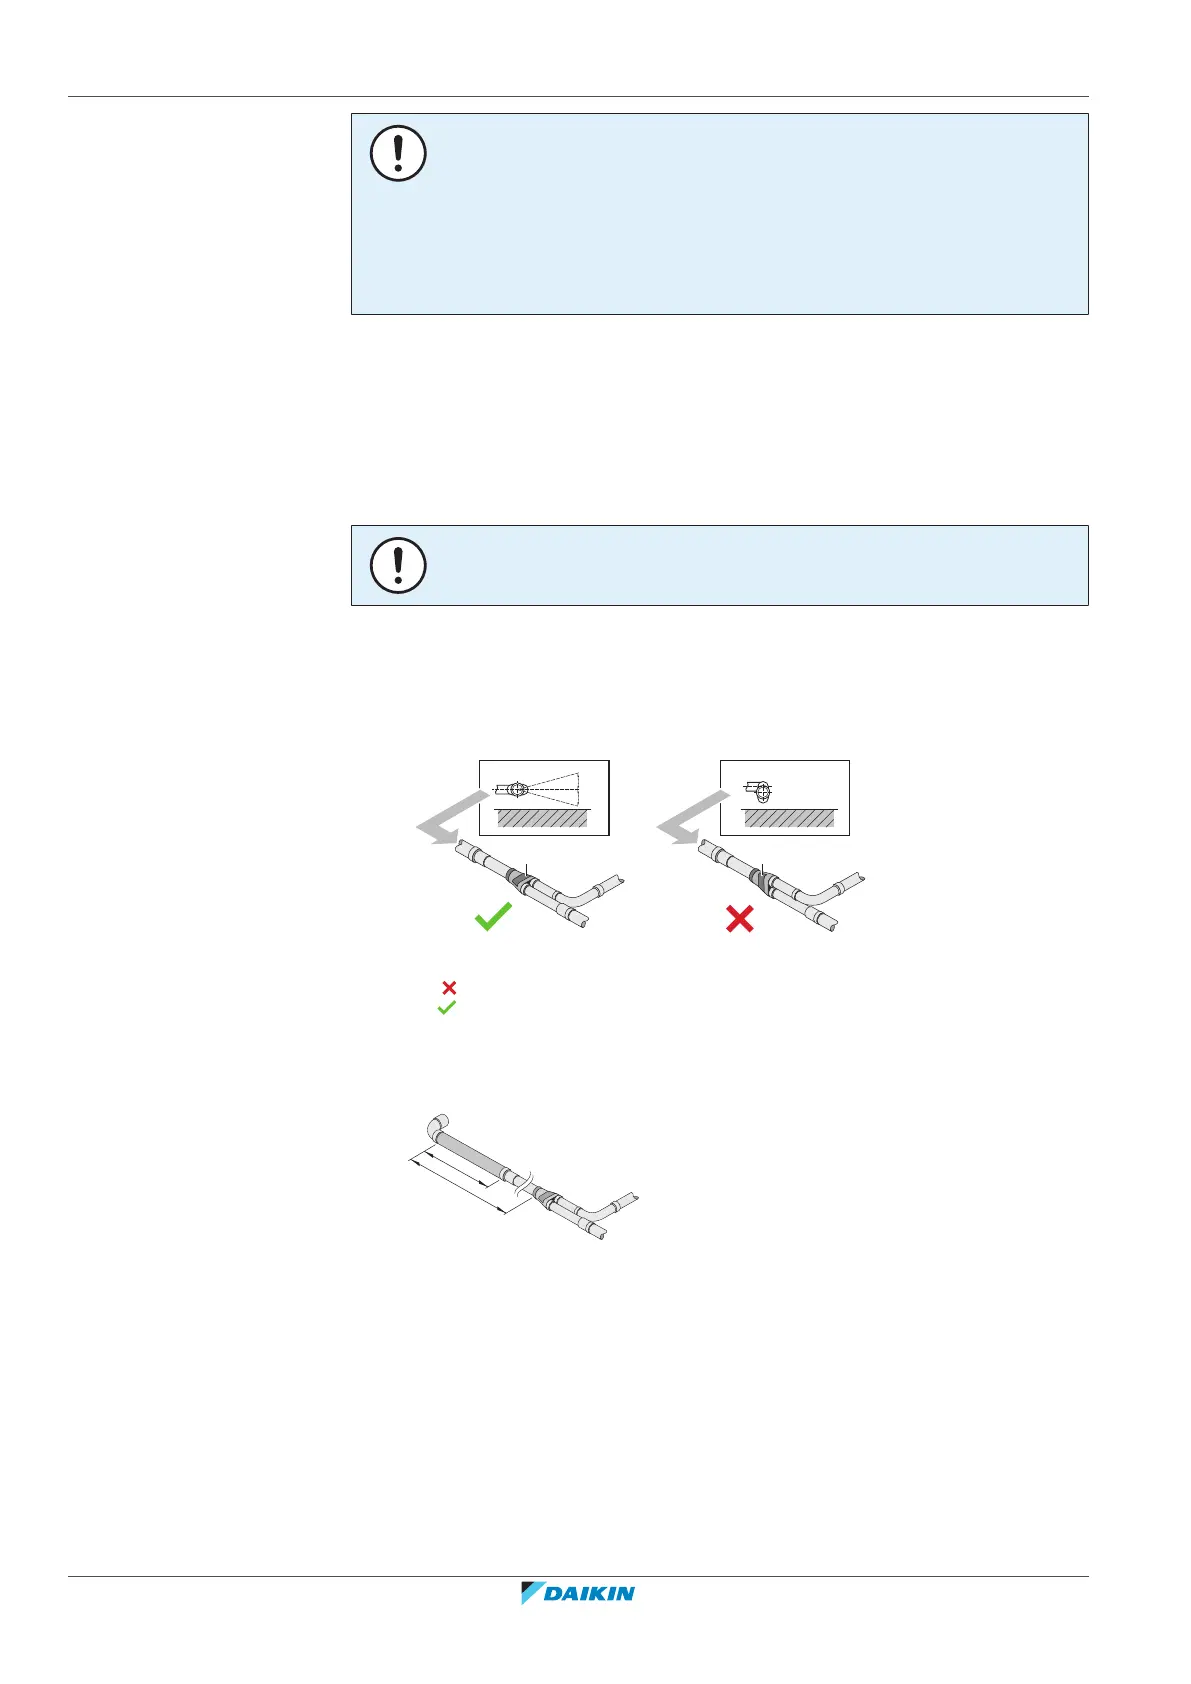
18.2.6 To connect the multi connection piping kit
NOTICE
Improper installation may lead to malfunction of the outdoor unit.
▪ Install the joints horizontally, so that the caution label (a) attached to the joint
comes to the top.
- Do not tilt the joint more than 7.5° (see view A).
- Do not install the joint vertically (see view B).
a Caution label
NOT allowed
Allowed
▪ Make sure that the total length of the piping connected to the joint is absolute
straight for more than 500 mm. Only if a straight field piping of more than
120mm is connected, more than 500mm of straight section can be ensured.
18.2.7 To connect the refrigerant branching kit
For installation of the refrigerant branching kit, refer to the installation manual
delivered with the kit.
▪ Mount the refnet joint so that it branches either horizontally or vertically.
▪ Mount the refnet header so that it branches horizontally.