23
Fahrzeug-/Funktionsdecoder ab Firmware-Version 1.11
23
Locomotive/Locomotive function decoder from firmware version 3.12
Before starting installation, insulate the motor and all its terminals completely against track connections
(sliders, chassis etc.).
Both motor connections must be disconnected from the ground!
Further on all capacitors have to be removed, particularly those associated with the connections of light and motor.
Fix the decoder with a double sided adhesive tape.
5.3 Connection of the decoder
Wired variants:
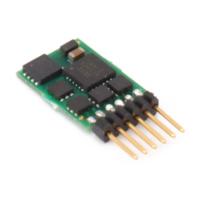
1 The decoders DH05C-0, DH10C-0, DH16A-0, DH21A-0, PD05A-0, PD06A-0 and PD12A-0, should be used by experienced
model railroaders only, as the connection wires must be soldered directly onto the decoder.
2 In case your locomotive is equipped with an interface according to NEM 651, you should take the decoder DH05C-1,
DH10C-1, DH10C-2 or PD05A-1. They have already the appropriate connections for this plug. Short the ribbon cable up
to 5 mm and remove the rest of insulation. The decoder can be inserted into the interface without any problem now.
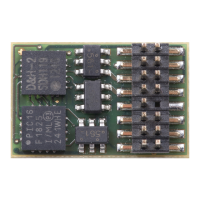
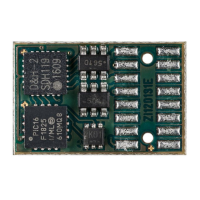
3 In case your locomotive is equipped with an interface according to NEM 652, you should take the decoder DH16A-2,
DH21A-2 or PD12A-2. They have already the appropriate connections for this plug with an 8 pin plug. The decoder can
be inserted into the interface without any problem now.
4 In case your locomotive is not equipped with an interface jack, the decoders must be wired individually. For this
purpose you should use the decoders DH05C-3, DH10C-3, DH16A-3, DH21A-3, PD05A-3, PD06A-3 or PD12A-3 with
flexible wires.
BA DH engl FW3_12 Druck.indd 23BA DH engl FW3_12 Druck.indd 23 10.05.21 14:2710.05.21 14:27