Angle sensor on EDC Repair
1. Clean the exterior of the pump to remove debris.
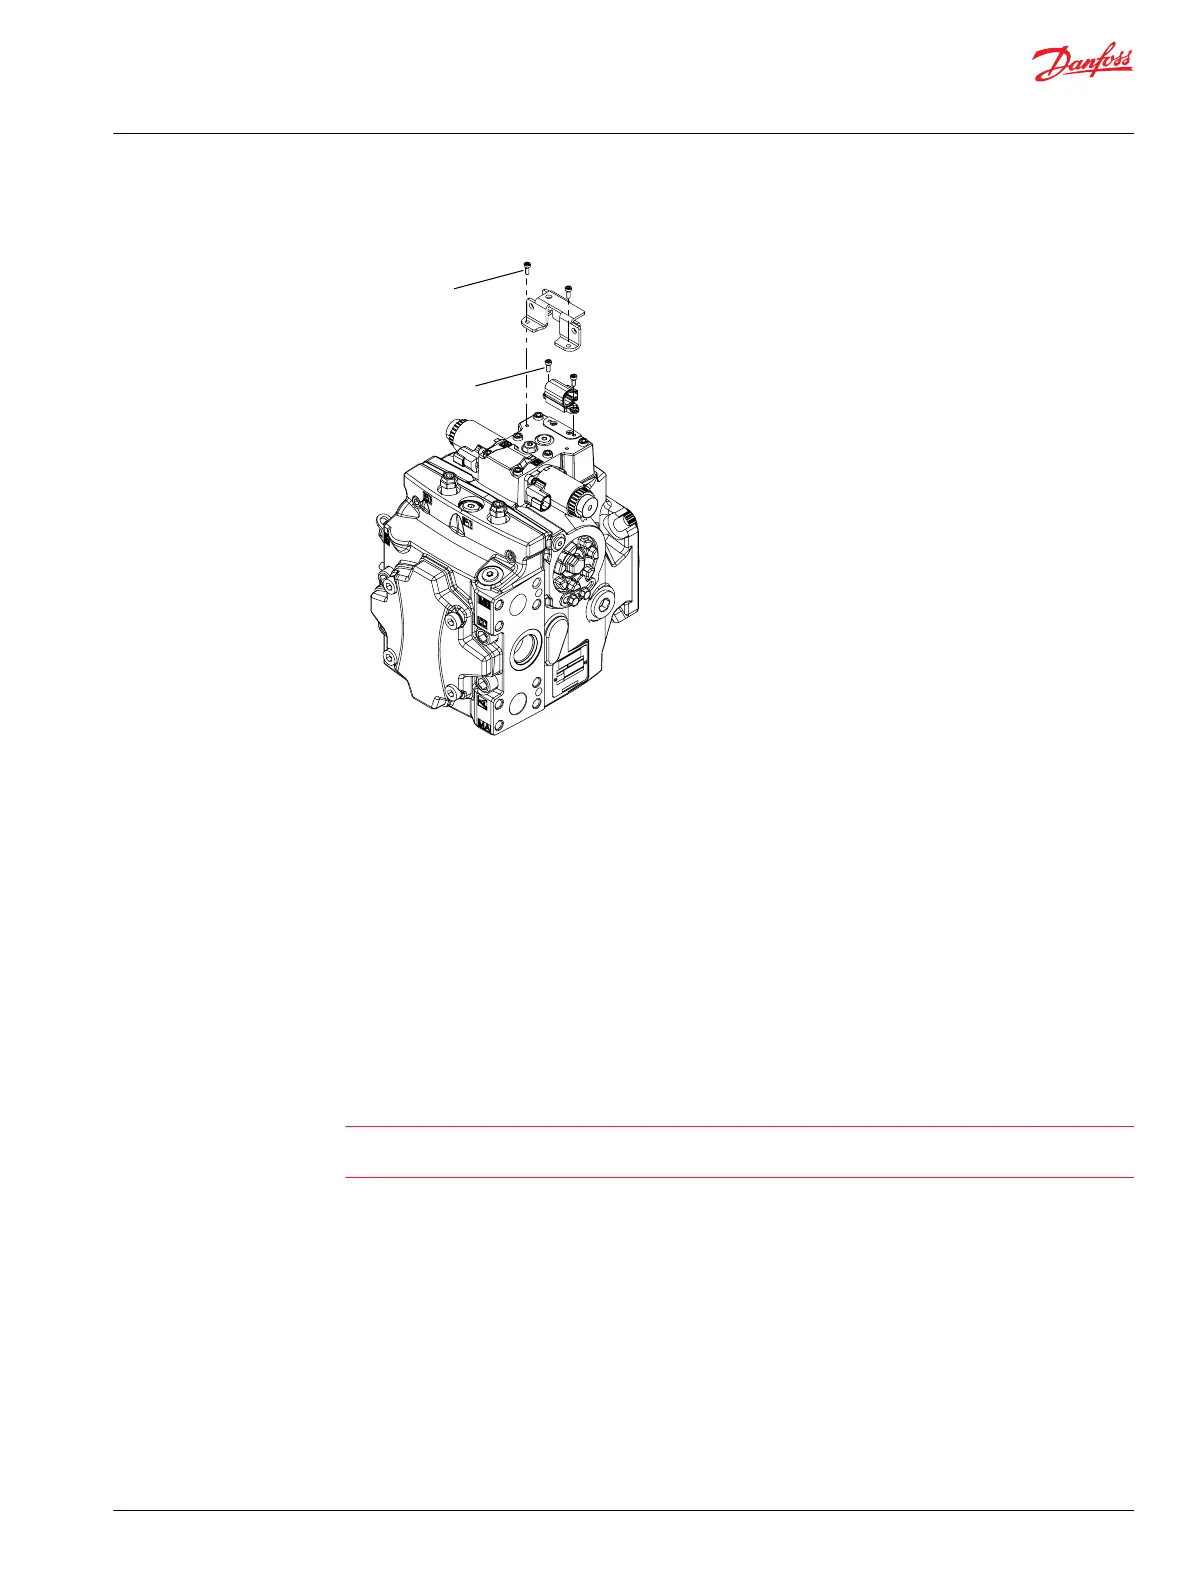
2. Remove protection cover screws (D767) using a 4 mm internal hex wrench.
3. Remove the protection cover from the control.
4. Discard the protection cover if it is damaged.
5. Remove sensor screws (D770) using a 4 mm internal hex wrench.
6. Remove and discard the sensor.
7. Position a new sensor on control housing.
8. Using a 4 mm internal hex wrench, fasten sensor to control housing with screws (D770). Torque
screws to 1.85 N•m [1.36 lbf•ft].
9. Position protection cover on control housing over sensor.
10. Using a 4 mm internal hex wrench, fasten protection cover with screws (D767). Torque screws to 1.85
N•m [1.36 lbf•ft].
Warning
Calibration of sensor output in vehicle software is mandatory after sensor replacement because output
signal can vary from one sensor to the other.
Service Manual
H1P 069—H1P 280 Axial Piston Single Pumps
Minor Repair
©
Danfoss | January 2021 AX152886482551en-000601 | 49
 Loading...