6. Install the thrust washer (K500), coated side goes towards charge pump coupling (K200).
7. Install a new cover gasket (K150). If removed, install guide pins (K450).
8. Install the auxiliary pad or charge pump cover and cap screws.
9. Using a 10 mm internal hex wrench, torque the cap screws (K400) to 92 N•m [68 ft•lb],
10. OR using a 6 mm internal hex wrench, torque the cap screws (K450) to 10 N•m [7 lbf•ft].
Torque in sequence below.
Cover (K100) Torque Sequence
Cover (K550) Torque Sequence
11. Ensure proper torque on aux. pad screws (K400), and if necessary, replace screws.
If charge pump replacement is necessary, replace complete charge pump kit.
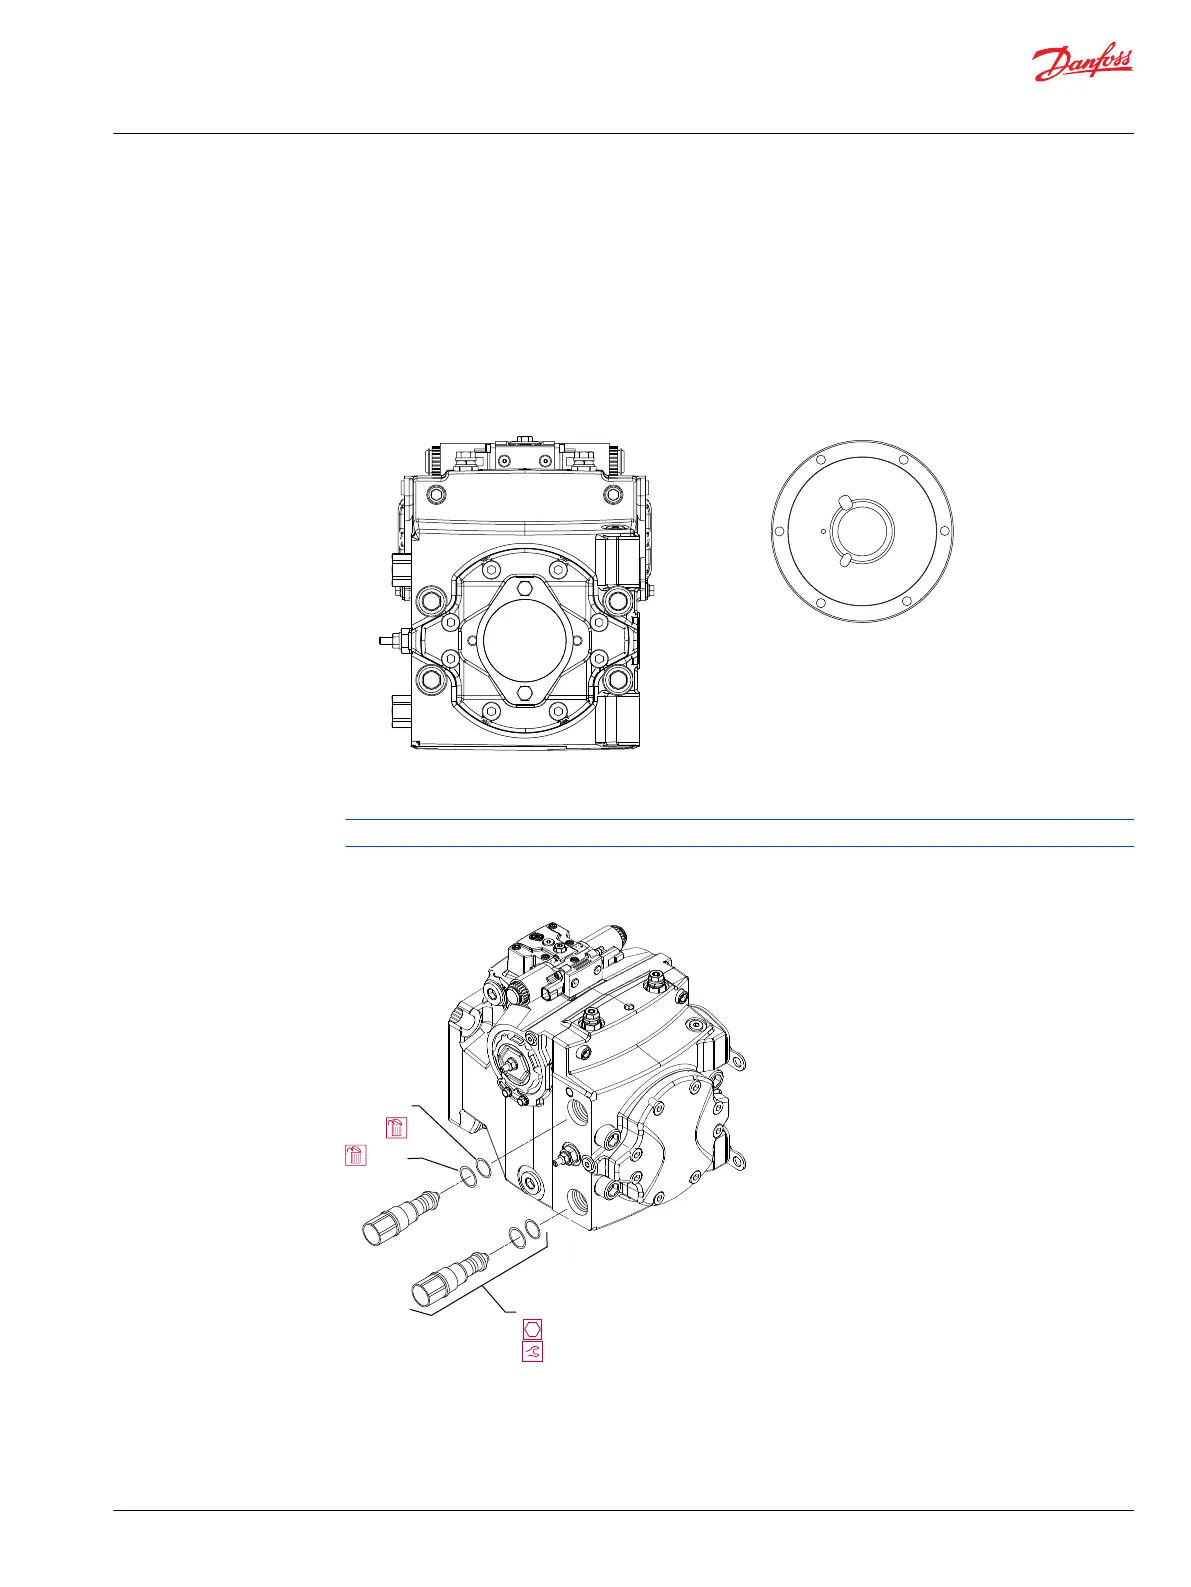
High Pressure Relief Valve Repair
L150
P106 039E
L068
L060
see table
1. Using a hex wrench wrench shown in the table below, remove the HPRVs (L150).
2. Inspect the sealing surfaces in the pump for nicks or scratches, check the valves for damage.
3. Replace any damaged components.
4. Remove and discard the O-rings (L060) and backup rings (L068).
Service Manual
H1P 069—H1P 280 Axial Piston Single Pumps
Minor Repair
©
Danfoss | January 2021 AX152886482551en-000601 | 61
 Loading...


