6. Using a 5 mm internal hex wrench, torque the cap screws (D250) to 13.3 N•m [9.8 lbf•ft].
Torque sequence
7. Connect wiring (D640).
8. Install new plastic plugs with O-rings (D610) using the special tool, press plugs in and turn 45 degrees
clockwise.
If control will continue to be under warranty, install new sealing wax of a different color (original wax
is blue). Pumps without sealing wax installed will not be warrantied.
9. Install protection bracket (D672).
10. Install screws (D674). Torque to 5 N•m [3.7 lbf•ft].
Service Manual
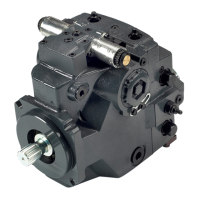
H1P 069—H1P 280 Axial Piston Single Pumps
Minor Repair
54 |
©
Danfoss | January 2021 AX152886482551en-000601
 Loading...


