9
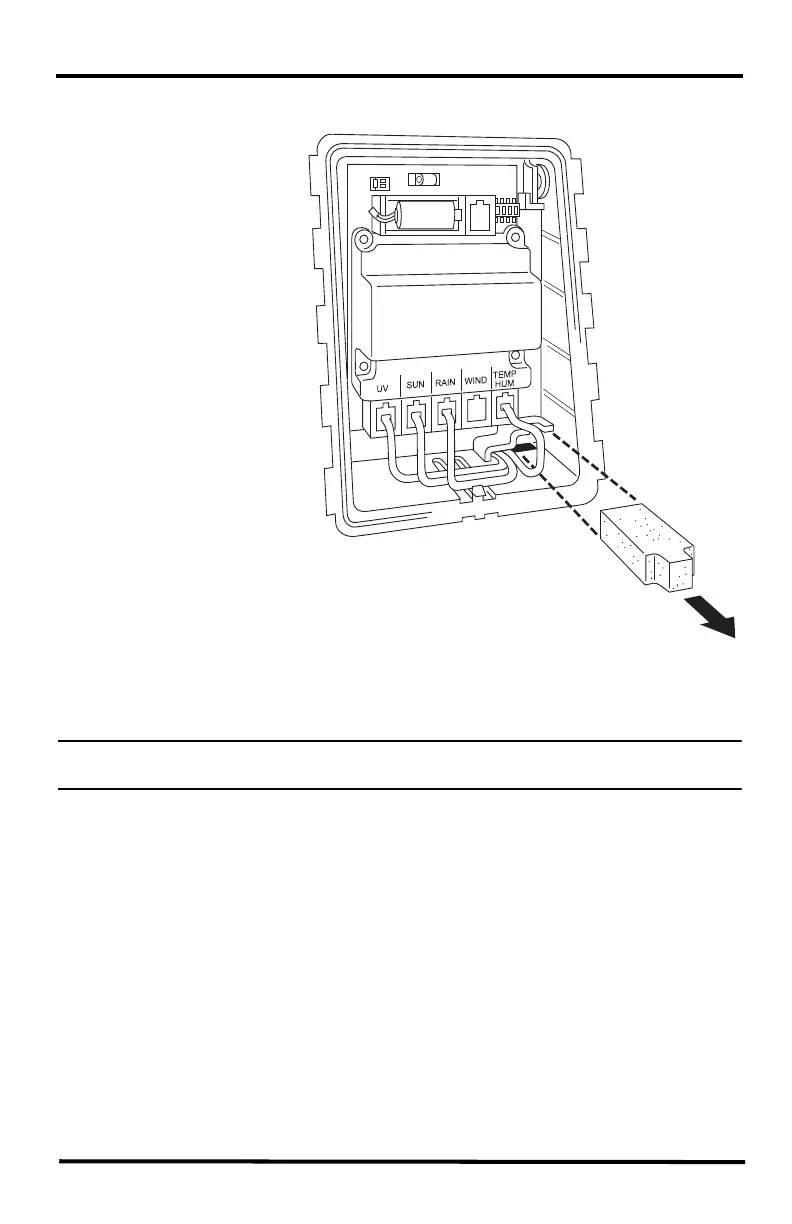
1. Remove the protective cap from the RJ jack on the anemometer cable.
2. Pull the foam insert
out of cable access
port and set the foam
insert aside.
3. Insert the anemometer
cable end into the
cable access port from
beneath the box.
4. Slide the cable
through the cable
access port with the
connector lever down.
5. Firmly insert the end
of the anemometer
cable into the
connector labeled
WIND. The lever
clicks into place.
6. Firmly insert the foam
in between the cables
and at the top of the
cable access port,
taking care to ensure
that the foam seals the
access port entirely, leaving no holes or gaps large enough for weather or insects.
You may have to stack the cables to allow the foam to fit.
Note: Cabled system only: If yours is a cabled system, wait to replace the foam insert until
you have powered the console.
Foam
Insert
Sensor
Interface
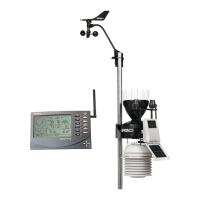
Note: Only Plus models have UV and
solar cables already attached. Image
shows a wireless system: cabled sys-
tems do not have a battery or DIP
switches