E – Mechanical Installation
April, 2018 E-2 INM.XX.X.00
General Mechanical Installation Requirements
Equipment (dehumidifier, outdoor condenser, fluid cooler, etc.) should be installed in accordance with respective local Codes and
Regulations as well as applicable submittal documentation. There are several general key installation points:
General Placement of the Equipment
Equipment must be installed on a firm, levelled surface, with provision for vibration absorption.
Service and operational clearances to the equipment must be always maintained.
o Access to ALL doors, louvers, filter racks, access ports and covers must not be restricted. Some
installations may require cat-walks (over ducts, pipes, etc.) or other means of access to otherwise
restricted side of the equipment.
o Dehumidifier: may require up to 30” clearance for proper operation, service and maintenance;
o Outdoor Condenser (OACC)/Fluid Cooler (OAFC): may require up to 36” clearance all around and up
to 96” clearance above fan for proper operation, service, and maintenance.
Avoid installing OACC/OAFC in a pit, where it’s surrounded on all four sides by walls,
structures, etc. If such an installation cannot be avoided, the following must be maintained:
the min. clearances must be increased to double width of the OACC/OAFC all around;
surrounding structures’ height must not exceed the height of the OACC/OAFC.
Indoor Dehumidifier Installation (dehumidifier, installed in mechanical room)
No chemicals allowed to be stored in the same mechanical room;
o other stored materials must not block access to the equipment for service and maintenance.
Mechanical room must have operational floor drain.
Ceiling-suspended installation: support dehumidifier from (underneath) the base; refer to submittal
documentation for dehumidifier weight distribution for proper selection and positioning of support.
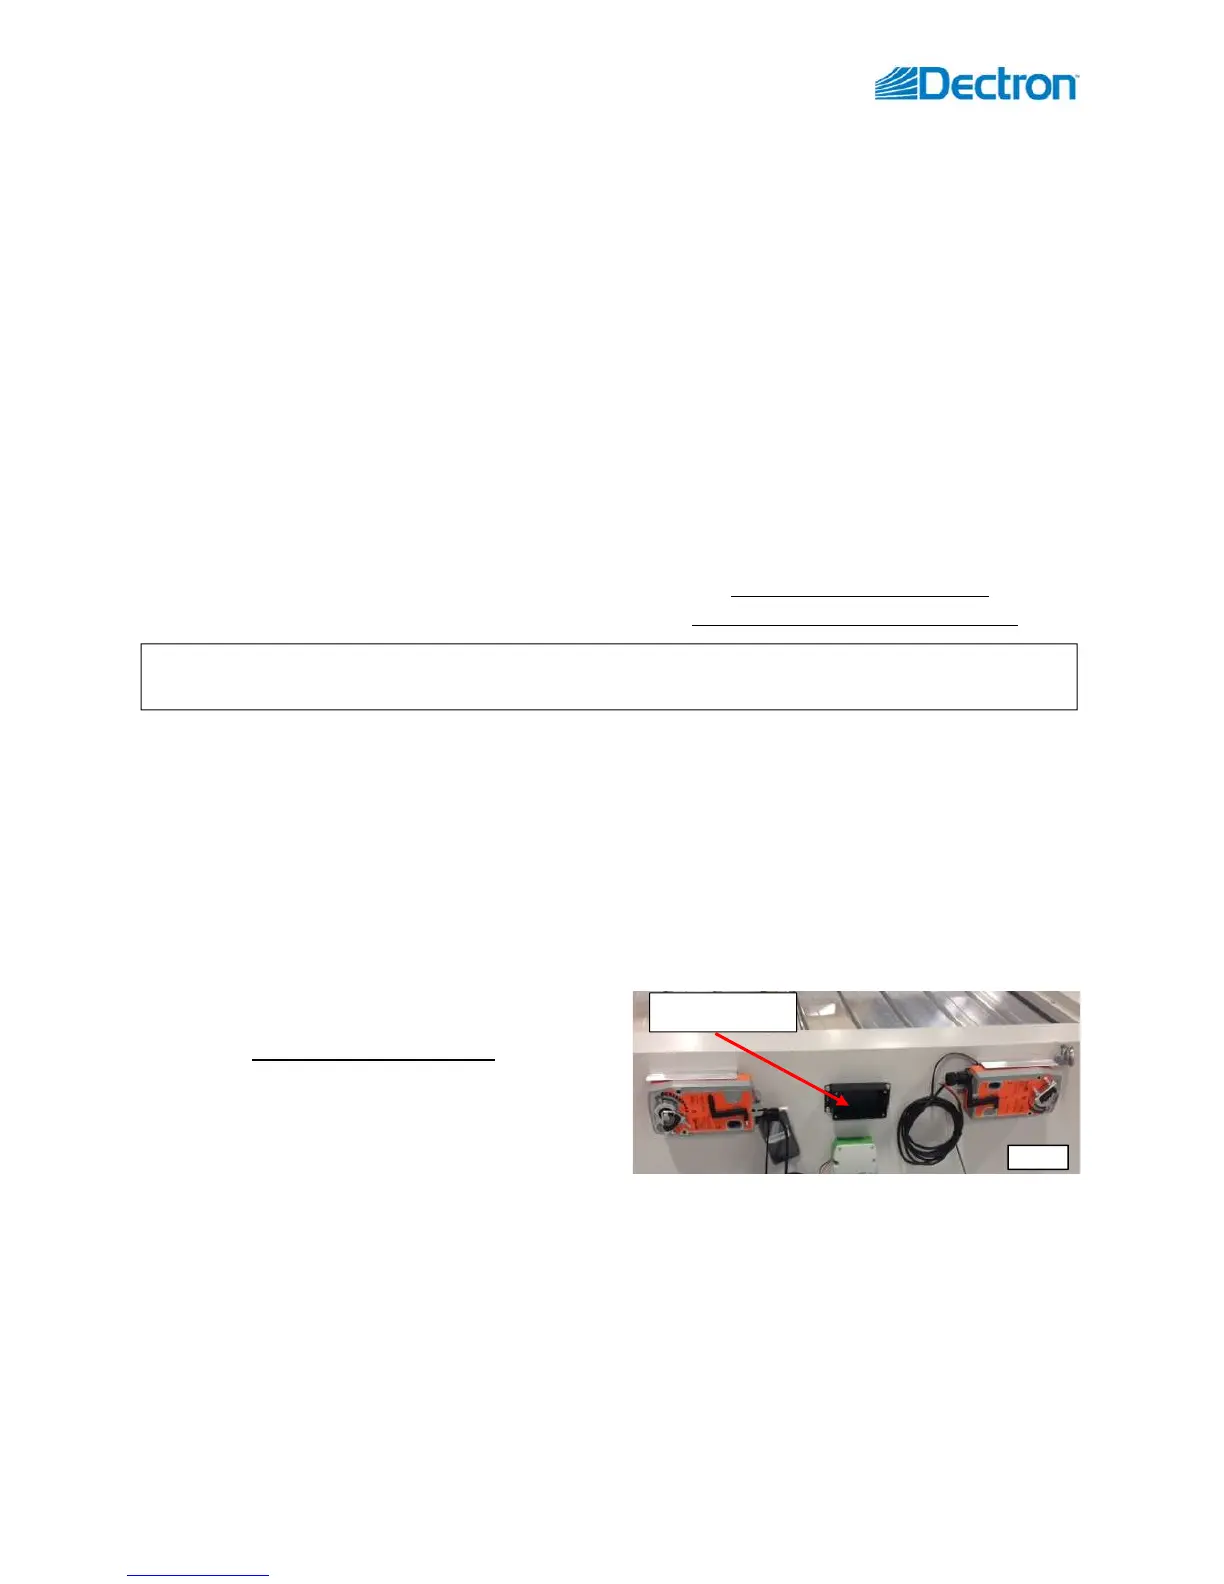
Outdoor Air (OA) intake box. Some dehumidifiers with outdoor intake option, may have an OA intake box,
mounted onto the OA intake opening or provided separately to be field-installed. If latter is the case:
o install box over the OA opening, attach it to the dehumidifier with provided self-tapping screws.
o Attach OA duct to the box (see Ductwork
Connection chapter).
o Control/electrical contractor: connect
control wire harness to the OA box devices
(actuators, sensor etc.) inside the junction
box (see Pic. E.2) – follow the junction box
legend and dehumidifier wiring diagram.
Outdoor Dehumidifier Installation
Roof Curb. If the dehumidifier is installed on a roof curb, it must utilize curb gasket material (to create a
moisture and weather seal between the dehumidifier and a roof curb).
o ATTENTION! Before placing onto a roof curb, consider accessibility underneath the dehumidifier for
various mechanical and electrical systems connections (power, drain, other piping, etc.)
o ATTENTION! It is not recommended to use space within a roof curb as a supply or return duct.
Consider the direction of strong prevailing winds – it may negatively affect equipment operation (cross-flow of
exhausted and fresh air and/or flue gases, elements (rain, snow) aspiration into the OA opening, etc.)
NOTE. For equipment-specific data (dimensions, clearances, accessibility, etc.) refer to equipment submittal
documentation, Operation and Maintenance Manual, and equipment labels and stickers.
Pic. E.2