Need Help? Visit DefenderCameras.com/support
4
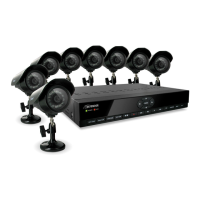
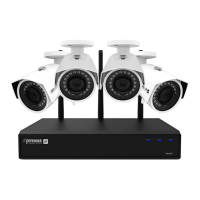
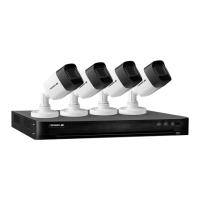
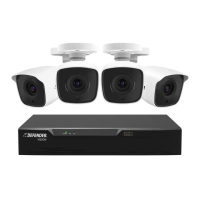
4 & 8 CHANNEL NVR SETUP
PLEASE READ FIRST!
You must connect the NVR to a monitor or TV to complete the setup. We recommend verifying all accessories and
completing the NVR setup before installing the cameras. For the best viewing experience, we recommend using a 4K
monitor or TV to view your footage.
1. Connect the cameras, monitor, USB mouse, router, and power supply to the NVR.
A
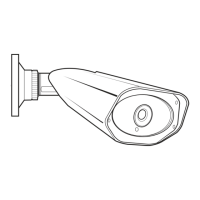
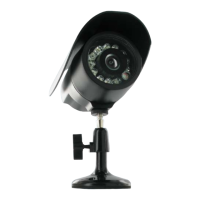
Camera and Ethernet Cable: Connect the 60ft Ethernet Cable to the Camera and NVR. Repeat for
each camera. (NOTE: Ensure the waterproof gasket is tightened over the connection)
B
Modem/Router: Connect the modem/router (not included) to the NVR with the 6.5ft Ethernet Cable.
(NOTE: Wired Ethernet connection required, NVR cannot connect to the modem/router via Wi-Fi)
C
Monitor: Connect the TV or Monitor to the NVR with the HDMI cable.
D
USB Mouse: Connect the USB mouse to the NVR.
E
NVR Power: Connect the NVR power cable to a power outlet.
F
USB Port
4K Monitor/TV
(not included)
Ethernet Cable (60ft)
Weatherproof
Gasket
Camera and
Ethernet Cable
A
B
E
F
DC
2. Follow the Activation and Setup Wizard on the monitor/TV to set up the NVR.
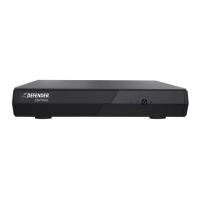
A
Power LED: indicates the NVR is ON.
B
Record LED: data is being read or written to HDD.
C
Network LED: NVR is connected to a network.
B
A C