Identifier GUID-ECBD9896-AE47-4A86-AA9E-8C0CC356C121
Version 4
Status Released
Hard drive backplane
Depending on the configuration, your system supports one of the following:
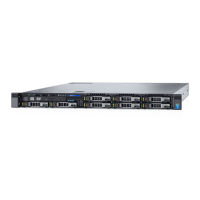
Eight hard drive
system supports
2.5-inch (x4) SAS/SATA backplane
10 hard drive
system supports
2.5-inch (x10) SAS/SATA backplane that supports X10 and 4 (PCIe SSDs)
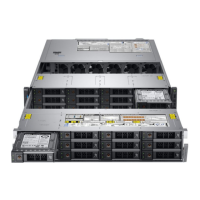
24 hard drive
system supports
1.8-inch (x24) SAS/SATA backplane
Depending on the configuration, your system supports 2.5-inch ten hard drive SAS/SATA backplane that supports X10 and 4
(PCIe SSDs).
Identifier
GUID-07B254CD-DDE2-4567-9DB7-1CBB73900CC4
Version 4
Status Released
Removing the hard drive backplane
CAUTION: 多数维修只能由经认证的维修技术人员进行。您只能根据产品说明文件中的授权,或者在联机或电话服务和支持
团队的指导下进行故障排除和简单维修。任何未经 Dell 授权的服务所导致的损坏均不在保修范围之列。请阅读并遵循您的
产品附带的安全说明。
CAUTION: To prevent damage to the hard drives and hard drive backplane, remove the hard drives from the
system before removing the hard drive backplane.
CAUTION: Note the number of each hard drive and temporarily label them before removal so that you can
replace them in the same locations.
1. Follow the safety guidelines listed in the Safety instructions section.
2. Follow the procedure listed in the Before working inside your system section.
3. Remove all hard drives.
1. Disconnect the SAS/SATA/SSD data cables and power cable from the backplane.
2. If applicable, disconnect the power and data cable from the optical drive.
3. Push the backplane blue release tabs in the direction of the arrows and lift the backplane upwards.
4. Pull the backplane away from the system until the securing slots on the backplane are free from the tabs on the chassis.
142
安装和卸下系统组件

 Loading...


