Q40G055N-700-04A
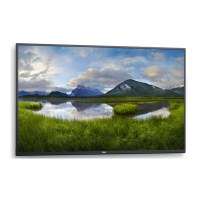
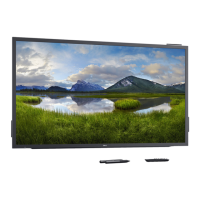
DELL C5519Q
8
XXXXX
XXXXXXXXXXXXXX
R-REM-TPF-C5519Qc
제조자/신청인:TPV Electronics (Fujian) Co., Ltd.
080-200-3800
SVC Tag:
xxxxxxx
Express Service
Code:
xxx xxx xxx x
S/N: XXXXXXXX
XXXXXXXXXXXX
XXX
Date of Mfg/生产日期/生產日期: January. 2018
R33037
RoHS
デ
入力:100V,2.5 A, 50/60 Hz
UA.TR.001
IS 13252(Part1)/
IEC 60950-1
R-41018660
液晶显示器
型号: C5519Q
输入电源:100-240V 50/60Hz,2.5A
中国制造
Flat Panel Monitor /Monitor Plano Panel /
Moniteur écran plat /液晶顯示器
Model No. /Modelo /N°de modelo /型號: C5519Qc
Input Rang /Entrade /Daya Tegangan:
100-240V 50/60Hz,2.5A
輸入電源:交流電壓100-240伏特,2.5安培,50/60赫茲
Raheen Business Park Limerick Ireland (for EU Only)
www.dell.com/regulatory_compliance
xxxxxx-xx
Consumo de energía en operación: XX.X Wh
Удельная мощность рабочего режима - X.XXX Вт/см²
Потребляемая мощность изделием в режиме ожидания - X.XX Вт
Потребляемая мощность изделием в выключенном режиме - X.XX Вт
This device complies with part 15 of the FCC Rules.
Operaon is subject to the following two condions:
(1) This device may not cause harmful interference, and
(2) this device must accept any interference received,
including interference that may cause undesired operaon.
Apparatet må lkoples jordet skkontakt.
Apparaten skall anslutas ll jordat uag.
Laite on liiteävä suojakoskemilla varusteuun pistorasiaan.
Apparatets skprop skal lslues en skkontakt med jord,
som giver forbindelse l skproppens jord.
The equipment must be connected to an earthed mains socket-outlet.
L'appareil doit être branché sur une prise de
courant munie d'une mise à la terre.
CAN ICES-3 (B)/NMB-3(B) 警語: 使用過度恐傷害視力。
Made in China/сделанный в Китай /Fabriqué en Chine /中國製造
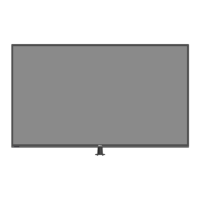
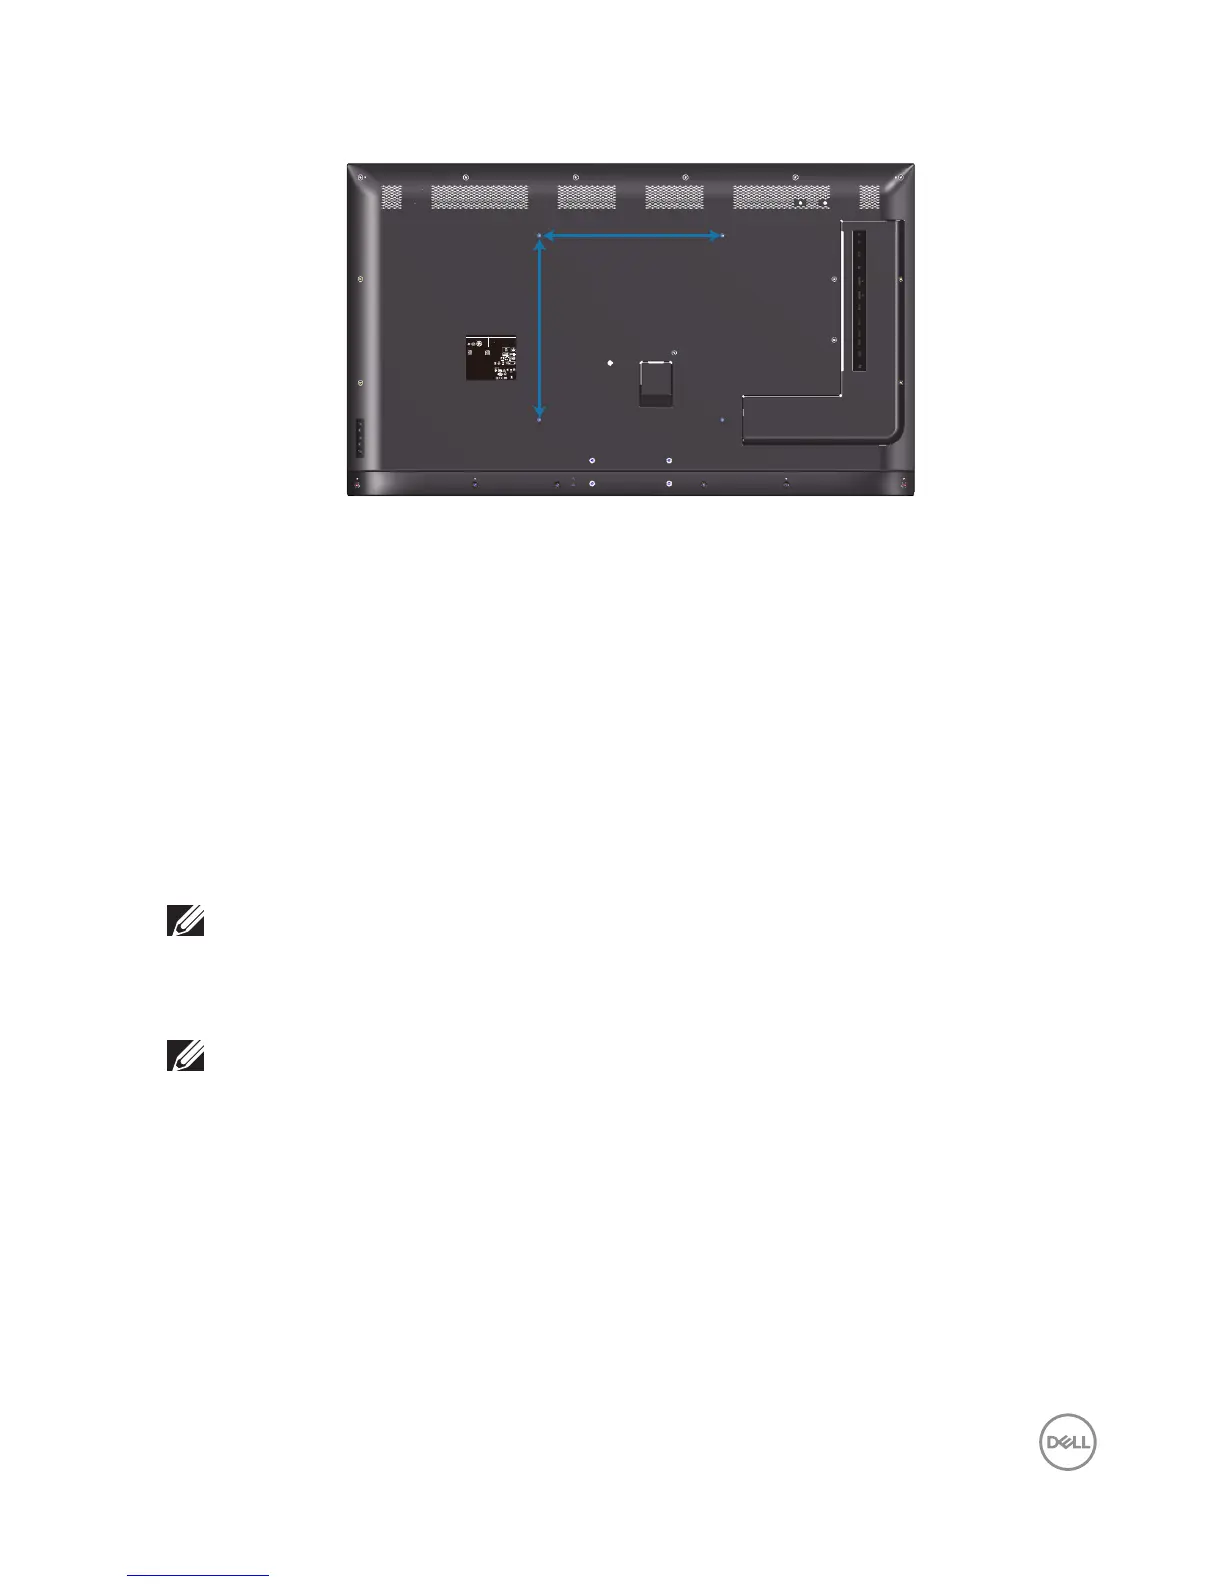
400mm
400mm
VESA screw hole dimension M6 x 30 mm.
Refer to installation instruction that comes with the 3rd party wall mount that
customer purchases. Vesa-compatible base mounting kit (400 x 400) mm.
1.
Install wall plate to Wall.
2.
Place the monitor panel on a soft cloth or cushion on a stable flat table.
3.
Attach the mounting brackets from the wall mounting kit to the monitor.
4.
Install monitor to wall plate.
5.
Ensure monitor is mounted vertically with no tilt forward or backward and a
leveler is used to assist to mount the monitor.
NOTE: Do not attempt to wall mount the monitor by yourself. It should
be installed by qualied installers.
Recommended Wall Mount for this monitor is can be found in the Dell
support website at www.dell.com/support.
NOTE: For use only with UL or CSA or GS-listed wall mount bracket
with minimum weight/load bearing capacity of 82 kg (180.78 lb).