Steps
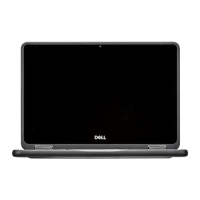
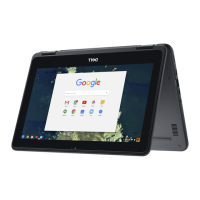
1. Align the display bezel with the display assembly. Gently snap the display bezel into place.
2. Replace the four screws (M2.5x3.8) to secure the display bezel on the display assembly.
3. Adhere the stickers over the screws once the screws have been secured.
NOTE:
A new set of stickers is included with any replacement display bezel. When replacing the new display bezel,
adhere the new stickers over the screws once the screws have been secured.
Next steps
1. Install the display assembly.
2. Install the WWAN card for 4G LTE enabled systems.
3. Install the base cover.
4. Follow the procedure in after working inside your computer.
Display panel
Removing the display panel
Prerequisites
1. Follow the procedure in before working inside your computer.
2. Remove the base cover.
3. Remove the WWAN card for 4G LTE enabled systems.
4. Remove the display assembly.
5. Remove the display bezel.
46
Removing and installing components

 Loading...
