1. Follow the safety guidelines listed in the Safety instructions section.
2. Follow the procedure listed in the Before working inside your system section.
3. Keep the Phillips #2 screwdriver ready.
4. Unpack the new system board assembly.
Procedure
1. Hold the system board by its edges and the system board t-handle, and angle it toward the
back of the chassis.
2. Lower the system board into the chassis till the connectors at the back of the system board
align with the slots on the rear wall of the chassis, and the screw holes on the system board
align with the standoffs on the chassis.
3. Tighten the nine screws that secure the system board to the chassis.
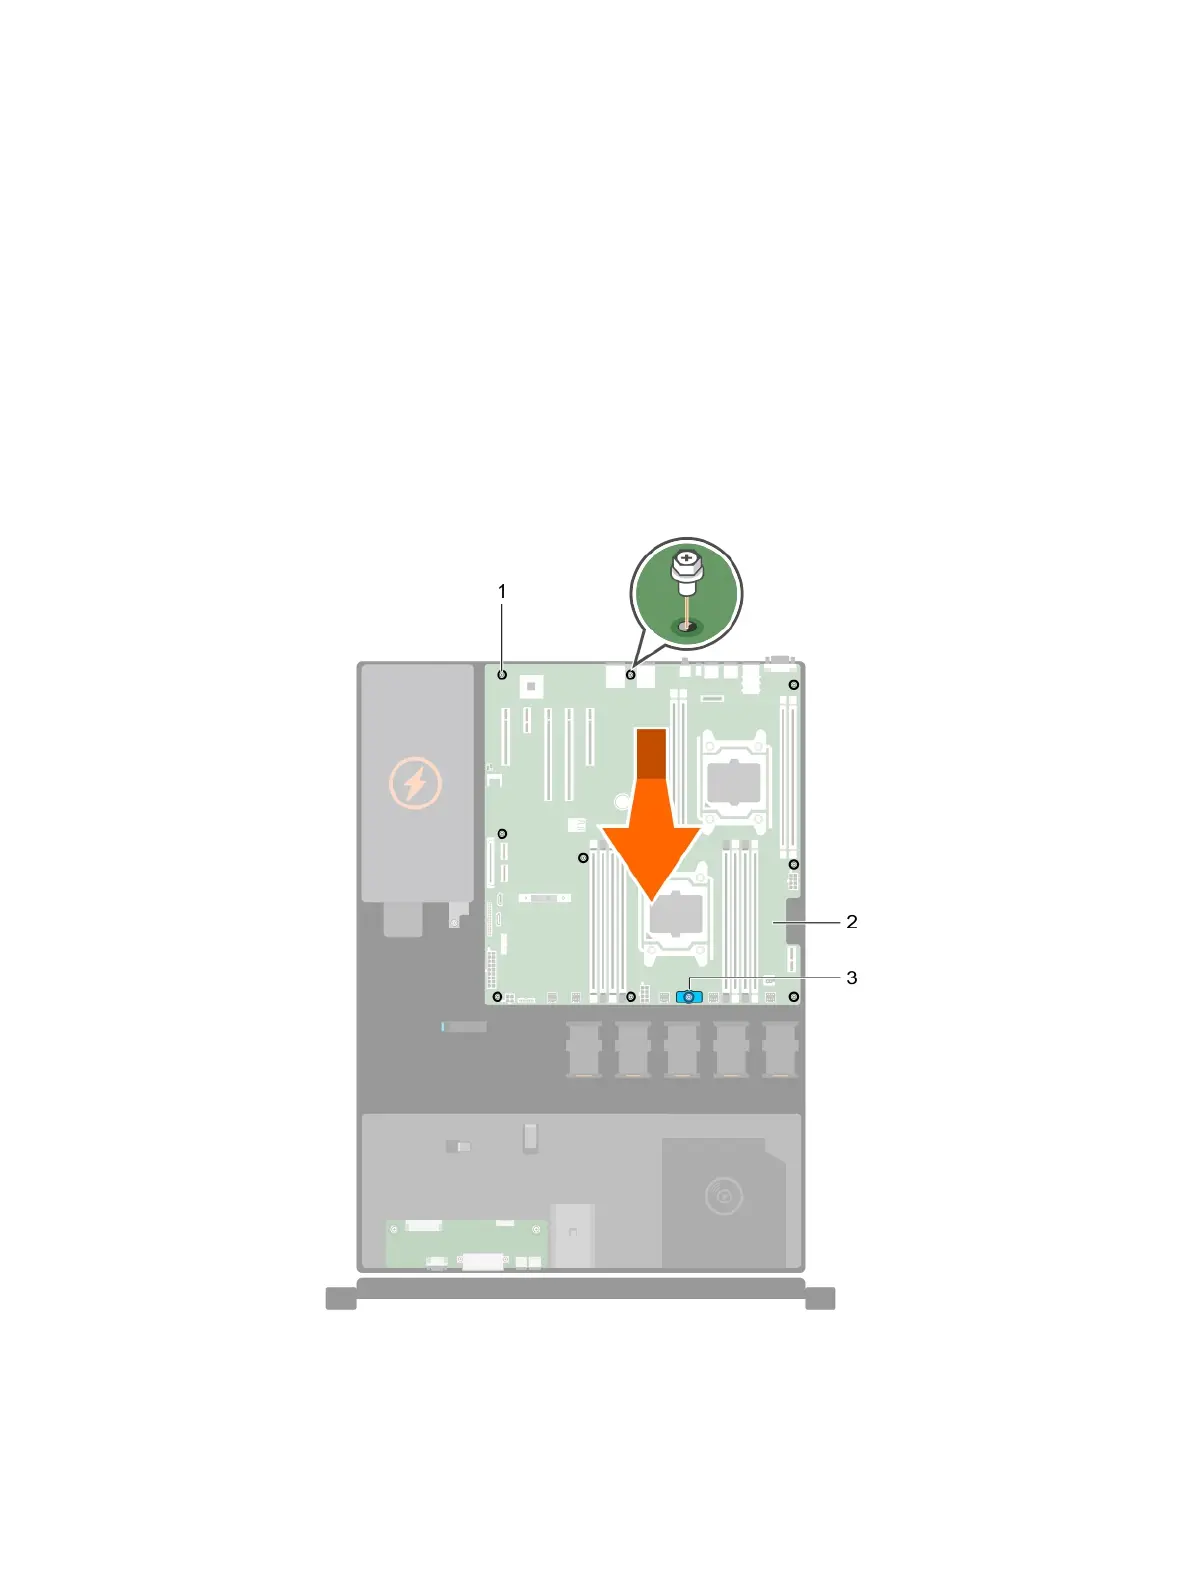
Figure 102 Installing the system board
a. screw (9)
b. system board
c. system board t-handle
Installing and removing system components
186 Dell PowerEdge R430 Owner's Manual

 Loading...


