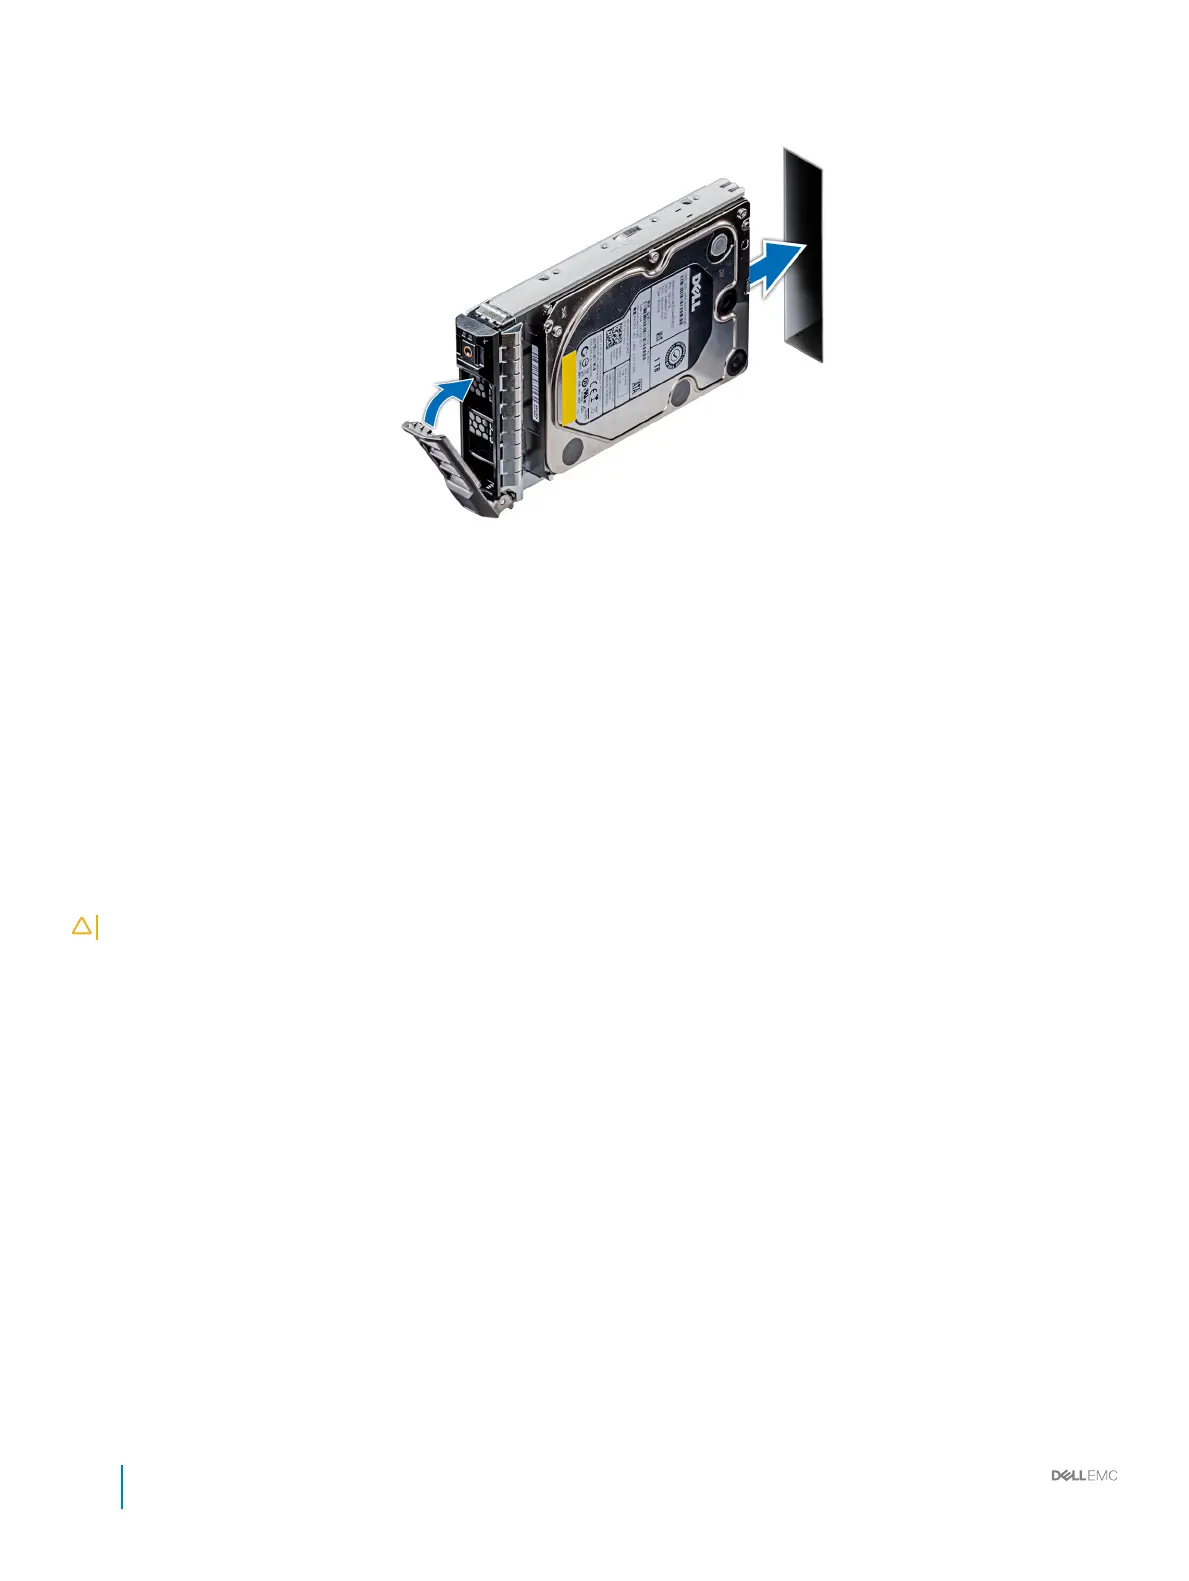
3 Close the drive carrier release handle to lock the drive in place.
Figure 26. Installing a drive carrier
Next step
If applicable, install the front bezel.
Related link
Removing a drive blank
Installing the front bezel
Removing the drive from the drive carrier
Prerequisite
Follow the safety guidelines listed in Safety instructions.
CAUTION
: Mixing drives from previous generations of PowerEdge servers is not supported.
Steps
1 Using Phillips #1 screwdriver, remove the screws from the slide rails on the drive carrier.
2 Lift the drive out of the drive carrier.
74
Installation and Service Manual
Installing and removing system components