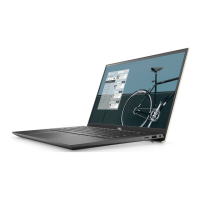
Figure 99. Installing the system board
9. Close the right display hinge to align the screw holes on the right display hinge with the screw holes on the system board
and the palm-rest and keyboard assembly.
10. Replace the two screws (M2.5x4) to secure the right display hinge to the system board and the palm-rest and keyboard
assembly.
Figure 100. Installing the system board
Next steps
1. Install the heat sink.
2. Install the 3-cell battery or the 4-cell battery, whichever is applicable.
3. Install the fan.
4. Install the wireless card.
Removing and installing Field Replaceable Units (FRUs)
117

 Loading...


