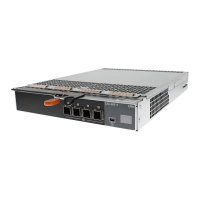
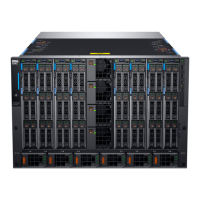
Figure 11. Removing and installing an EMM blank
1. EMM blank
2. release latch
Installing an EMM blank
To install an EMM blank, align the blank with the EMM bay and insert the blank into the chassis until it clicks into place.
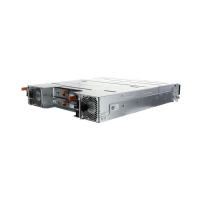
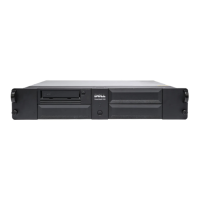
Removing an EMM
CAUTION:
Many repairs may only be done by a certified service technician. You should only perform troubleshooting and
simple repairs as authorized in your product documentation, or as directed by the online or telephone service
and support team. Damage due to servicing that is not authorized by Dell is not covered by your warranty. Read and
follow the safety instructions that came with the product.
1. Disconnect the SAS cables connected to the EMM.
2. Push down on the release tab and pull the release lever away from the chassis.
3. Hold the release lever and pull the module away from the chassis.
NOTE:
Stacking the EMM will damage the sensitive EMI contacts
Installing enclosure components 15
 Loading...