Installation 13
Unpacking Steps
NOTE: Before unpacking the switch, inspect the container and immediately report
any evidence of damage.
1
Place the container on a clean, flat surface and cut all straps securing the
container.
2
Open the container or remove the container top.
3
Carefully remove the switch from the container and place it on a secure
and clean surface.
4
Remove all packing material.
5
Inspect the product and accessories for damage.
Rack Mounting the Switch
You may either place the switch on the rack shelf or mount the switch directly
into a 19" wide, EIA-310-E compliant rack (four-post, two-post, or threaded
methods). The Dell ReadyRails™ system is provided for 1U front-rack, and
two-post installations. The ReadyRails system includes two separately
packaged rail assemblies and two rails that are shipped attached to the sides
of the switch.
WARNING: This is a condensed reference. Read the safety instructions in your
Safety, Environmental, and Regulatory information booklet before you begin.
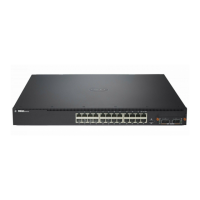
NOTE: The illustrations in this document are not intended to represent a specific
switch.
 Loading...


