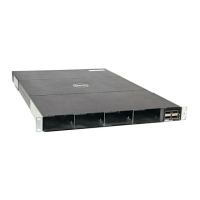
Figure 20. Installing a Fan Tray
Installing a Plug-In Module (Optional)
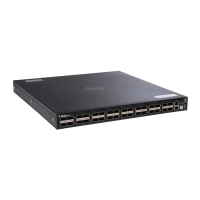
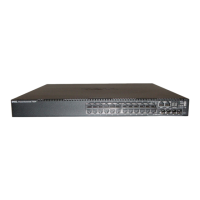
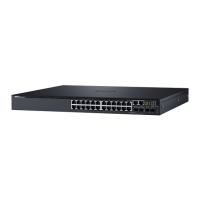
The S3100 series switches support SFP+ and 10GBase-T plug-in modules in the expansion slots on the
PSU side of the switch.
CAUTION: The plug-in modules are not hot-swappable.
To install a plug-in module, follow these steps:
1. Insert the module into an expansion slot.
2. Reboot the switch.
The switch recognizes the new module.
After a module is recognized, its configuration is stored locally on the switch as the switch default. The
module configuration appears in the running configuration for informational purposes. For more
information, see the Dell Configuration Guide for the S3100 Series.
Install Rack or Cabinet Hardware
You may either place the switch on the rack shelf or mount the switch directly into a 19" wide, EIA-310-
E-compliant rack (four-post, two-post, or threaded methods).
The ReadyRails system is provided for one 1U front-rack and two-post installations. The system includes
two separately packaged rail assemblies.
WARNING: This is a condensed reference. Read the safety instructions in your Safety,
Environmental, and Regulatory information booklet before you begin.
NOTE: The illustrations in this document are not intended to represent a specific switch.
NOTE: Do not the use the mounted ReadyRails as a shelf or a workplace.
28
Installation
 Loading...