EasyManuals Logo

Dell Networking S3100 Series User Manual

Dell Networking S3100 Series
45 pages
To Next Page IconTo Next Page
To Previous Page IconTo Previous Page
Page #31 background imageLoading...
Page #31 background image
Figure 22. Installing the Switch using a Two-Post Flush-Mount Configuration
Configuring a Two-Post Center-Mount
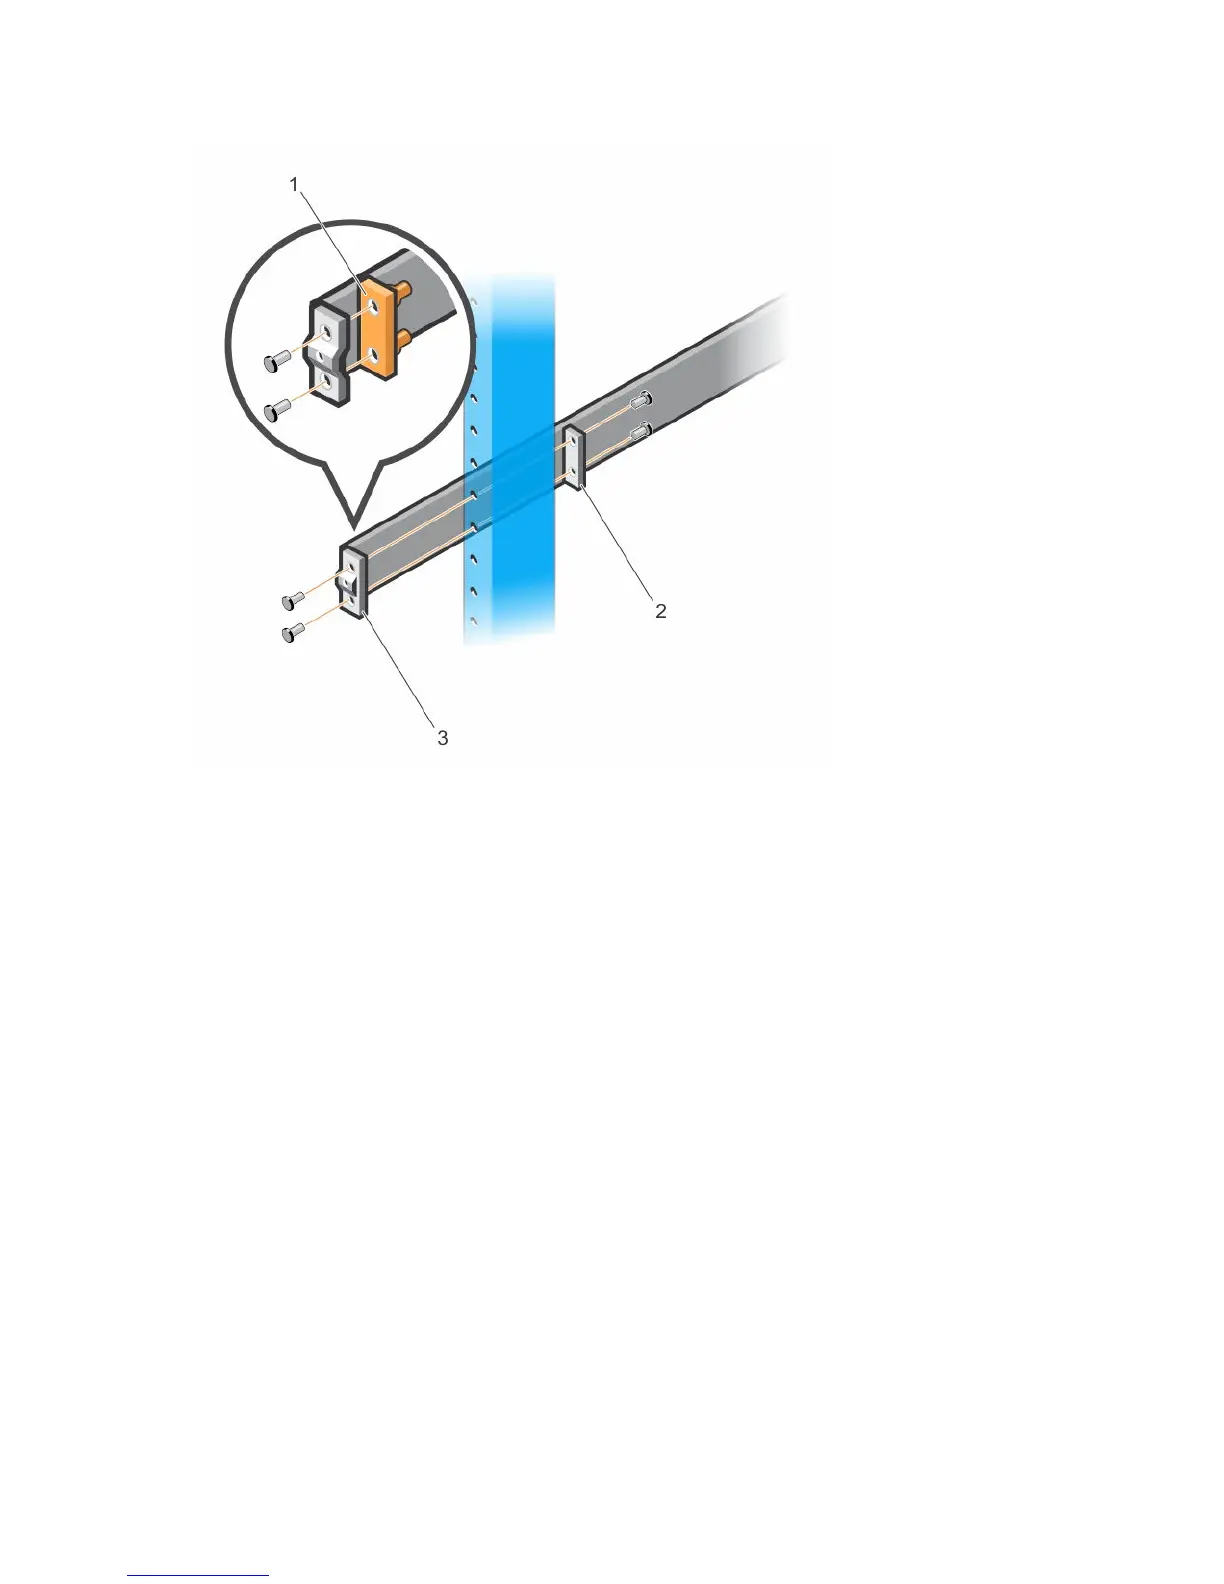
To install your switch in a two-post center-mount configuration, follow these steps.
1. Slide the plunger bracket rearward until it clicks into place and secure the bracket to the front post
flange with two user-supplied screws. See item 1 in the following illustration.
2. Slide the back bracket towards the post and secure it to the post flange with two user-supplied
screws. See item 2 in the following illustration.
3. Repeat this procedure for the second rail.
Installation
31

Questions and Answers:

Question and Answer IconNeed help?

Do you have a question about the Dell Networking S3100 Series and is the answer not in the manual?

Dell Networking S3100 Series Specifications

General IconGeneral
SeriesS3100 Series
Ports24 or 48 x 1GbE RJ45 ports
Uplinks2 x 10GbE SFP+ ports
Power SupplyInternal power supply
StackingUp to 6 units
LayerLayer 2
MAC Address Table Size16, 000 entries
VLANs Supported4094
Operating Temperature0°C to 45°C (32°F to 113°F)
Humiditynon-condensing
Jumbo Frame SupportYes

Related product manuals