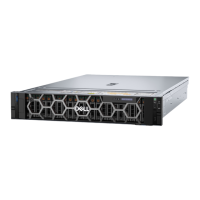
2. Follow the procedure listed in Before working inside your system.
CAUTION: Many repairs may only be done by a certified service technician. You should only
perform troubleshooting and simple repairs as authorized in your product documentation, or as
directed by the online or telephone service and support team. Damage due to servicing that is
not authorized by Dell is not covered by your warranty. Read and follow the safety instructions
that came with the product.
NOTE: To use an SD card with your system, ensure that the Internal SD Card Port is enabled in the
System Setup.
Steps
1. Locate the SD card connector on the internal dual SD module. Orient the SD card appropriately and
insert the contact-pin end of the card into the slot.
NOTE: The slot is keyed to ensure correct insertion of the card.
2. Press the card into the card slot to lock it into place.
Next steps
Follow the procedure listed in After working inside your system.
Removing the internal dual SD module
Prerequisites
1. Ensure that you read the Safety instructions.
2. Follow the procedure listed in Before working inside your system.
CAUTION: Many repairs may only be done by a certified service technician. You should only
perform troubleshooting and simple repairs as authorized in your product documentation, or as
directed by the online or telephone service and support team. Damage due to servicing that is
not authorized by Dell is not covered by your warranty. Read and follow the safety instructions
that came with the product.
Steps
1. Locate the internal dual SD module the system board.
2. If installed, remove the SD card(s).
3. Hold the plastic pull tab and pull the dual SD module out of the system board.
114

 Loading...