NOTE: Ensure you use a Torx #5 screwdriver for the base screws and a Philips screwdriver for the system badge
screws.
3. Turn the system badge flap over and snap it in place.
4. Follow the procedures in After Working Inside Your Computer.
Removing the Battery
NOTE: Discharge the battery as much as possible before removing from the system. This can be done by disconnecting the
A/C adapter from the system (while the system is turned on) to allow the system to drain the battery.
1. Follow the procedures in Before Working Inside Your Computer.
2. Remove the base cover.
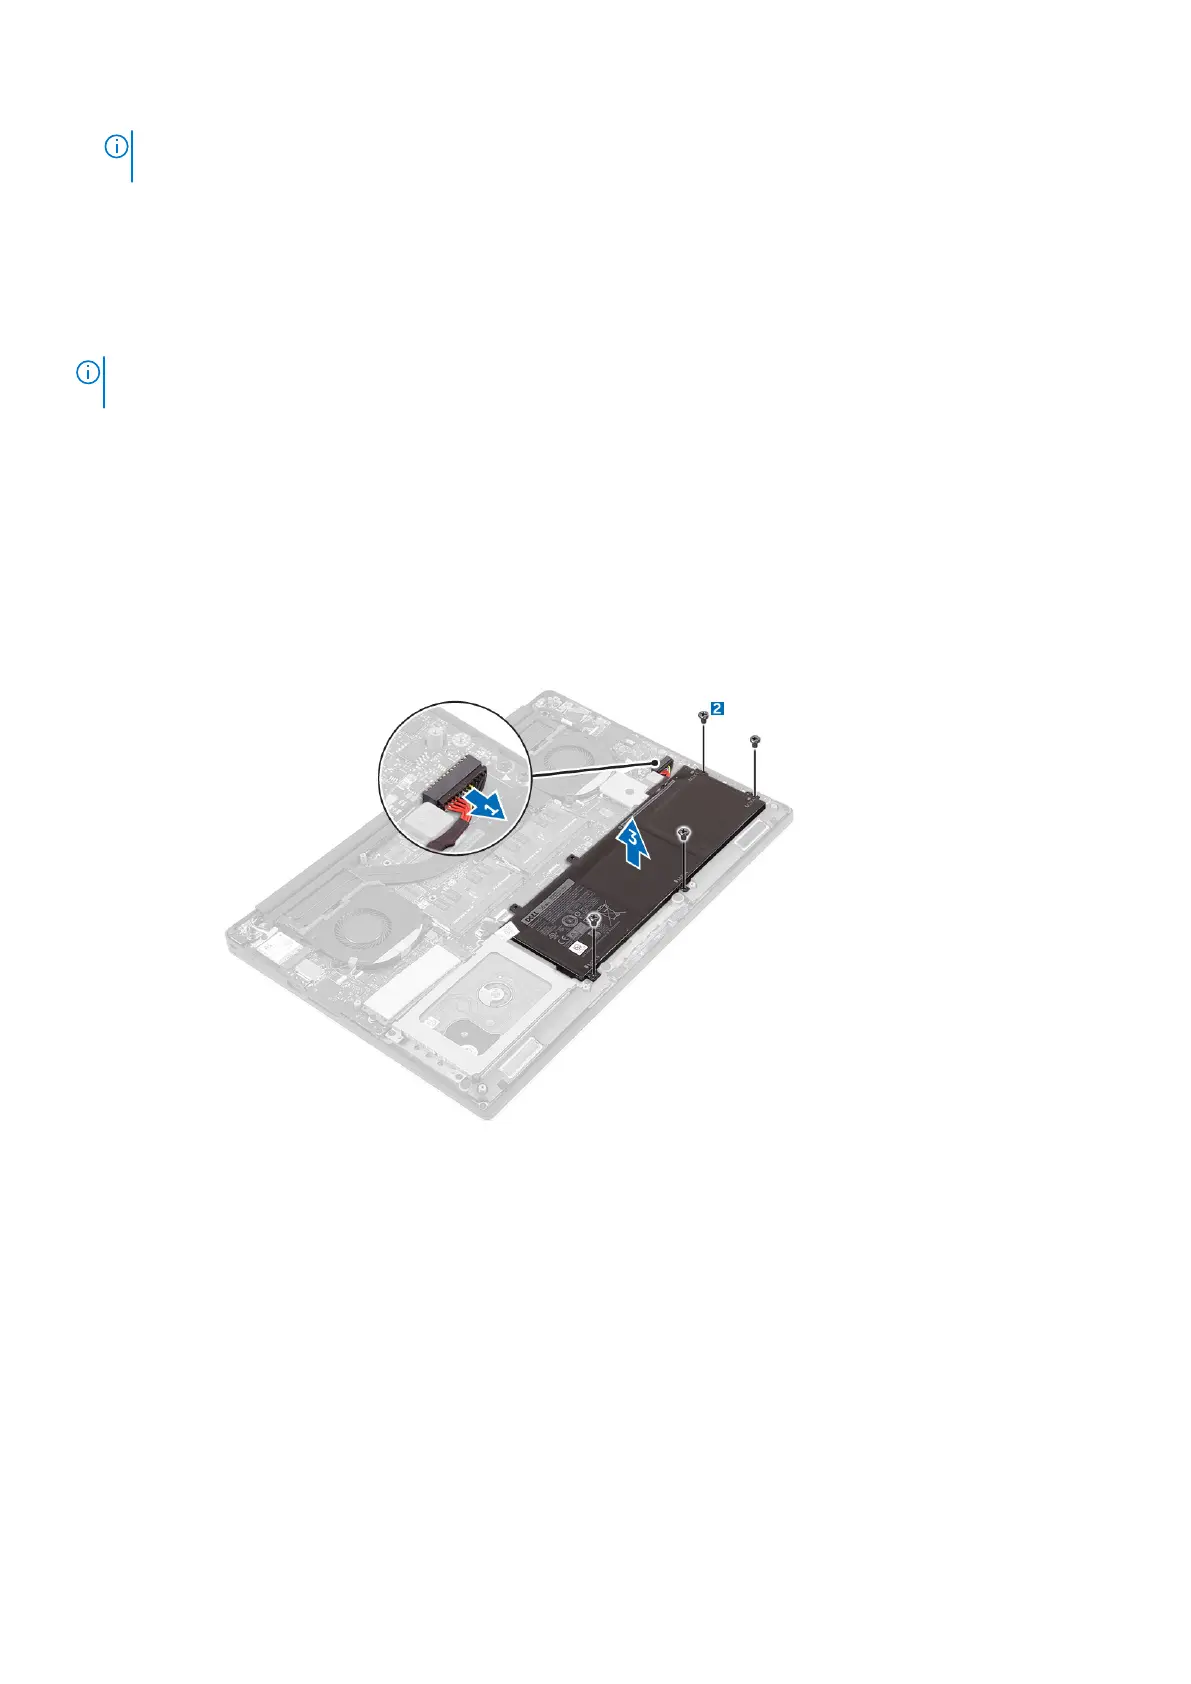
3. Perform the following steps to remove the battery:
a. Disconnect the battery cable from the system board [1].
b. Remove the screws that secure the battery to the computer [2].
c. Lift the battery off the computer [3].
● Do not apply pressure to the surface of the battery
● Do not bend
● Do not use tools of any kind to pry on or against the battery
● If a battery cannot be removed within the constraints above, please contact Dell technical support
Installing the Battery
1. Place and align the battery in the battery bay.
2. Tighten the screws that secure the battery to the computer.
3. Connect the battery cable to the system board.
4. Install the base cover.
5. Follow the procedures in After Working Inside Your Computer.
Removing the Hard Drive
1. Follow the procedures in Before Working Inside Your Computer.
2. Remove the:
Disassembly and reassembly
9