114 Adding and Replacing Parts
NOTICE: If you need to install memory modules in two connectors, install a memory module in the connector
labeled “DIMM A” before you install a module in the connector labeled “DIMM B.” Insert memory modules at a
45-degree angle to avoid damaging the connector.
NOTE: If the memory module is not installed properly, the computer may not boot properly. No error message
indicates this failure.
4
Ground yourself and install the new memory module:
a
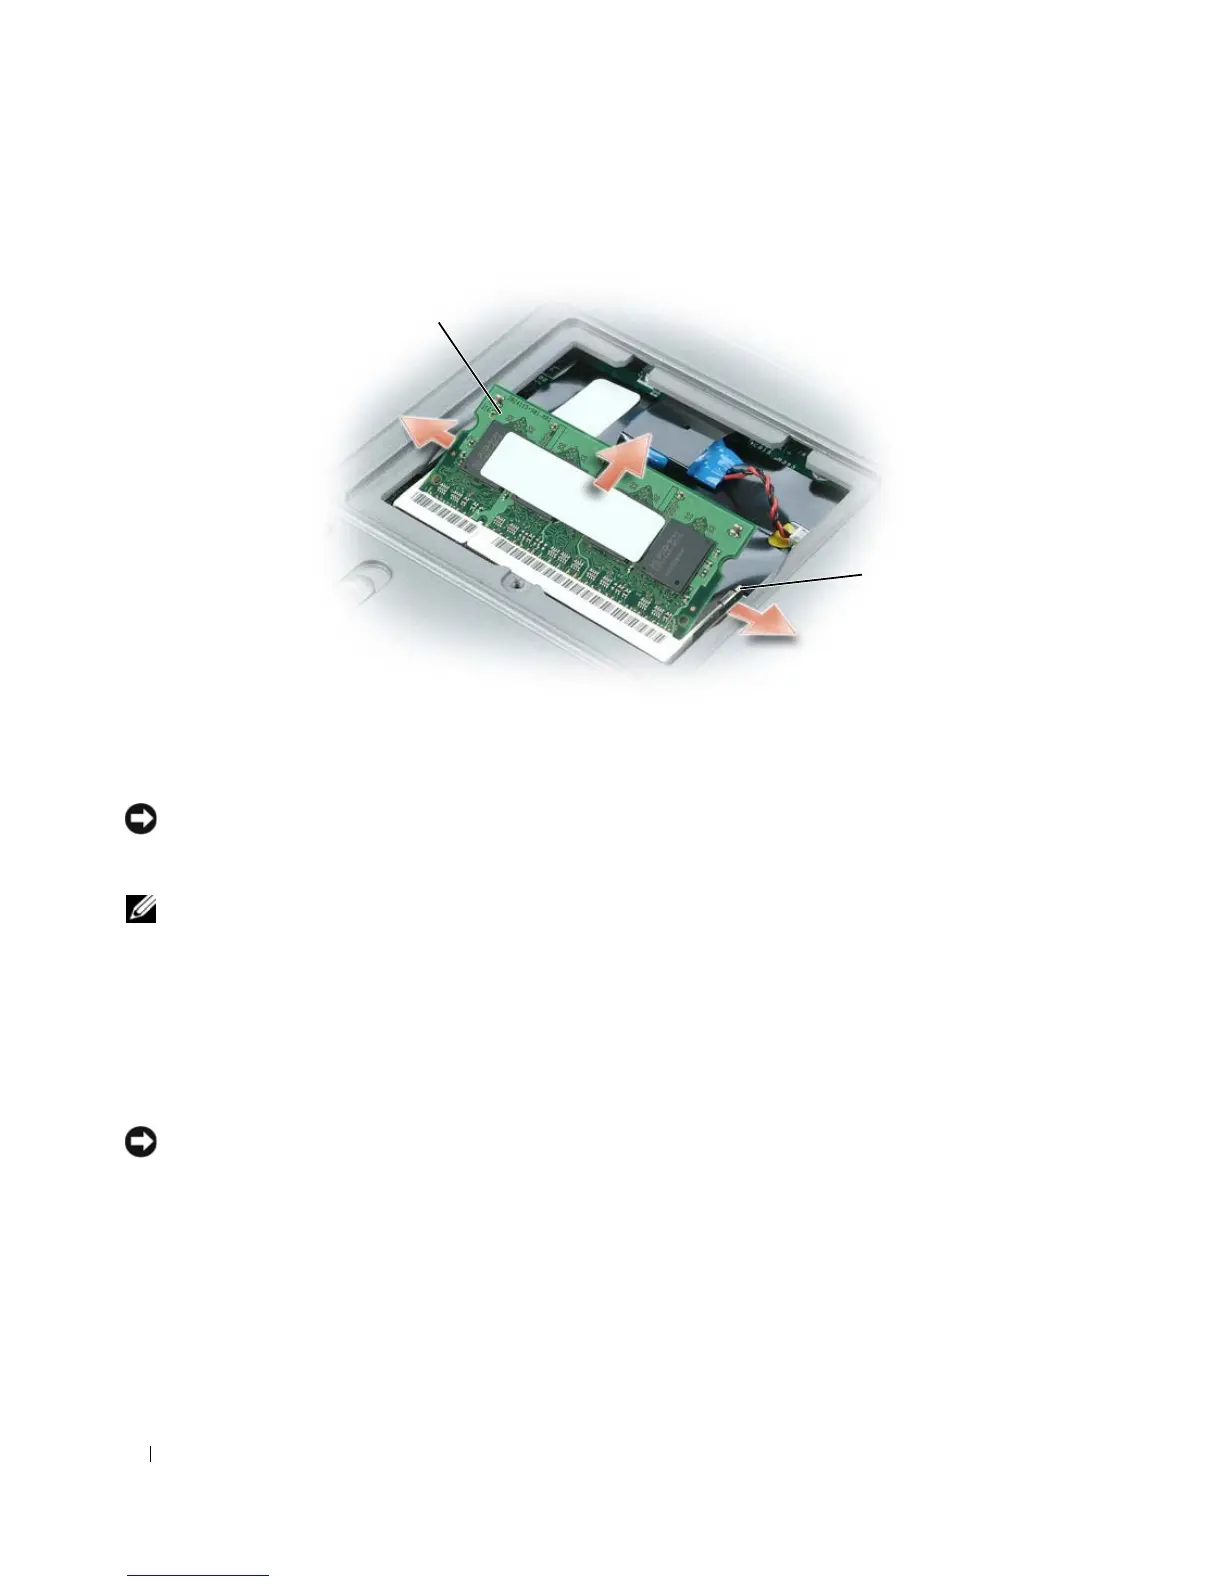
Align the notch in the module edge connector with the tab in the connector slot.
b
Slide the module firmly into the slot at a 45-degree angle, and rotate the module down until it
clicks into place. If you do not feel the click, remove the module and reinstall it.
5
Replace the memory module cover and tighten the screw.
NOTICE: If the cover is difficult to close, remove the module and reinstall it. Forcing the cover to close may
damage your computer.
6
Insert the battery into the battery bay, or connect the AC adapter to your computer and an electrical
outlet.
7
Turn on the computer.
As the computer boots, it detects the additional memory and automatically updates the system
configuration information.
1 memory module 2 securing clips (2)
1
2