1. Follow the procedure in Before You Begin.
2. Remove the computer cover (see Replacing the Computer Cover).
3. Remove the drive cage (see Removing the Drive Cage).
4. Locate the 3-pin CMOS jumper on the system board (see System Board Components).
5. Move the 2-pin jumper plug from pins 3 and 2 to pins 1 and 2.
6. Wait for five seconds for the CMOS to clear.
7. Move the 2-pin jumper plug back to pins 3 and 2.
8. Replace the drive cage (see Installing the Drive Cage).
9. Replace the computer cover (see Installing the Computer Cover).
10. Turn on the computer.
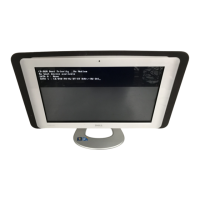
11. The message CMOS settings wrong appears on the screen. Restart the computer.
12. The message CMOS checksum error.Press F2 to run setup.Press F1 to load default values and continue appears on the screen.
13. Press <F1> to load default values and continue.
Back to Contents Page
 Loading...