9. On your printer operator panel, use the left or right arrow button to scroll to Setup, and then press the
Select button .
10. Use the left or right arrow button to scroll to Network Setup, and then press the Select button .
11. Use the left or right arrow button to scroll to Wi-Fi Protected Setup, and then press the Select button
.
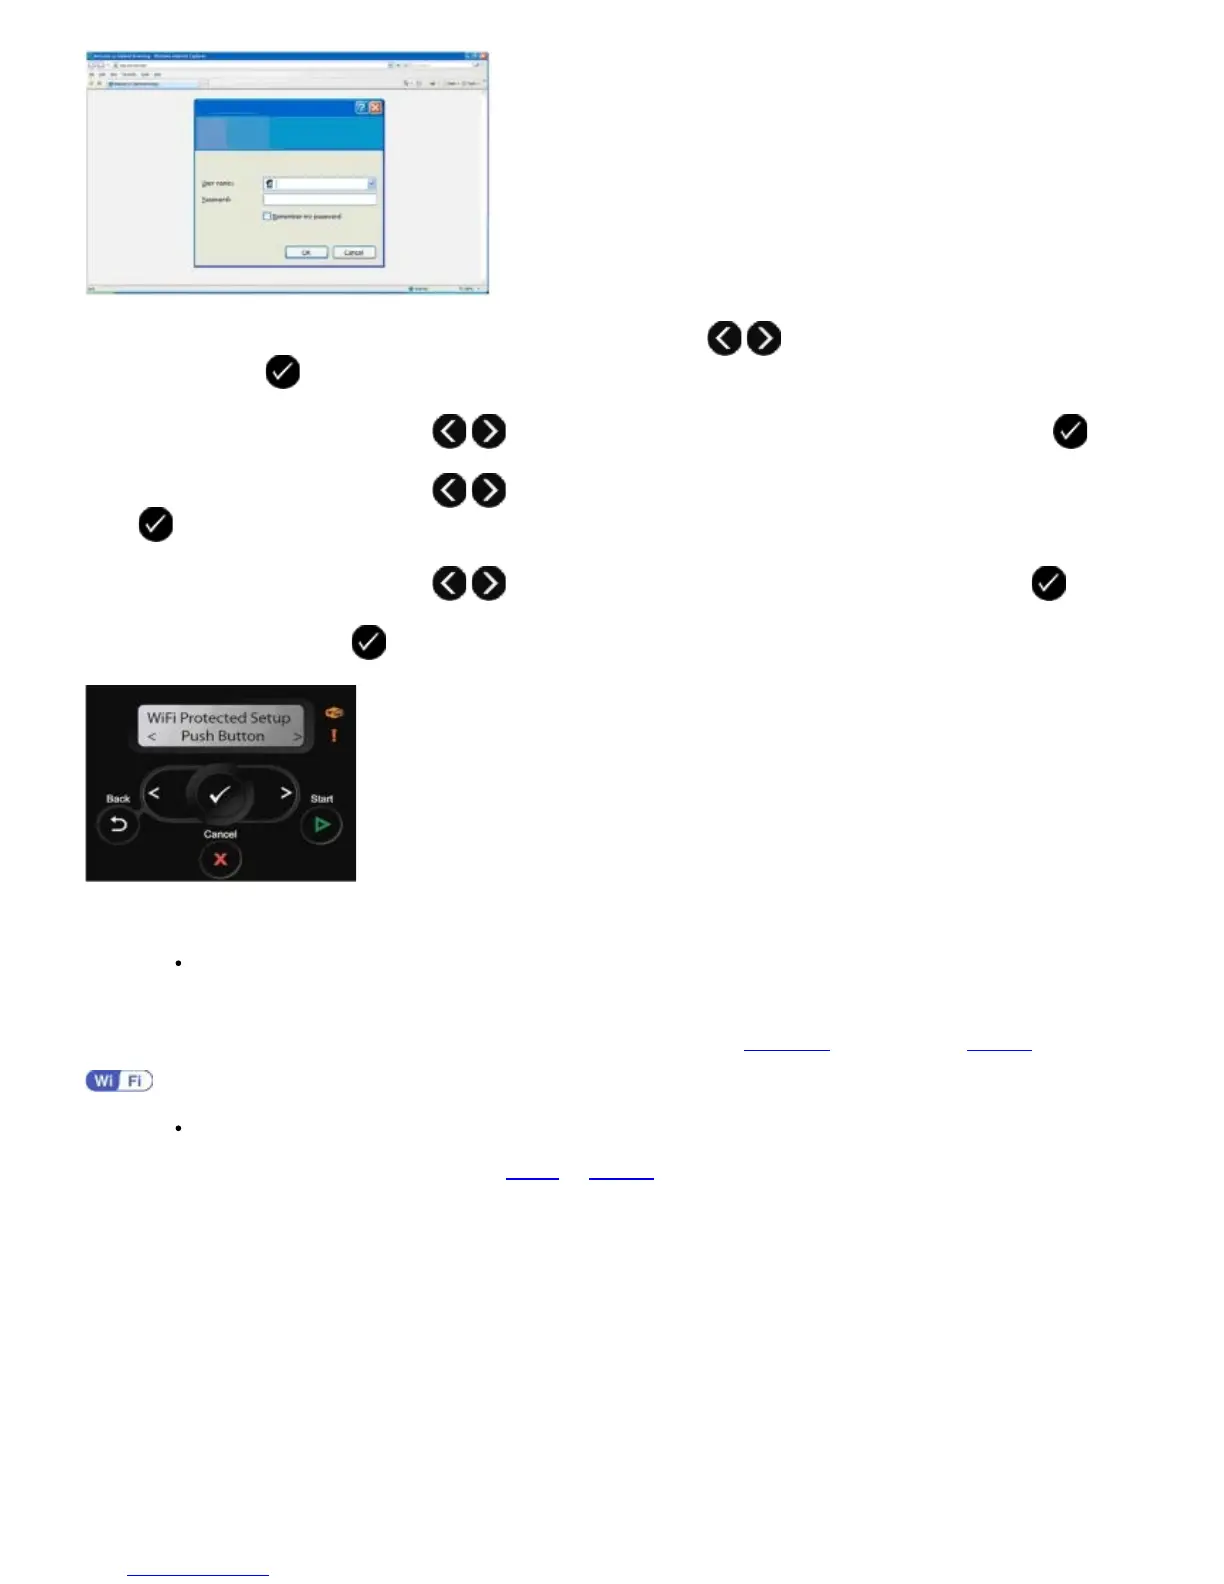
12. Use the left or right arrow button to scroll to Push Button, and then press the Select button .
13. Press the Select button to continue.
14. Click Push Button on your router WPS page within two minutes. Wait for configuration to complete.
If setup is successful
Wi-Fi Protected Setup Successful appears on the printer operator panel.
Check if the printer's Wi-Fi LED turns blue. For more information, see
Wi-Fi LED. Continue with step 15.
If setup is unsuccessful or times out
Wait for a few minutes, and then perform
step 9 to step 14 again.
15. Close the router WPS page.
16. Follow the instructions on the installation screen to complete setup.