15
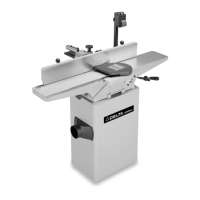
Fig. 36 Fig. 37
Fig. 38
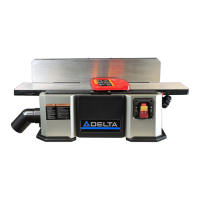
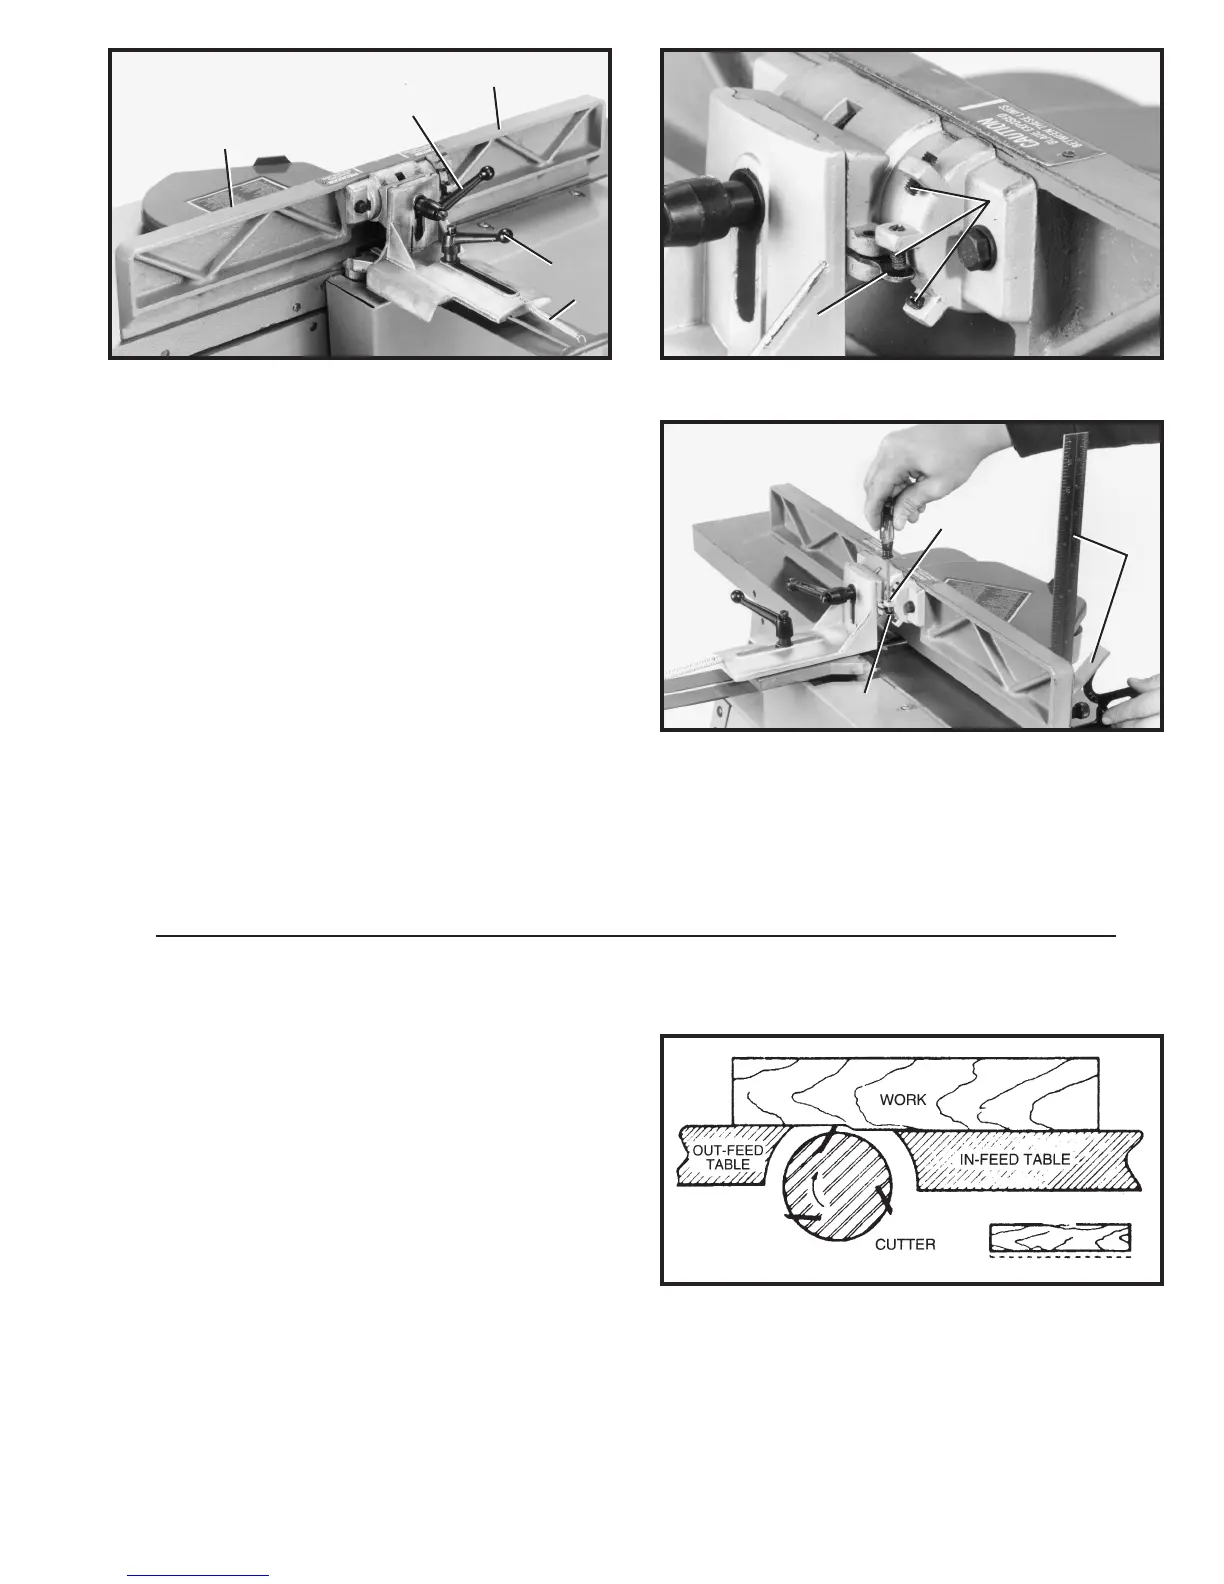
Fig. 39
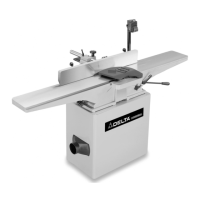
FENCE ADJUSTMENTS
The fence can be easily moved across the t able and can
tilt 45 degrees lef t or right at any position on the t able.
1. To move the fence across the t able, loosen lever (A)
Fig. 36, slide the fence (B) to the desired position and
tighten locking lever (A).
2. T o tilt the fence (B) Fig. 36, loosen lever (C) and tilt
the fence to the desired angle and tighten lever (C).
NOTE: Levers (A) and (C) are spring-loaded and can be
repositioned by pulling outward on the levers and re-
positioning them on the serrated nut located underneath
the levers.
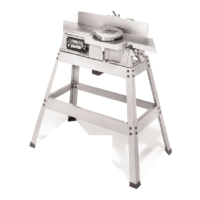
3. The fence on the jointer features adjust able positive
stop s (D) Fig. 37, and a stop link (E) at 90 degrees right
and lef t. Check the fence angle at 90 degrees with a
square (F) as shown in Fig. 38. If an adjustment is neces -
OPERATIONS
The following directions will give the beginner a st art on
jointer operations. Use scrap pieces of lumber to check
settings and to get the feel of the operations before
attempting regular work.
W ARNING: A LW AYS USE CUTTERHEAD GUARD A N D
KEEP HANDS AW AY FROM THE CUTTERHEAD.
ALW AYS USE PUSH BLOCKS WHENEVER POSSIBLE.
PLACEMENT OF HANDS
DURING FEEDING
At the st art of the cut, the lef t hand holds the work firmly
against the infeed t able and fence, while the right hand
pushes the work toward the knives. Af ter the cut is under -
w a y, the new surface rest s firmly on the out feed t able as
shown in Fig. 39. The lef t hand should then be moved to
the work on the out feed t able, at the same time main -
taining flat cont act with the fence. The right hand press -
es the work forward, and before the right hand reaches
the cutterhead, it should be moved to the work on the
out feed t able.
CAUTION: NEVER PASS HANDS DIRECTLY OVER THE
CUTTERHEAD.
sary, turn set screw (D) in or out until it cont act s the stop
link (E) when the fence is set at 90 degrees to the t able.
4. Repeat this procedure to check the positive stop s (D)
Fig. 37, at 45 degrees right and 45 degrees lef t.
B
B
C
A
D
E
D
D
F
E
G
 Loading...