3.
Connect air hose
(F)
Fig.
5,
to end of blower tube (G)
as shown.
Fig. 5
4. Assemble table insert (H) Fig.
6,
to opening in table,
as shown.
Fig. 6
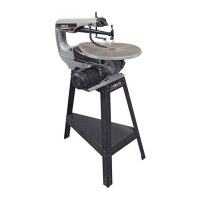
FASTENING SCROLL SAW
TO SUPPORTING SURFACE
Your scroll saw MUST be securely fastened to a stand or workbench using the three mounting holes in the base of
the saw, two of which are shown at (A) Fig.
7.
IMPORTANT: If there is any tendency for the stand or workbench to move during operation, the stand or workbench
must be fastened to the floor.
Fig. 7
6