9
ELECTRICAL CONNECTIONS
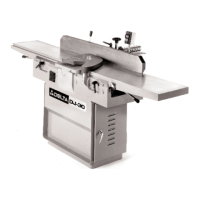
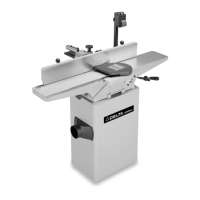
The electrical rating of the DJ-30 12 Jointer is either 230 V olt, single phase, or 200-230/460 Volt, three
phase.
Before connecting your machine to an electrical power system, be sure the electrical rating of the jointer
agrees with the rating of the power system.
W ARNING: BEFORE ATTEMPTING TO SUPPLY POWERTO YOUR MACHINE, MAKE C E RTAIN THE
SUPPLY LINE IS N O T ENERGIZED. ALSO, MAKE C E RTAIN THE RECEPTACLE IN QUESTION IS
PROPERLY GROUNDED. IF Y O U ARE NOT SURE, HAV E A C E RTIFIED ELECTRICIAN CHECK THE
RECEPTACLE.
SINGLE PHASE INSTALLATION
If your machine is supplied with single phase electricals, proceed as follows when connecting your
machine to an electrical power system:
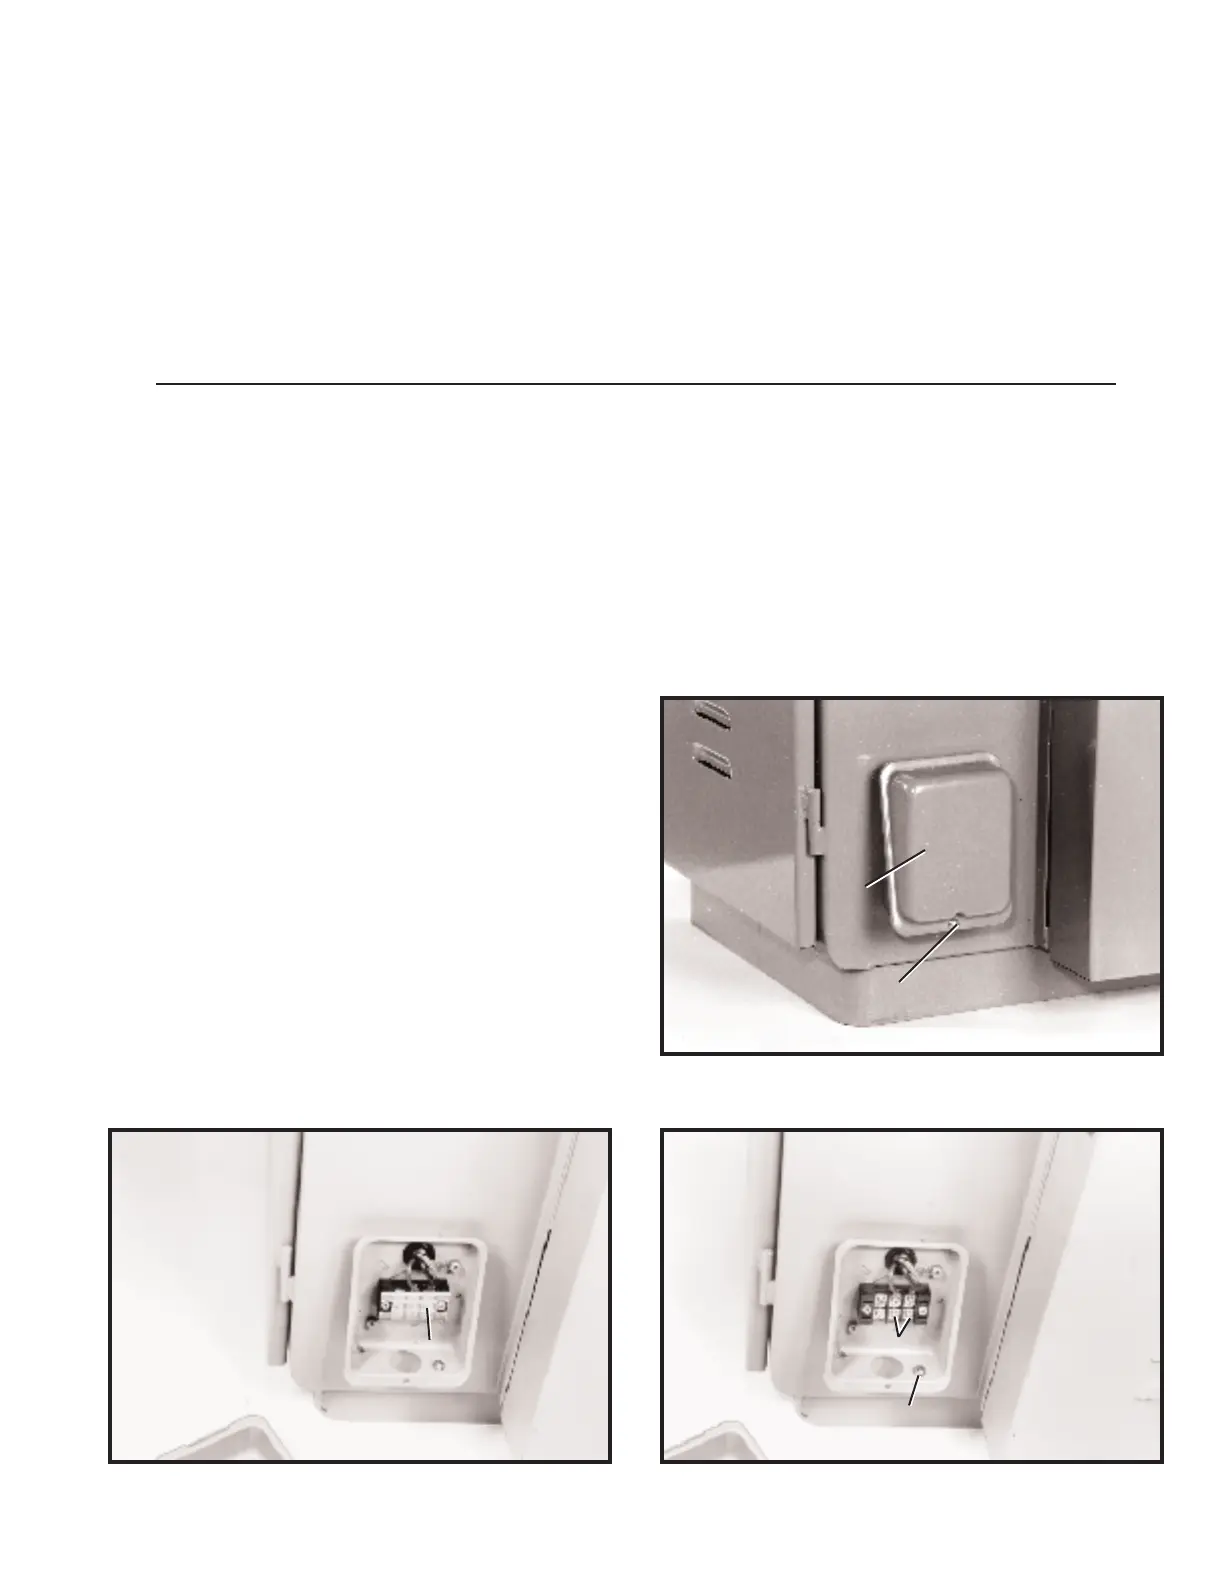
Fig. 12
A
B
Fig. 13 Fig. 14
1. Remove screw (A) Fig. 12, and terminal strip cover (B).
2. Remove plastic covering (C) Fig. 13, that snap s into
terminal strip.
3. Bring power line through access hole in bottom of
terminal strip box and connect the two power lines to
terminals (D) Fig. 14, and the green ground wire to ground
screw (E).
4. Replace plastic covering (C) Fig. 13, and terminal
strip cover removed in STEP 1.
C
E
D
IMPORTANT:The jointer cutterhead is a high inertia load which causes the motor to draw a high inrush
current during st arting. The jointer must be connected to an electrical circuit protected by a properly
sized fuse or circuit breaker to handle this high inrush of current. W e recommend either a 30 Amp time
lag fuse, or a 40 Amp motor start circuit breaker .
 Loading...