11
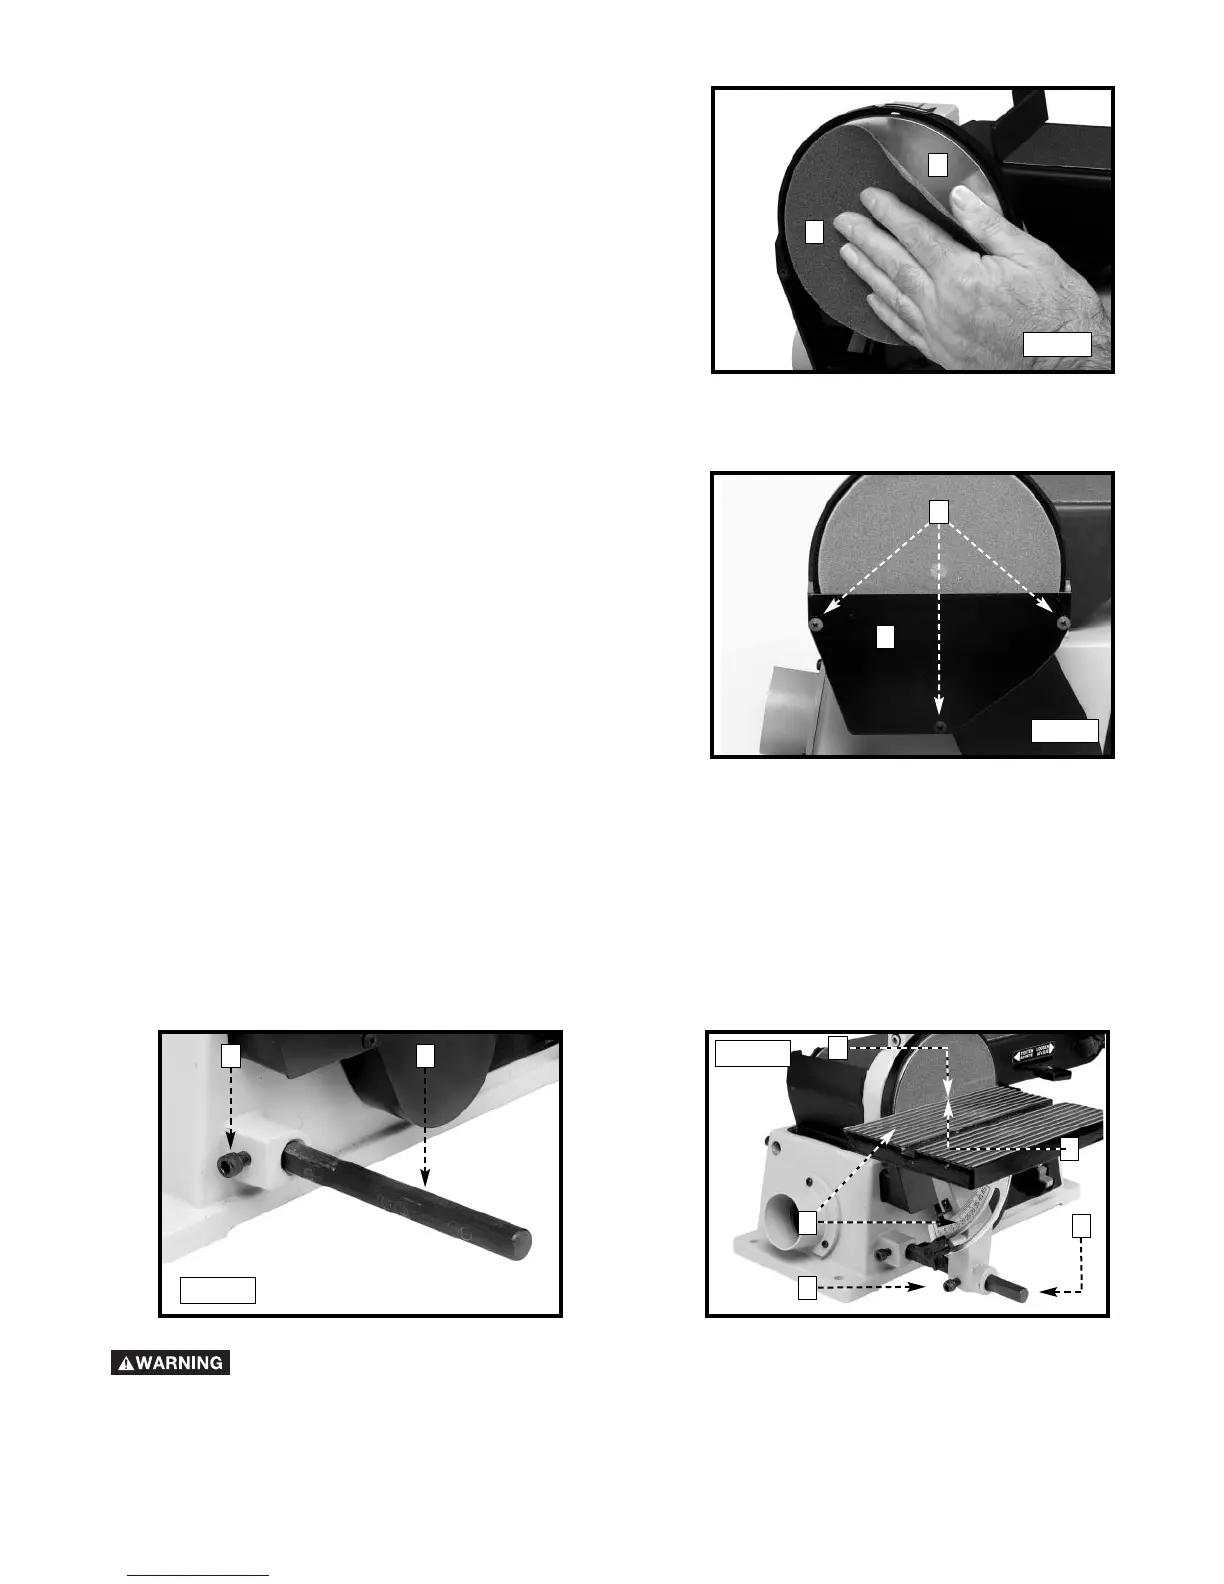
1. Clean the sanding disc plate (A) Fig. 8.
2. Peel the backing from sanding disc and press the
disc (B) firmly into position all the way around the
sanding plate (Fig. 8).
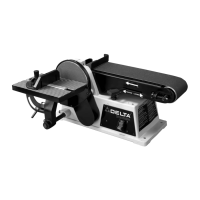
Install the lower cover (A) Fig. 9 on the belt and pulley
guard, using the three M4 x .7 x 12mm sheet metal
screws (B).
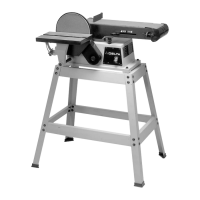
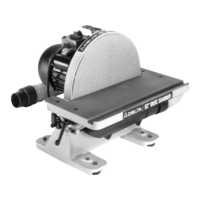
1. Thread an M8 x 1.25 x 20mm hex socket head screw (A) Fig. 10 partially into the hole in the base of the sander.
Insert the rod (B) into the hole. Align the flat of the rod (B) with the screw (A). Tighten the screw (A).
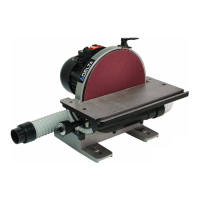
2. Slide the table assembly (C) Fig. 11 on the rod (B).
3. Thread an M8 x 1.25 x 20mm hex socket head screw (D) Fig. 11 into the hole in the table support bracket. Align
the flat on the rod (B) with the screw (A). Tighten the screw (A).
To avoid trapping the work or fingers between the table and the sanding disc, the table edge (E)
Fig. 11 should be positioned a maximum of 1/16" away from the sanding disc (F). Loosen the
screw (D) and adjust the table accordingly.
ATTACHING THE SANDING DISC
B
A
Fig. 8
ATTACHING THE LOWER COVER FOR THE SANDING DISC
B
A
INSTALLING THE DISC SANDER TABLE
Fig. 9
Fig. 10
Fig. 11
A
B
A
B
C
F
E