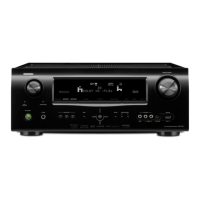
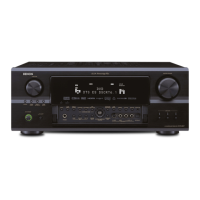
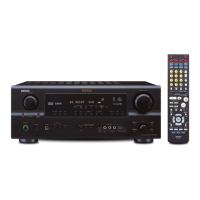
ENGLISH
ENGLISH
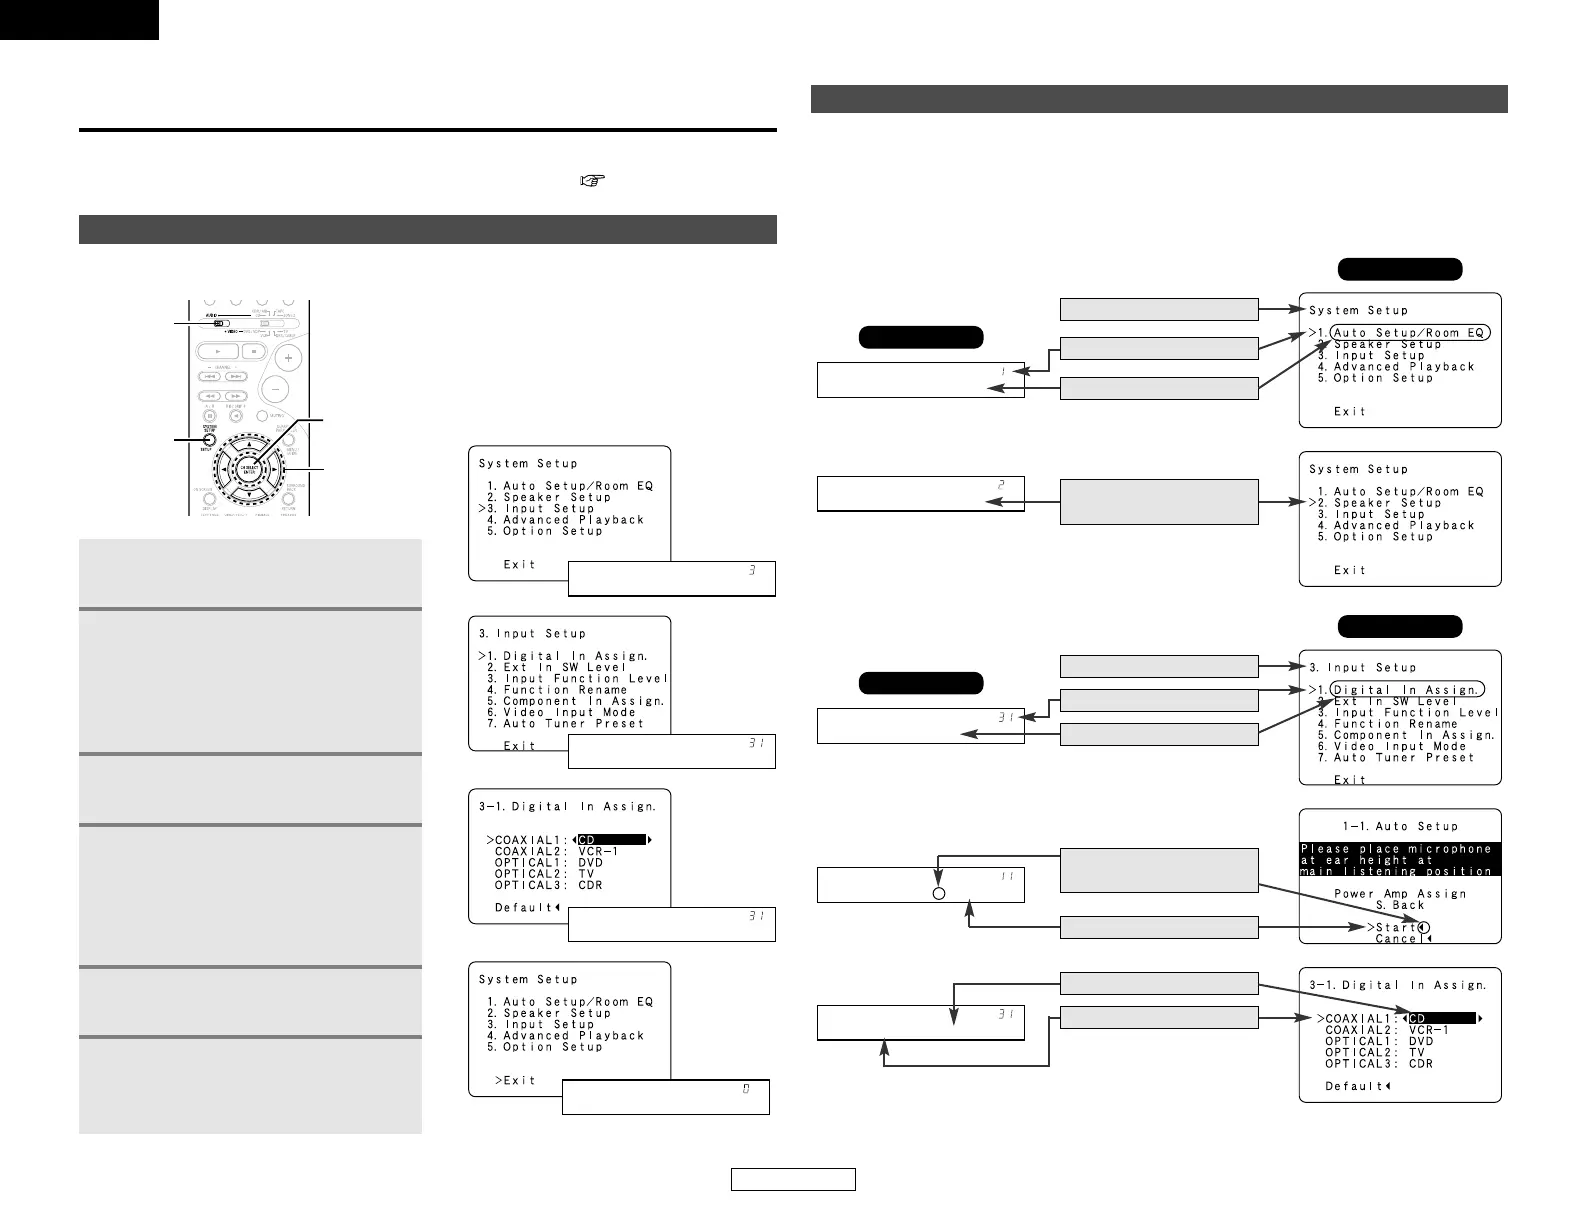
Advanced Setup – Part 1
41
Use System Setup to customize a variety of settings to suit your listening environment.
For the contents of a system menu and the initial setting of this unit ( page 54, 55).
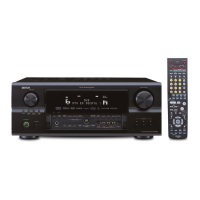
You can change the settings using the buttons on the remote control unit.
[ On screen display ]
[ Display ]
2
3
4
6
Navigating through the System Setup Menu
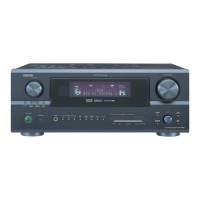
The AVR-2106 is equipped with an intuitive and easy-to-understand on screen display, and is
equipped with an alphanumeric front panel display that can also be used to check and adjust
settings. We recommend that you use the on screen display when you make system adjustments.
Some representative front display and on screen display examples are shown below.
On screen display and front display
Advanced Setup – Part 1
[ On screen display ]
Top menu
Main menu
[ Front display ]
Top menu
Screen title
No.
Sub-menu title
To select a menu, press the
CURSOR
DD
or
HH
button.
Main menu
Screen title
No.
Sub-menu title
Press the CURSOR
FF
button
to execute.
Currently selected line
Current setting
Currently selected line
1
Set the MODE 1 switch to “AUDIO”.
2
Press the SETUP button to display
the “System Setup” menu.
Press the CURSOR
DD
or
HH
button
to select the menu, then press the
ENTER button.
3
Press the ENTER button to enter
the selected menu.
4
To change a setting, first select it
pressing the CURSOR
DD
or
HH
button, and then change the
setting pressing the CURSOR
FF
or
GG
button.
5
Press the ENTER button to confirm
the new settings.
6
Press the SETUP button to return
to the “System Setup” menu and
again to return to the main screen.
 Loading...