5
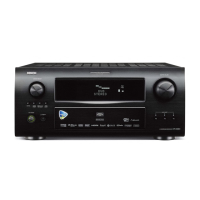
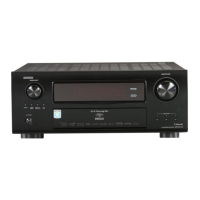
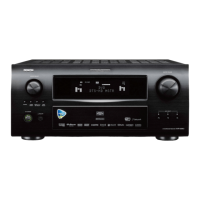
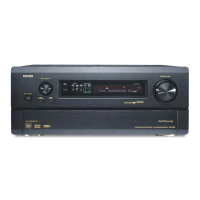
AVR-4802/AVC-A11SR
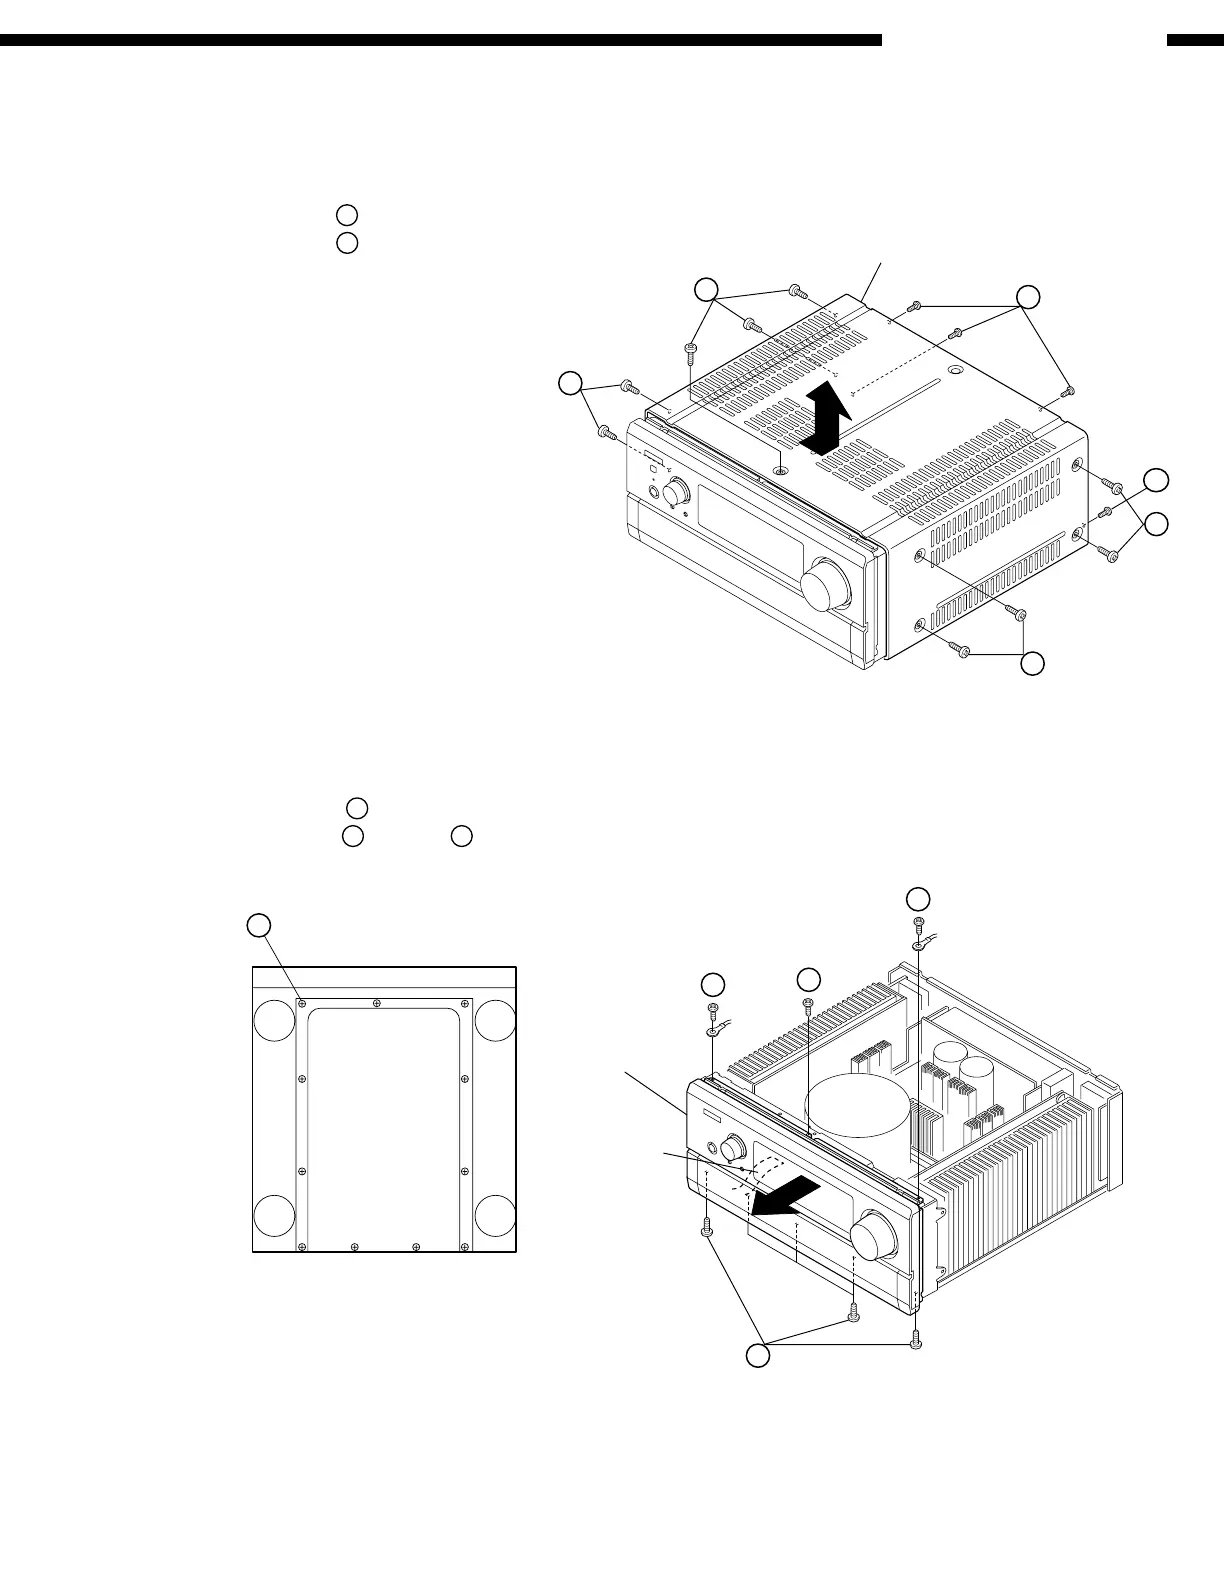
DISASSEMBLY
(Follow the procedure below in reverse order when reassembling)
Top Cover
(1) Remove 9 screws
1
on both sides and on the top.
(2) Remove 4 screws
2
on the rear and detach the Top
Cover by sliding to the arrow direction.
Front Panel
(1) Remove 11 screws
3
and detach the Bottom Cover.
(2) Remove the screw
4
, 7 screws
5
.
(3) Disconnect FFC wire from its connector, and detach
the Front Panel in the arrow direction.
Top Cover
2
1
1
Front Panel
1
1
2
3
4
5
5
5
FFC Wire
 Loading...