23
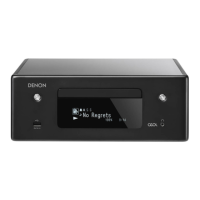
RCD-CX1
(4) トレイを引き出せる状態になります。
(5) トレイ後方のネジ 2 本をはずします。
(6) ローダーパネルを取り付けているネジ 2 本をはずし、
ローダーパネルを矢印の方向にとりはずします。
(7) トレイを矢印の方向に取りはずします。
※ トレイの表面を開口部で傷を付けないよう注意して
ください。
(8) BELTTHIRD のグリス付着を確認し、グリスの付着が
あった場合は、アルコールでふき取ってください。
(9) 半田付けショートを行います。
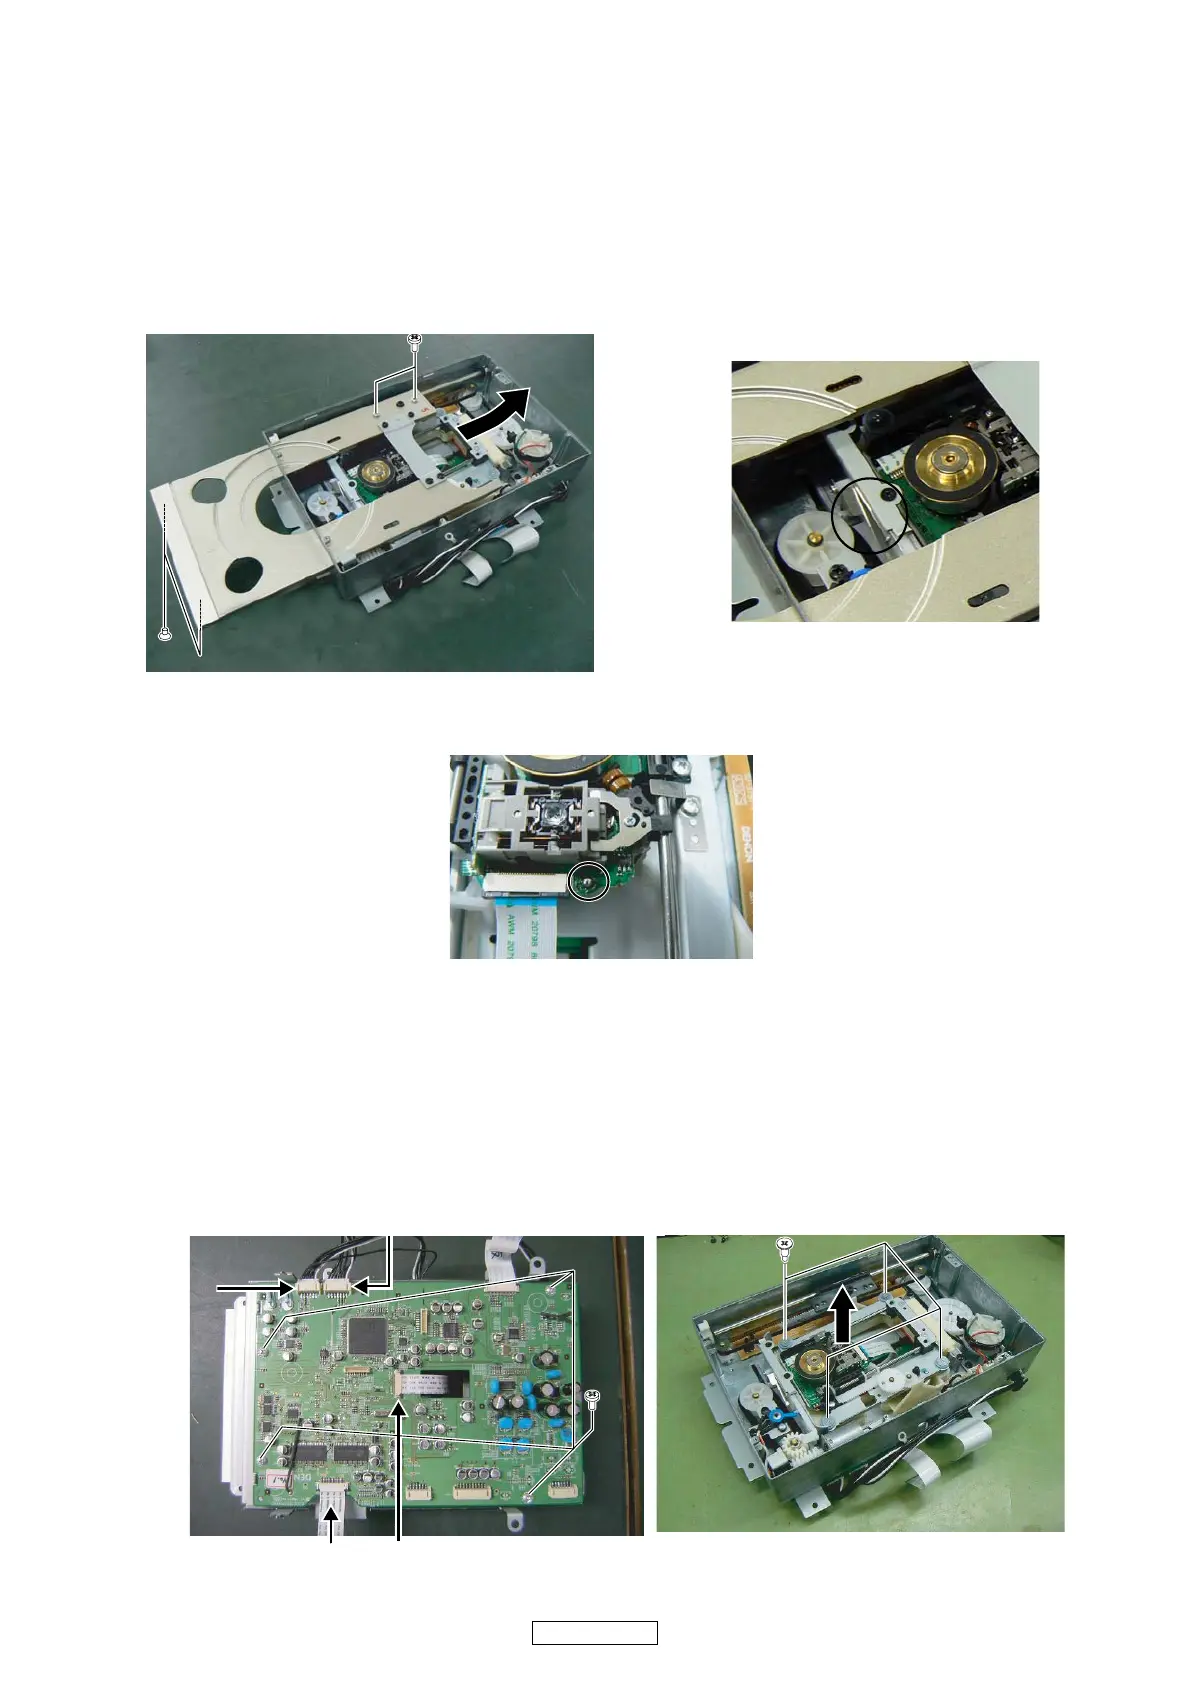
3. トラバースユニットのはずしかた
(1) SACDMODULE基板に接続している 15PFFC、24PFFC、
6PPH、7PPH ケーブルをはずします。
(2) SACDMODULE基板を固定しているネジ 4 本をはず
し、基板をはずします。
(3) ダンパーを固定しているネジ 4 本はずします。
(4) トラバースユニットを矢印方向にとりはずします。
(4) The Tray can now be pulled out.
(5) Remove 2 screws of the tray rear.
(6) Remove 2 screws, then detach loader panel.
(7) Remove Tray in the arrow direction.
※ Tray is the parts to which a scratch tends to be
attached. Be fully careful in the case of work.
(8) Check there is grease on the BELT THIRD. If there is
grease on the BELT THIRD, wipe it off with alcohol.
(9) Solder the short-circuit.
3. Traverse Unit disassembly
(1) Remove 15P FFC, 24P FFC, 6P PH and 7P PH WIRE
connecting with from the SACD MODULE P.W.B.
(2) Remove 4 screws then detach SACD MODULE P.W.B.
(3) Remove 4 screws fixing DAMPER.
(4) Remove Traverse Unit in the arrow direction.
6P PH
15P FFC
24P FFC
7P PH
s
s
s
s
s
 Loading...