aXcs
®
Wall/Cabinet Unit
16 Installation, Operation and Care Manual
NOTE: Before testing the delivery system, make sure
the shipping tie wrap is removed from the adjustable
arm pivot area at the delivery head.
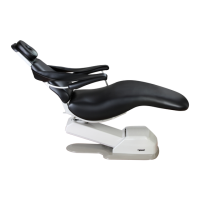
Adjustable Arm
To check the maneuverability of the adjustable arm,
do the following:
1. Depress and hold the air brake button.
2. Slightly lift the adjustable arm, then lower it
into the desired position.
3. Release the air brake button.
4. To raise the unit, lift up to the desired position.
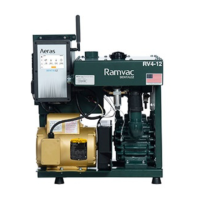
Utility Service Center
1. Turn on all services supplying the USC.
2. Open the air and water manual stop valves by
turning the knobs counterclockwise.
3. Inspect all joints and connections for leaks.
4. Plug the power cord from the USC into an
electrical outlet.
Section IV Testing
Delivery System
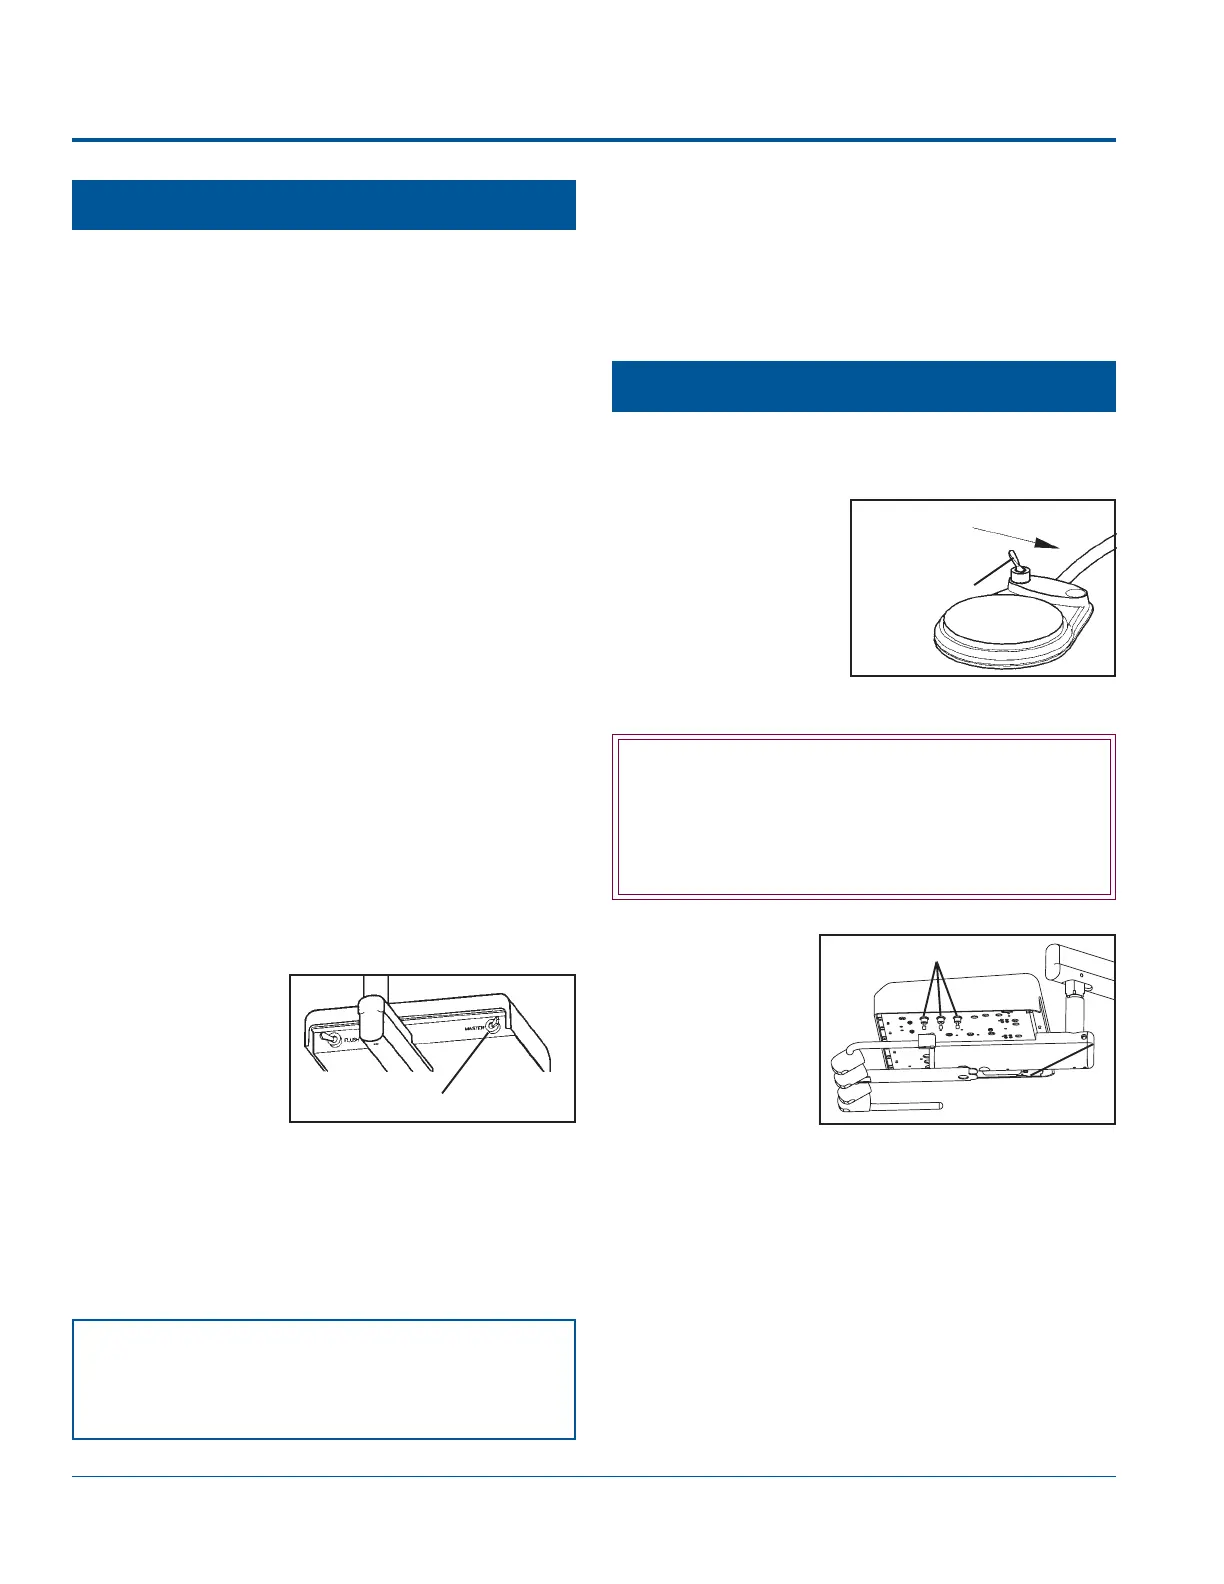
Master ON/OFF Switch
— NOTICE —
The air regulator is factory preset to deliver 80 PSI.
The water regulator is preset to deliver 40 PSI.
WET/DRY
Toggle Valve
Wet
— CAUTION —
Before connecting handpieces, all air must
be purged from the coolant water lines to
allow the system to function properly.
Water Coolant Valves
5. Turn the
master switch
ON.
6. Inspect for
leaks in the
1. Pull the locking knob.
2. Turn the adjustment knob on each regulator
until the correct pressure reading is reached.
3. When finished, push the locking knob down.
Coolant Water Lines
service console and delivery head.
Air and Water Filter/Regulators
If the regulators are not set at 80 PSI for air and 40
PSI for water, do the following adjustment process:
a. Open the
water
coolant
valves to
their full,
open
position.
Foot Control & Handpieces
1. At the foot
control, flip the
toggle valve to
WET.
2. Purge air from
the coolant
water lines on each handpiece as follows:
b. Remove the handpiece tubing from holder.
c. While facing the deliver head, start with
the handpiece tubing on the far left; then
fully depress the foot control to allow
water to flow into a sink or other container.
d. As the water is flowing, continue the
purging operation of the remaining
tubings (moving from the left tubing to the
right tubing).
 Loading...