aXcs
®
Wall/Cabinet Unit
6 Installation, Operation and Care Manual
Section II Pre-installation
Plumbing Contractor's Procedure
NOTE: For reference, a color-coded tubing diagram is
located at the end of this manual.
1. Find and open the USC bag of supplies.
Utility Service Center
1. Remove and unfold the full-size aXcs USC
template found in the back of this manual.
2. Position the USC template according to the
exact layout indicated, making certain a
maximum distance of six feet from the USC
base to the arm mount is maintained.
3. Using the USC template, drill four corner
mounting holes for the USC base (floor
plate). But do not secure the base plate to the
floor or wall at this time.
NOTE: For wood or metal floors, drill 5/32"
holes. For concrete, drill 1/4" holes and install
plastic anchors.
— NOTICE —
Set the USC cover aside until all
installation and testing is complete.
— WARNING —
Before proceeding with plumbing and elec-
trical installation, comply with and maintain
all applicable utility codes and regulations.
To ensure compliance with local building
codes, utilities should be installed by licensed
plumbers and electricians only.
— IMPORTANT NOTE —
DO NOT DISCARD the USC template
after use. Neatly refold it and replace it in
the back of this manual
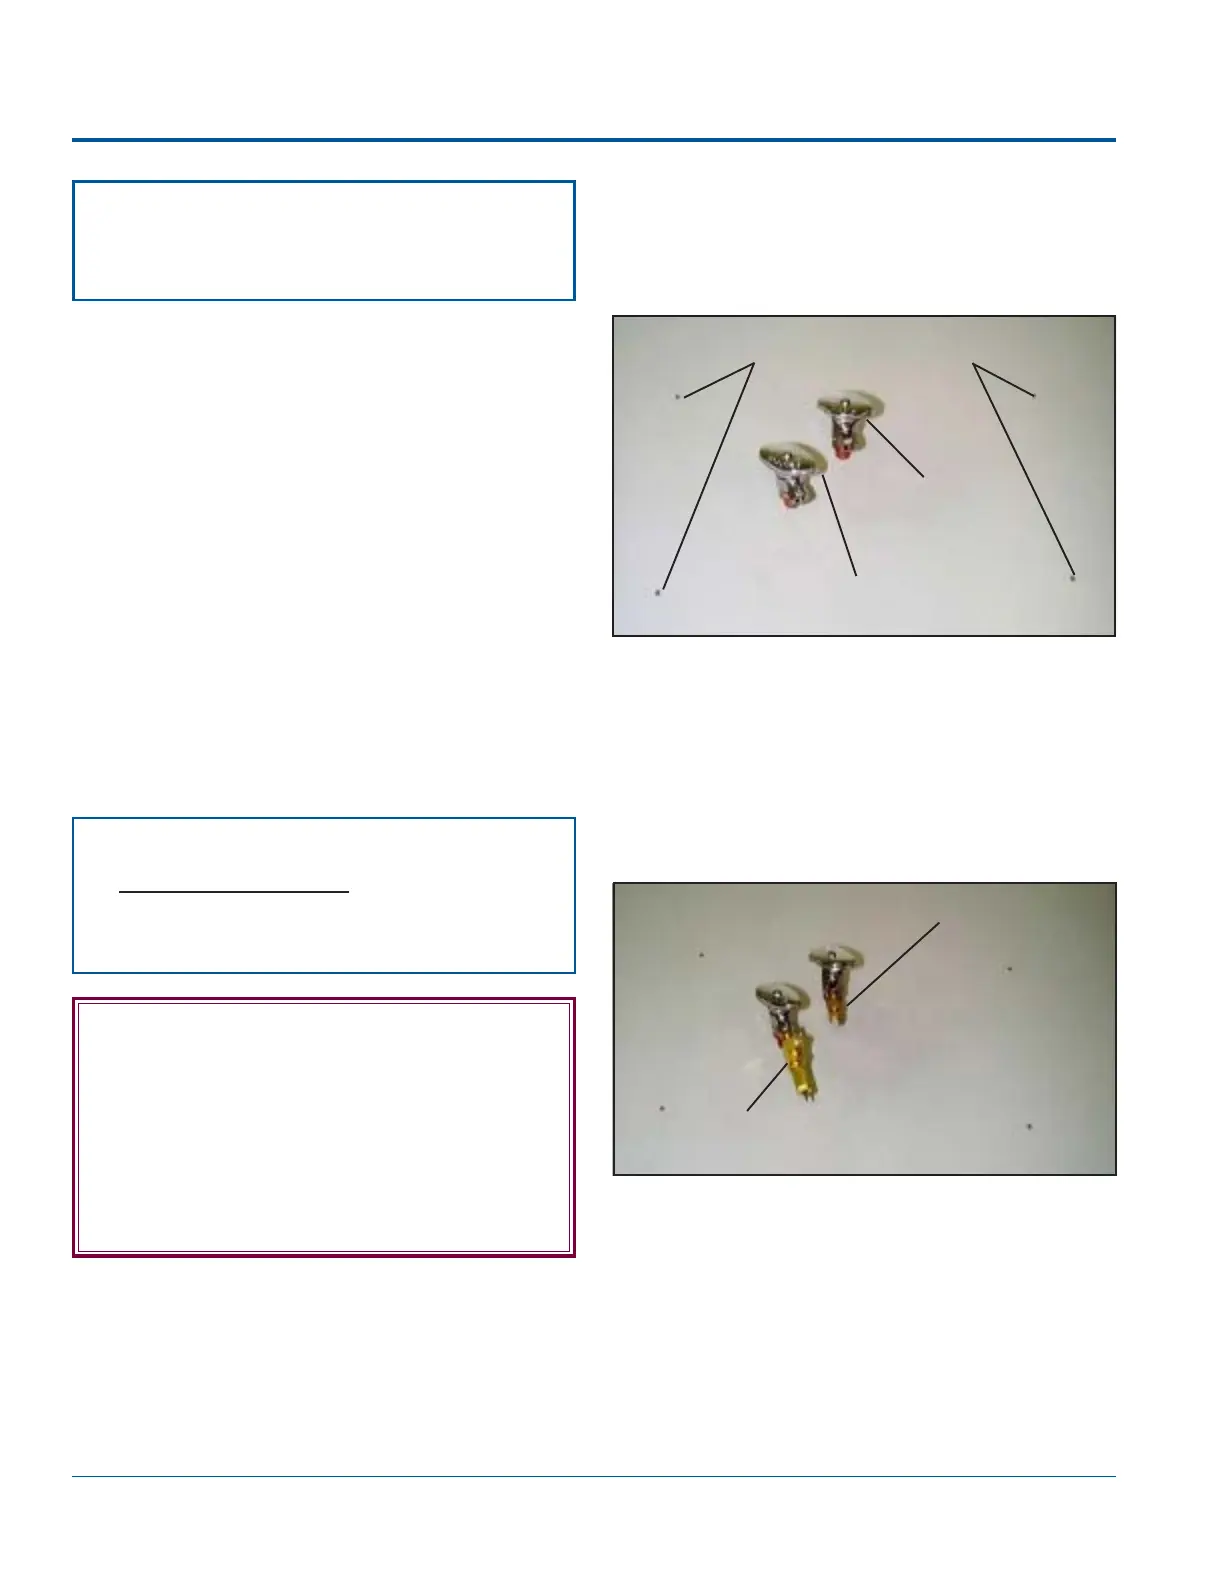
USC Base Mounting Holes
Air Stop
Valve
Water Stop
Valve
2. Using the full-size USC template found in the
back of this manual, orient the air stop valve
and water stop valve (as shown in the picture
below) and stub through the floor/wall.
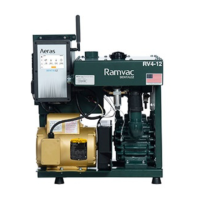
3. Sweat the air and water valve adaptors to the
air and water stubs.
4. Apply the appropriate thread sealant to the
valve adaptors and install the stop valves.
5. Flush the air and water lines to remove trash
and debris from the lines.
Air Valve
Adaptor
Water Valve
Adaptor
6. Connect the water actuator valve assembly to
the water stop valve as shown in the photo
above. Using a 5/8" open-end wrench,
tighten the nut securely.
7. Connect the air fitting assembly to the air
stop valve as shown in the photo above.
Using a 5/8" open-end wrench, tighten the
nut securely.