LT-1859
7
SERVICE INSTRUCTIONS
D. Cannula Fitting Removal/Replacement
First remove the front and back covers.
NOTE-When removing or installing the cannula tting,
orient the manifold so the tting faces down to prevent
any debris from falling into the manifold which could
obstruct the continuous ow orice.
Use a 5/16" open end wrench and remove the cannula
tting by turning it counter-clockwise (Figure 12).
Replace with a new cannula tting and torque to 10
inch-lbs.
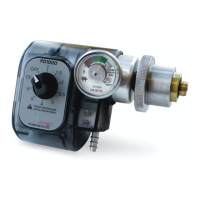
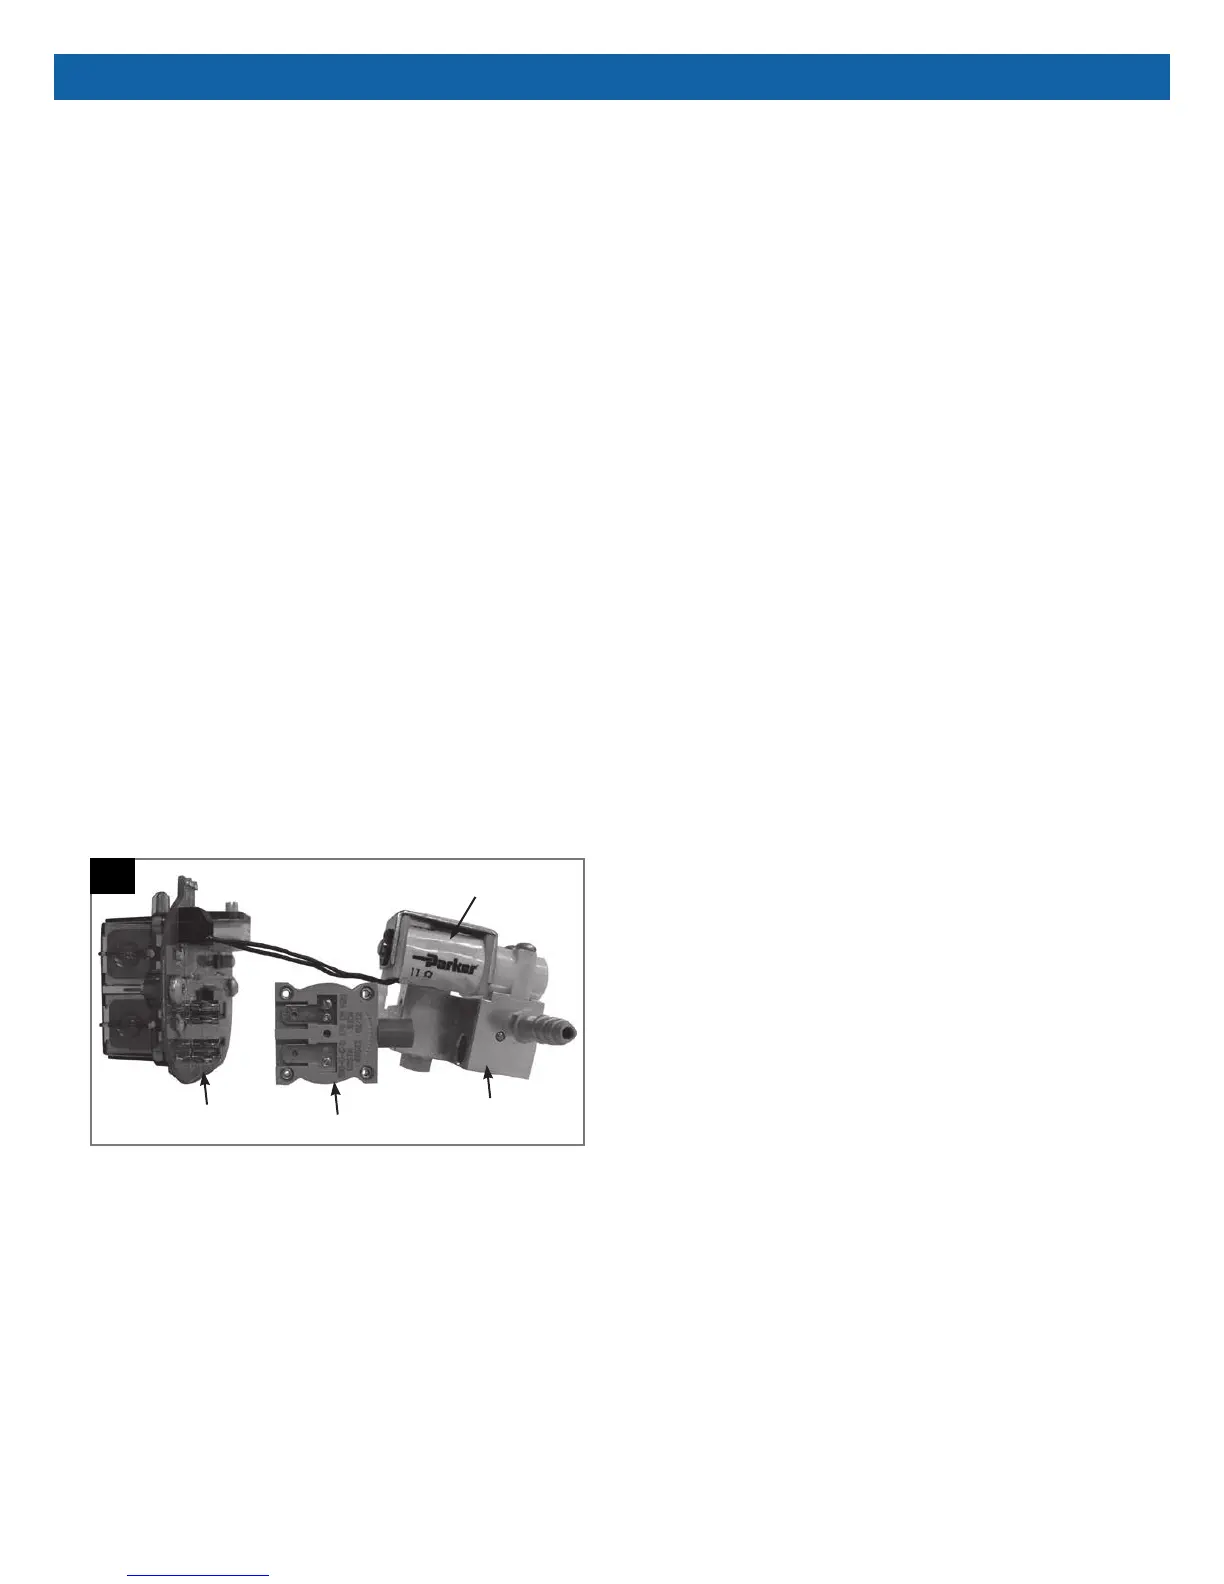
E. Solenoid/Vacuum Switch Testing and
Removal
Connect a piece of tubing to the cannula tting so that
a negative pressure can be created. Using a digital
voltmeter, check the resistance across the vacuum
switch as a negative pressure is created (Figure 7). If
the resistance doesn't go to "0" when a breath is
drawn, replace the vacuum switch.
If it goes to "0" but the solenoid doesn't open, check
the solenoid voltage (3VDC) (Figure 8). If there is no
voltage, change the PC Board. If there is voltage,
replace the solenoid (Figure 14).
To replace the vacuum switch, pull it apart from the
manifold/solenoid and the PC Board terminals (Figure
14). The vacuum switch can then be replaced by
pushing the manifold, vacuum switch, and PC Board
together. No tools are required.
14
Manifold
Vacuum Switch
PC Board
Solenoid