GRYPHON
®
- S3 MANUAL
© 2006
34
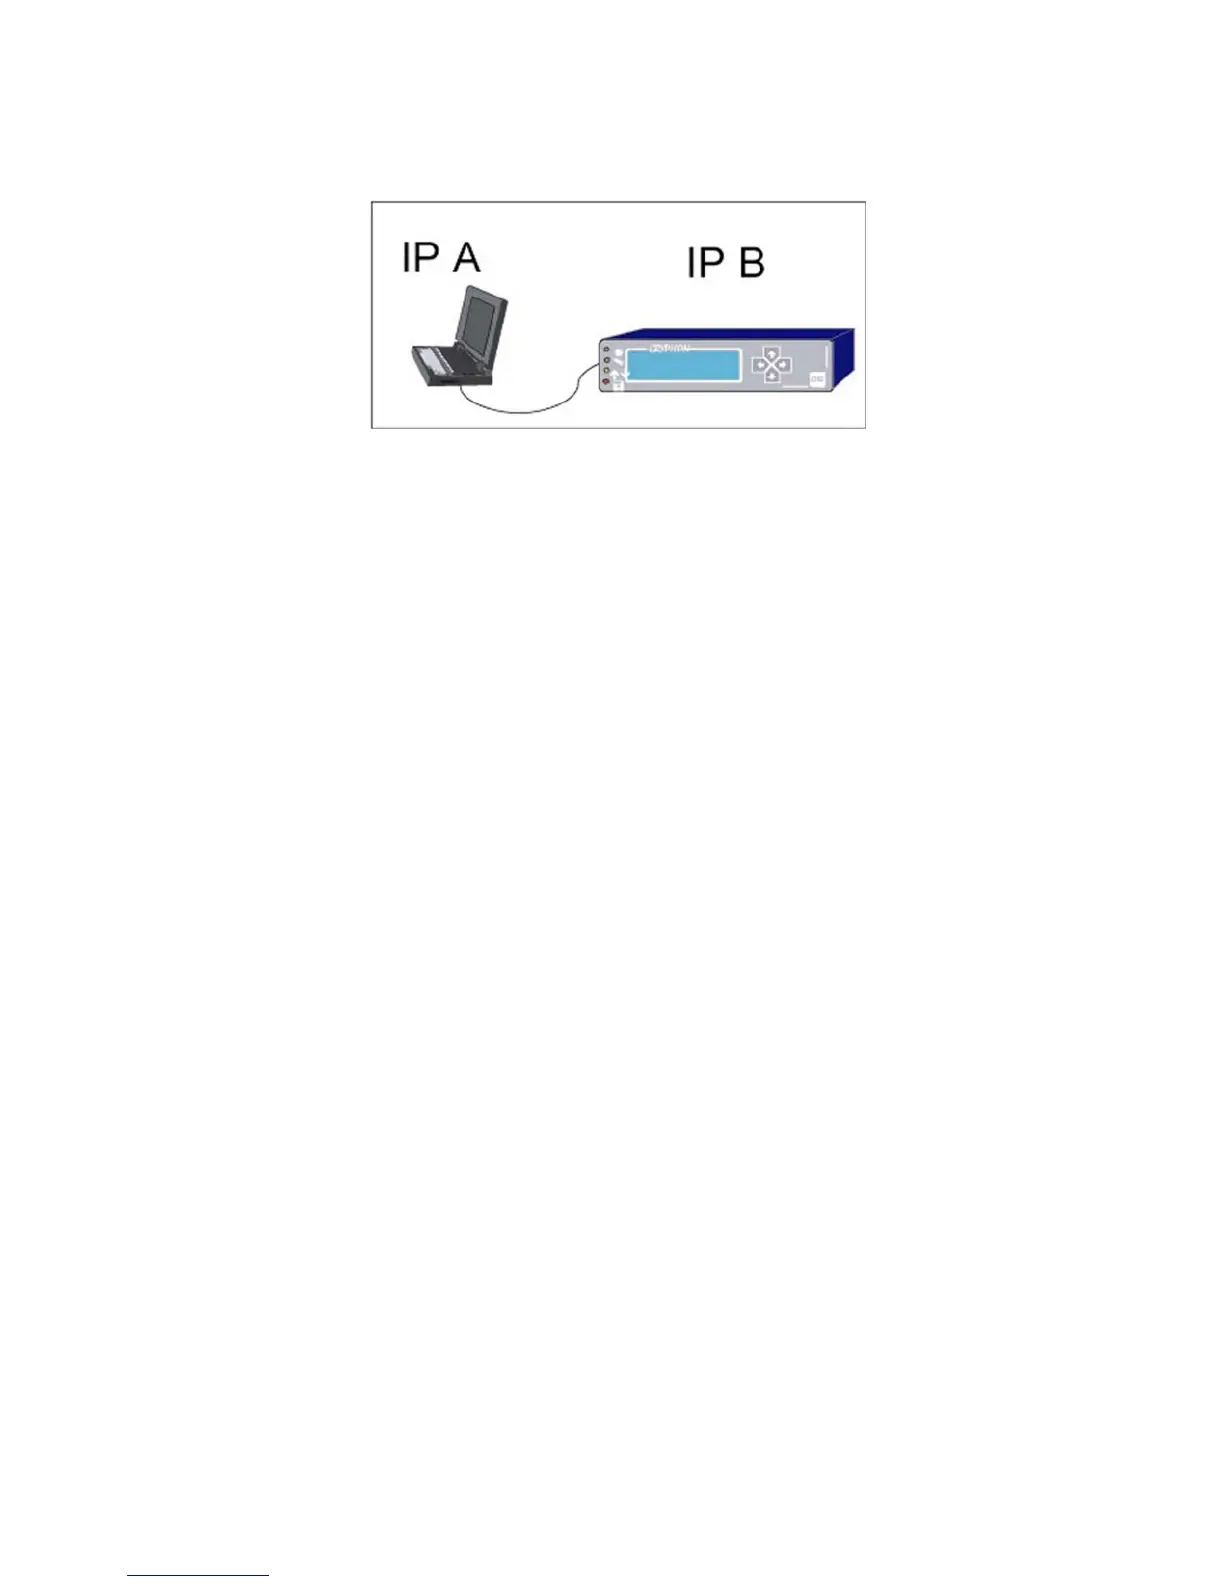
A.2 Configure the PC Network Settings
You need to know what settings your PC is using before deciding what Configuration mode to use.
To do this in Windows Operating Systems, follow these instructions:
Setting the DHCP Mode of the PC using Windows 98 or ME
1. Choose Settings>Control Panel from the Start Menu.
2. Double-click the Network icon. This displays the “Network” dialog.
3. Click the Configuration tab.
4. In the list of installed network components, select the TCP/IP entry for the computer’s
Ethernet adapter or NIC.
5. Click Properties. This displays the “TCP/IP Properties” dialog.
6. Click the IP Address tab.
7. What is listed here will tell you how your PC is configured. You can select the applicable
DHCP Mode (either DHCP Client or Static IP) by using either of the following methods.
a. For DHCP Client mode – Select Obtain IP address automatically (DHCP Server
Mode).
b. For STATIC ID mode – Consult with your system administrator for assistance.
8. Keep clicking OK until all network setup windows are closed.
9. Confirm that all cables are securely connected to the Gryphon and the PC.
10. Cycle power (off/on) to the Gryphon to implement any configuration changes.