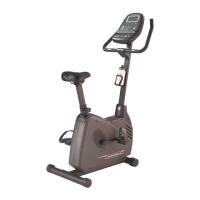
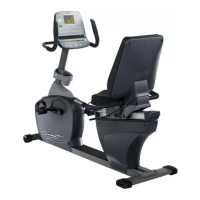
14
Repair Procedures
Procedure 1
Checking the wall socket for power
Check whether there is a wall switch controlling this wall socket.1.
Set the voltmeter to the appropriate setting for your country. (U.S. = AC/200 volt setting)2.
Place the test leads into the hot and neutral receptacles on the outlet.3.
Your meter should display the appropriate output for your region. (U.S. = 110-120 volts)4.
Procedure 2
Checking the AC adapter for correct output
Plug the AC adapter into functioning outlet.1.
Check the output with your voltmeter by setting it to the DC/20 volt setting.2.
Place the test lead inside the male plug end of the adapter and the second lead on the outer metal 3.
surface of the plug.
The voltmeter should read between 10 and 20 DC volts. 14.
Procedure 3
Checking the input jack for power
Remove the left sidecases from the unit (Procedure 15).1.
Leave the AC adaptor plugged in to wall & input jack.2.
Set the voltmeter to the DCV/20 Volt setting.3.
Locate the two wires from the main wire harness which connect with the back of the input jack. 4.
Touch the two test leads to these connection points, being sure to make contact with metal.
The voltmeter should read between 10 and 20 DC Volts.5.
Procedure 4
Checking wiring harness
Remove the sidecases from the unit (Procedure 15).1.
Inspect all the connecting points and that the pins are correctly inserted into the plugs.2.
Visually inspect each wiring harness for cuts, burns or melted spots.3.
Check that the harness that runs to the console is not pinched. 4.
Note: During installation of the console mast the wiring harness may get pinched or cut.5.
With the unit plugged in, check the voltage at the harness/console connector, P1 (referring to wiring 6.
diagram). Set the voltmeter to a 20VDC setting.
Procedure 5
Replacing the console
Remove the 4 Phillips screws from the console back panel on the back of the console.1.
Unplug the connectors from the back of the console.2.
Remove the 4 Phillips screws from the back of the console 3.
Reverse the process for installation. 4.
Procedure 6
Checking/replacing the RPM sensor
Checking the RPM sensor 1.
Remove the sidecases from the unit (Procedure 15).a.
Verify that the drive pulley magnet is still in its slot on the interior face of the pulley.b.