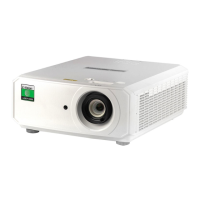
1
POWER
Switches the projector on and off (STANDBY).
2
INPUT
Switches to the next input source.
3
AUTO SYNC
Re-synchronises with the current input signal.
4
ASPECT
Changes the aspect ratio.
5
CENTER LENS
Centers the lens.
6
PIC MUTE
Switches the laser off/on.
7
MENU
Displays and exits the OSD.
8
Arrow buttons & ENTER
Navigation buttons used to highlight menu entries in the OSD.
Press ENTER to open or execute the highlighted menu entry.
9
EXIT
Exits the current OSD page and enters the level above.
10
LENS SHIFT arrow buttons
Each of these buttons moves the lens in the specied direction.
11
FOCUS plus and minus buttons
Used to move the focus in and out.
12
ZOOM plus and minus buttons
Used to zoom in and out.
Projector indicators
TEMP. Off = no problem
Flashing red = temperature error
LIGHT Off = light is switched off
Flashing green = light is preparing to switch on
Flashing red (cycles of six ashes) = light module failure
On, red = light module has reached end of life
On, green = light is switched on
STATUS Off = no problem
Flashing red (continuously) = cover error
Flashing red (cycles of four ashes) = fan error
On, red = system error
POWER Off = the projector is switched off
Flashing green = the projector is warming up
Flashing amber = the projector is cooling down
On, red = STANDBY mode
On, green = the projector is switched on
POWERSTATU SLIGHTTEMP.

 Loading...


