14 www.dimplex.com
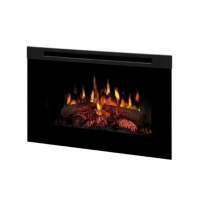
Fireplace Installation
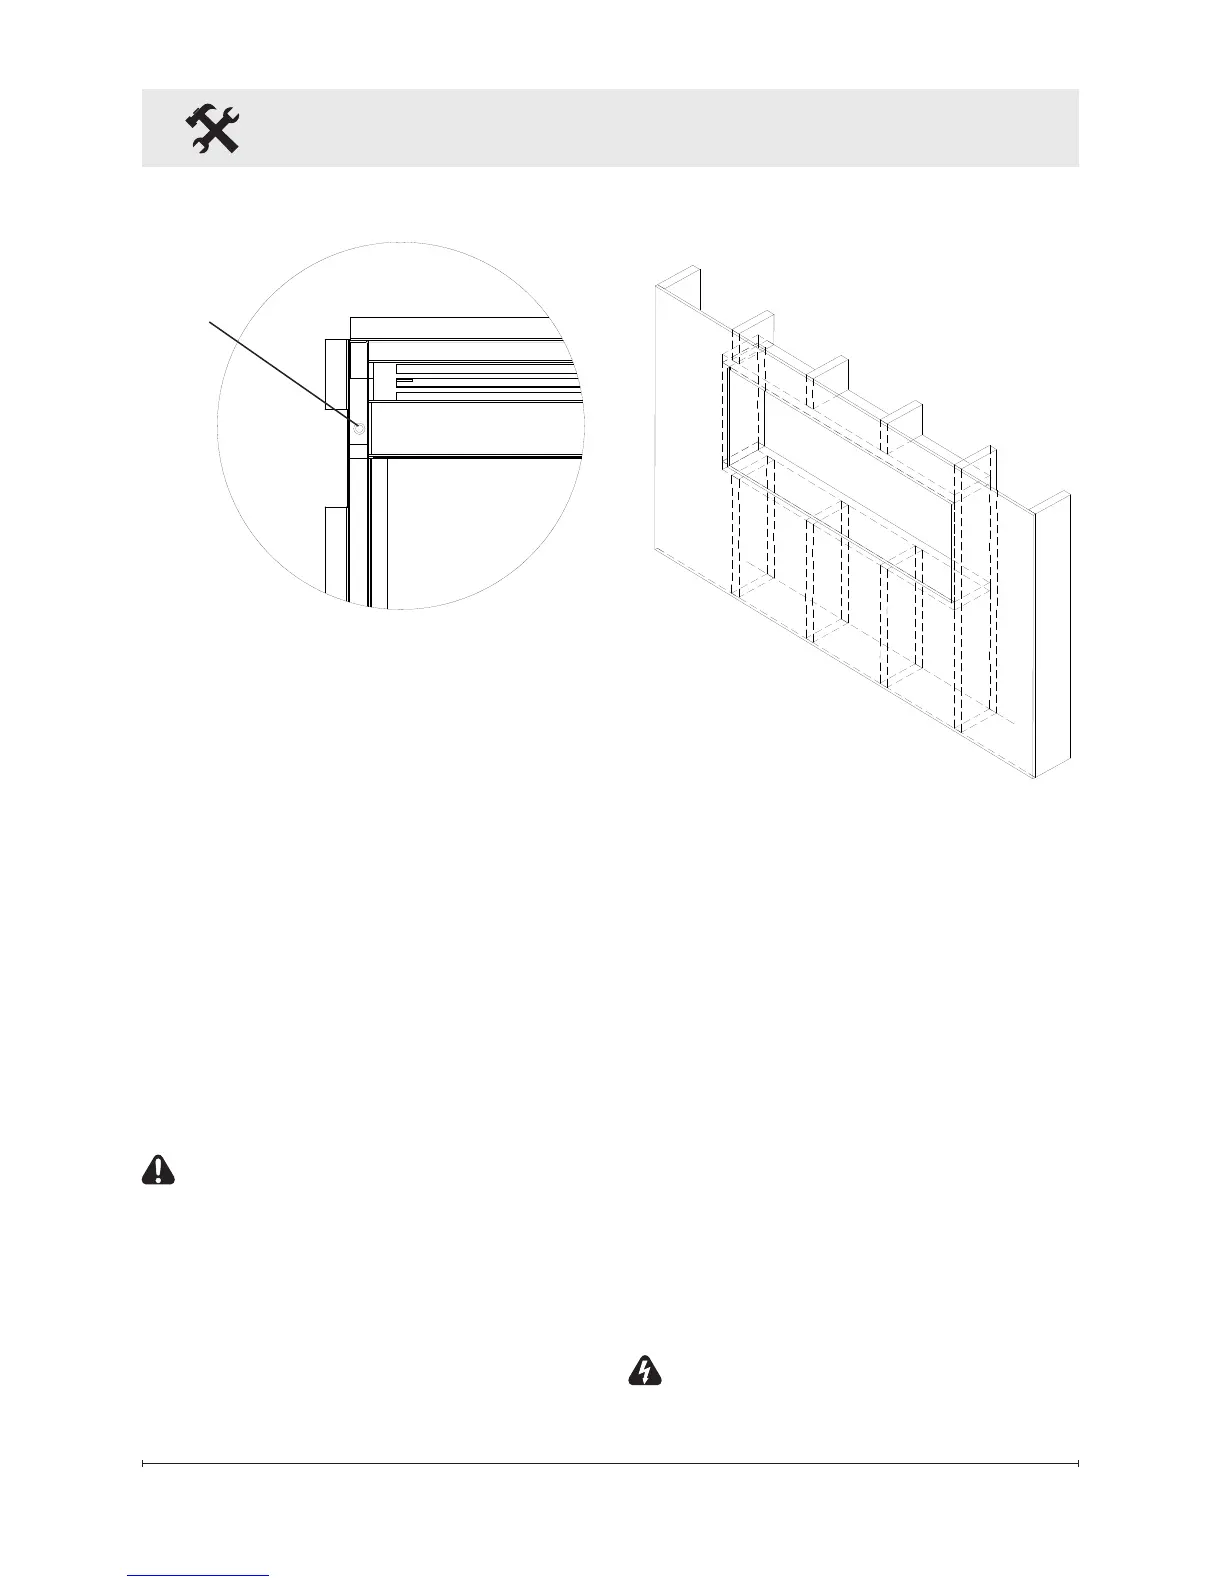
Figure 11
Mounting
hole
4. Use bubble level (supplied) to
level the replace within the
framing. Adjust as required.
5. Drive four supplied mount-
ing screws through the four
mounting holes located in
each corner of the replace
chassis, into wall studs (Figure
11).
6. Refer to Front Glass Installa-
tion section for nal installation
procedures.
Flush Mounted Installation -
2x8 Framing
CAUTION: Two people may
be required for various steps
of this procedure.
1. Prepare a wall with a framed
opening of 49 in. (124.5 cm)
wide x 18½ in. (47 cm) high
(Figure 12).
!
NOTE: The sizing has al-
lowed for 1/4” (6.4mm) around the
replace insert for ease of instal-
lation. This replace does not
require any additional venting.
2. Choose your method of sup-
plying power to the unit:
• Plug in (you may run the pow-
er cord out of the framed wall
opening to an existing outlet
or install an outlet on a nearby
wall stud within the wall).
• Hard wire the replace (rec-
ommended). Follow the hard
wiring instructions on page 8.
WARNING: Do not attempt
to wire your own new outlets or
Figure 12
2 x 8 Framing