10 www.dimplex.com
Installation
2. Remove the screws that secure the electrical cover
in the top right corner at the back of the rebox to
complete the wiring.
3. Complete the wiring according to instructions in the
Electrical Installation section (pages 12–13). Reinstall
the electrical cover after completing wiring.
4. Place the rebox into the framed opening. Level with
shims if necessary.
WARNING: The built-in electric rebox must NOT be
in direct contact with any building vapor barrier or
insulation.
CAUTION: The front of the rebox must not be
recessed as this will prevent adequate airow out of
the heater.
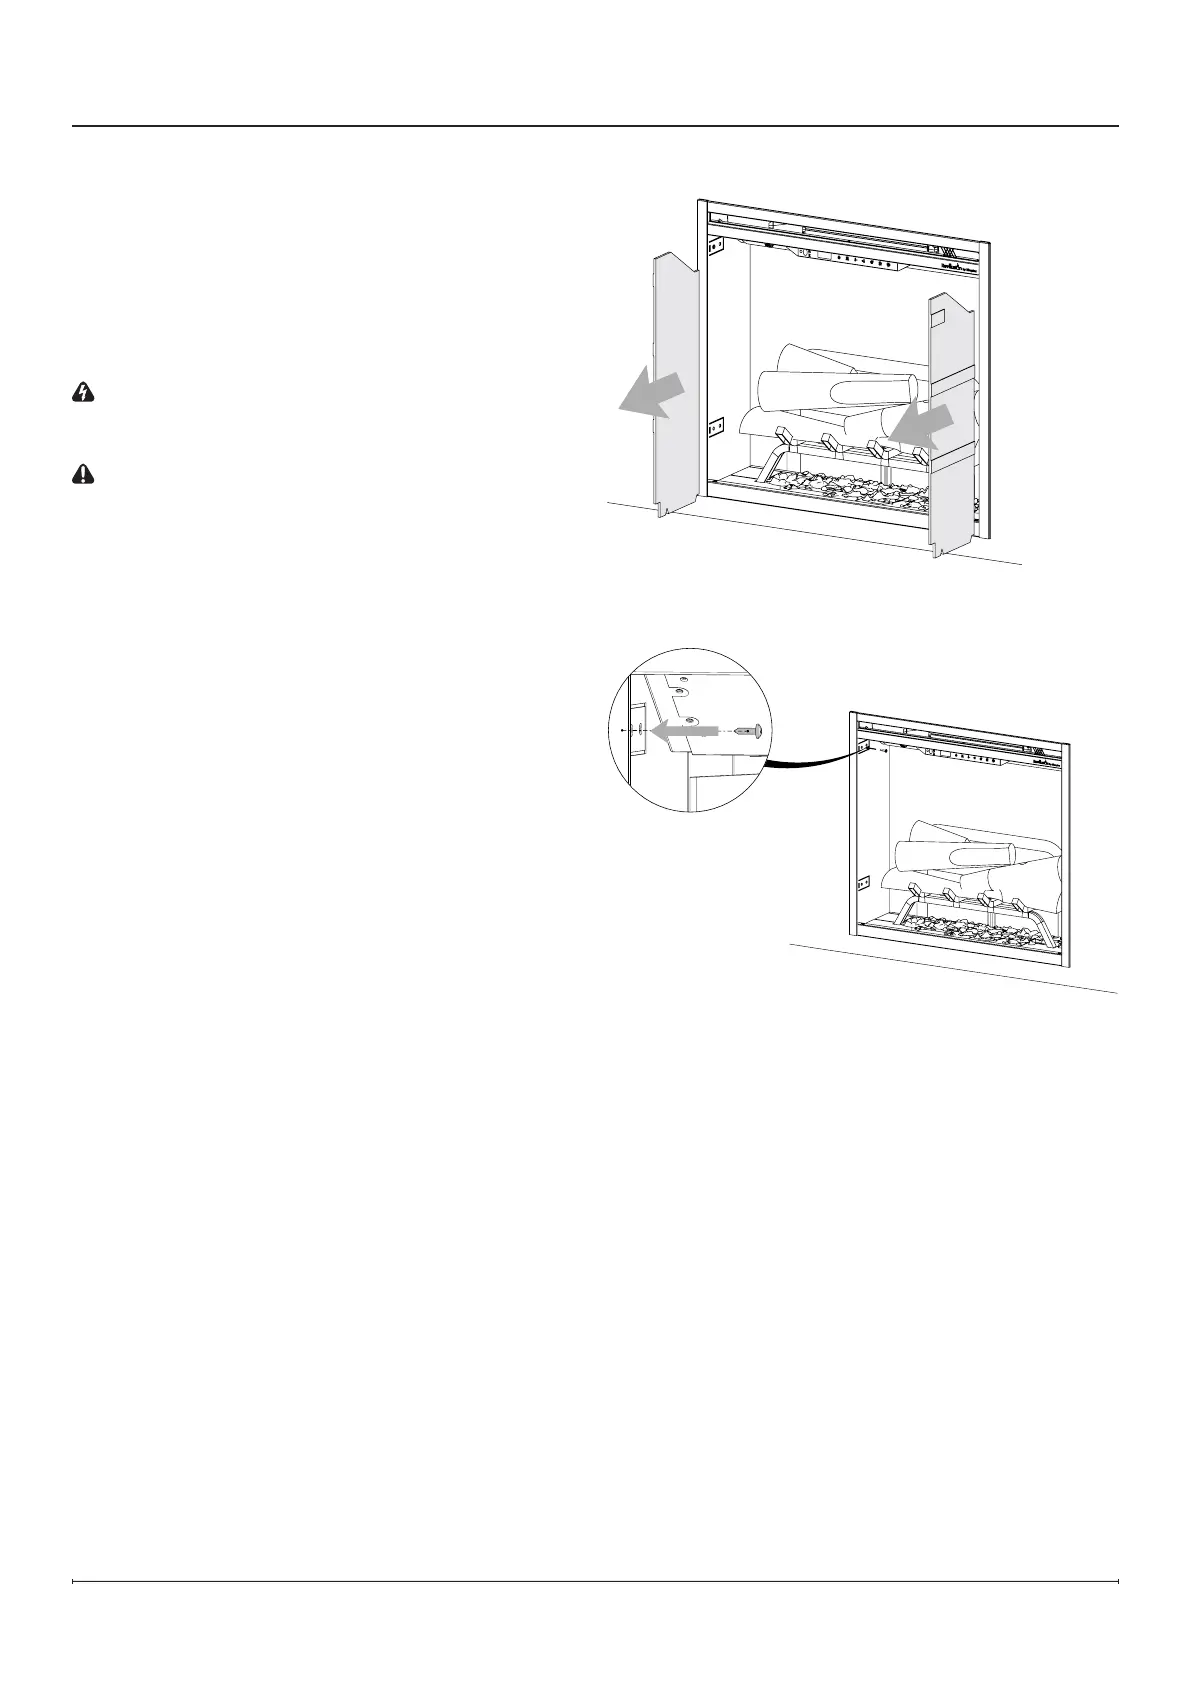
5. Remove inner decorative side panels from the
replace (attached magnetically) by tilting the top
inwards, then pull up and out. (Figure 4)
6. Secure the rebox to the frame using the four
bendable mounting anges on the sides of the
rebox and suitable hardware (not included).
(Figure 5)
7. Reinstall the inner decorative side panels by inserting
the bottom rst, then tilting upward to place.
8. Install the front glass. (Reference page 11)
Figure4
Figure5