Page 22
Chapter 2
Parts of the System
2. Connect a cable between the TV SET OUT on the back of the receiver and
the TV input. Peel off the white sticker and place it on the cable close to the
TV S
ET OUT connection.
Note: Connecting your television directly to the audio/video output of your
receiver assures a more vivid picture and enhances your viewing enjoyment.
3. Optionally, connect a cable between the TV S
ET OUT on the back of the
receiver and the input to the VCR. Connect another cable between the VCR
output and TV input. Peel off the white sticker and place it on the cable
close to the TV S
ET OUT connection.
4. Set the C
HANNEL 3-4 switch on the back of the receiver to the channel (3 or
4) that you use to watch TV.
5. Plug in and turn on your receiver and TV.
6. Tune the TV to the same channel you set in step 3. If you do not have a clear
picture, change the TV and C
HANNEL 3-4 switch settings to the other
channel (for example, if the TV and receiver are on channel 3, change both
to channel 4).
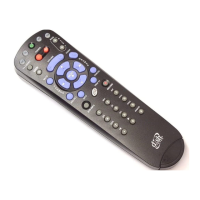
7. Program the remote to control the TV (and VCR) as described on page 11.
8. If the
Point Dish screen is not displayed on the TV, press MENU-6-1-1 on
the remote control.
9. Select
Check Switch. When an attention screen displays, select Test.
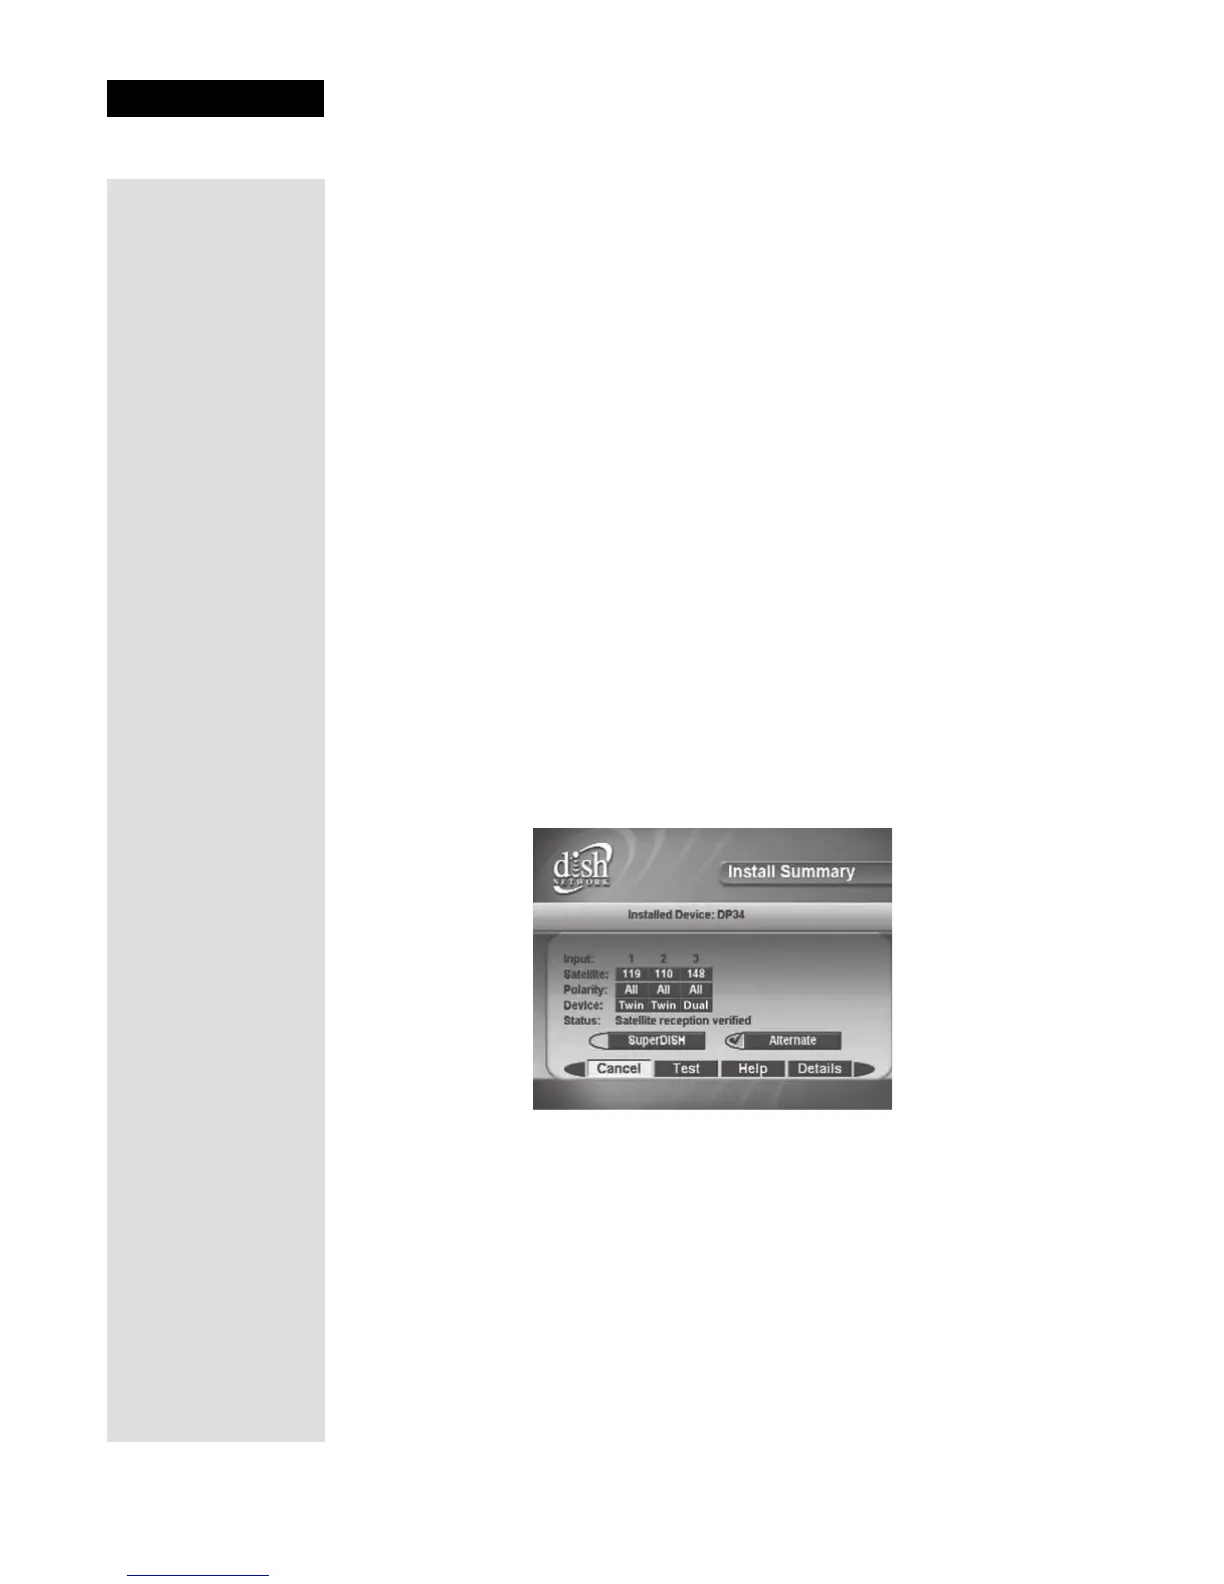
10. The receiver begins performing the
Check Switch tests. When it is finished,
the
Install Summary screen displays.
11. Make sure that the information on the
Install Summary screen identifies
your system correctly and shows all transponders for all satellites in your
system.
12. Select
OK to go to the Point Dish screen.
13. From the
Point Dish screen, press VIEW TV.
14. Wait while the receiver acquires a signal and the Program Guide downloads.
Once the Program Guide has downloaded, you should be viewing your
satellite programming.