32
IP1529EN
5. Installation
5.1 Preliminary checks
5.2 Base plate fastening
The given operating and performance features can only be guaranteed with the use of DITEC
accessories and safety devices.Unless otherwise specified, all measurements are expressed in
millimetres (mm).
Check the dimensions, balancing and condition of the door, the type of installation, the use limits
of the gearmotor and the necessary accessories.
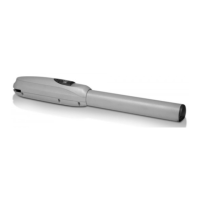
- Remove the automation from its packaging.
- Remove the courtesy light plastic [8] and the casing [9] and separate the gearmotor from the
base plate [13] by unscrewing the screws A.
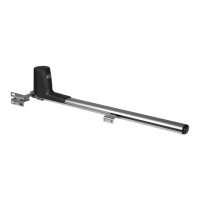
- Fix the base plate [13] to the door, respecting the measurements indicated on page 10.
ATTENTION: arrange a solid fastening surface for the gearmotor at the height of the frame of
the up and over door.
ATTENTION: the bulb is not fixed in position. Handle with care.
ATTENTION: the plastic parts are inserted but not fixed.
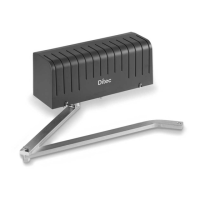
If using the BOXSL base plate:
- fix the BOXSL on the up and over door;;
- insert the gearmotor with the base plate [13] on the BOXSL and fasten it with the 2 screws sup-
plied.