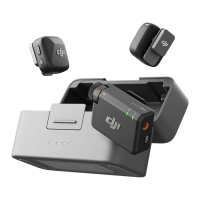
2.4 Linking the Transmitter and Receiver
Before rst use, refer to Updating Firmware to update the device to the latest rmware
version. The transmitter and receiver in the combos are linked by default. Follow the
steps below to link the transmitter and receiver if they become unlinked.
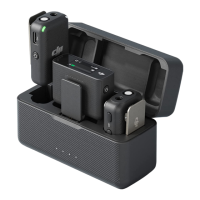
Linking via the Charging Case
Place the transmitters and the receiver in the charging case to link them automatically.
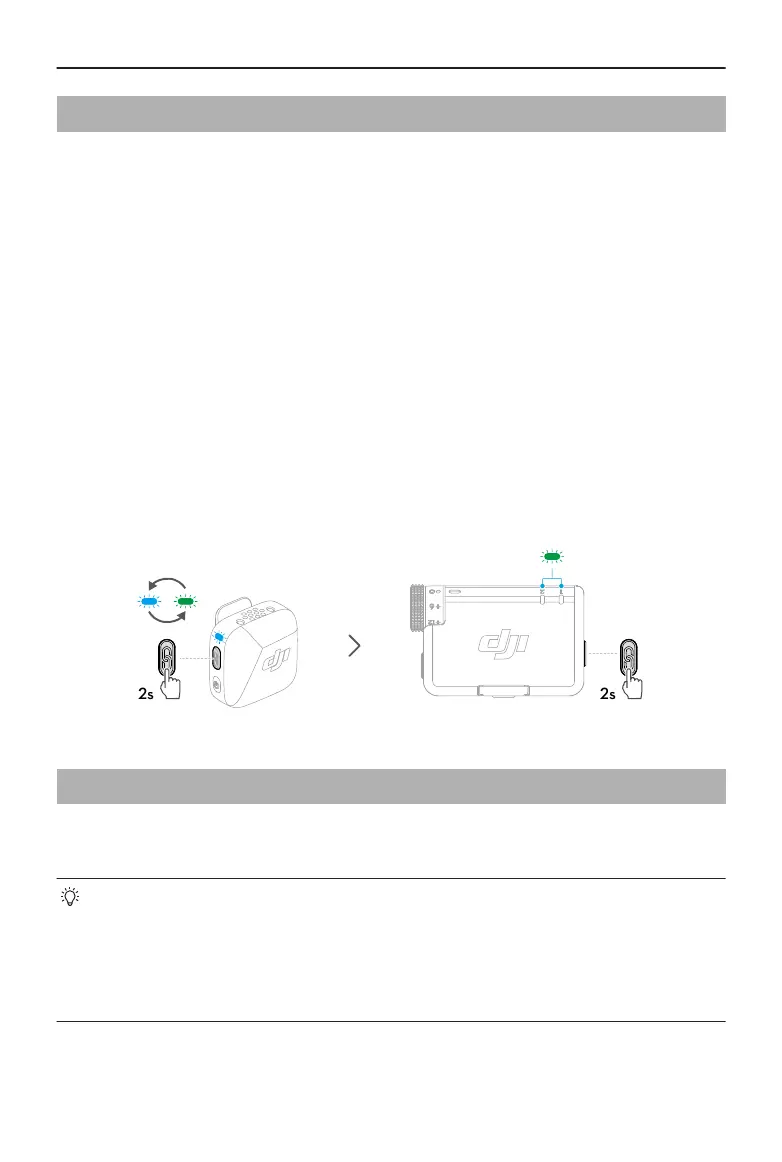
Linking Manually
1. Press and hold the linking button on the transmitter for two seconds until the system
status LED blinks blue and green alternately.
2. Press and hold the linking button on the receiver for two seconds until the transmitter
status LED on the front of the receiver blinks green rapidly, indicating that the device
is in linking status. The status LEDs will turn solid green after successful linking.
2.5 Using with a Phone
Install the receiver (RX) to the phone using the adapter, then clip or magnetically attach
the transmitter (TX) to the collar. The transmitter can then capture audio for the phone.
• Press the linking button on the transmitter to start and stop recording.
• For extended lming or live streaming, it is recommended to use the adapter
to attach the receiver to the phone. After installation, when using the charging
cable to charge the receiver, the phone can be charged simultaneously.
• The Lightning adapter is sold separately.
DJI Mic Mini User Manual
12 © 2024 DJI All Rights Reserved.