2. Disconnect the hose by pushing the sleeve towards the valve handle.
3. Put the cap onto the safety coupling.
4. Turn the cooling level controller (fig. 4 2 and fig.5 2 ) anticlockwise as far as it will go (position “ O”).
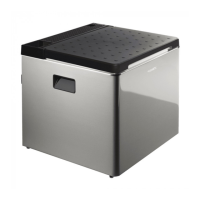
Connecting the cooler to a gas cylinder (ACX3 30 and ACX3 40)
Note the following country-specific gas type and gas pressure categories:
Country Device categories
Denmark (DK), Finland (FI), Hungary (HU), Norway (
NO), Poland (PL), Sweden (SE)
I B/P – 30 mbar
Belgium (BE), Czech Republic (CZ), France (FR), Italy
(IT), The Netherlands (NL), Portugal (PT), Russian Fe
deration (RU), Slovakia (SK), Spain (ES), United King
dom (GB)
I + – 28 – 30 / 37 mbar
Germany (DE), Austria (AT), Switzerland (CH), Luxem
bourg (LU)
I B/P – 50 mbar
1. Perform a visual inspection of the hose (for cracks, weathering, damage).
WARNING!
Replace the hose when it is porous or when the national conditions require it.
2. Connect the ACX3 30 or ACX3 40 cooler to the gas hose (fig. 9) and the gas cylinder (fig.10).
WARNING!
Never check for leaks with an open flame or near sources of ignition.
3. Check all connections with leak spray.
There are no leaks at the connections if no bubbles form.
3
3
3
 Loading...