022-00029AE Operation and Maintenance Manual Operation 3-19
2. Release the screw cap (6, Figure 36) and
unscrew.
3. Release the lock nut (5, Figure 36) and
turn the adjusting screw (4) counter-
clockwise until the brake disc is free.
4. Install lock nut (5, Figure 36) and screw
cap (6) and tighten both as far as possible.
This will protect the parking brake
assembly from dirt.
NOTE: Now, the vehicle does not have
any brake function. The vehicle
must be secured against
moving away with proper
means. Before putting the
vehicle into operation again, the
brake has to be adjusted
according to adjusting
regulations.
ADJUSTING REGULATIONS
During this adjusting process, the parking brake must be released, i.e. the bank of cup springs (3, Figure
36) must be completely pre-tensioned.
1. Park vehicle on an even surface and place wheel chocks in front of and behind tires. Only then
release the parking brake.
2. Release the screw cap (6, Figure 36) and unscrew.
3. Release the lock nut (5, Figure 36) (size 24 or 30) and turn the adjusting screw (4) with socket
wrench (size 8 or 10) clockwise until the two brake pads (1) and (2) make contact with the brake disk.
4. Turn the adjusting screw (4, Figure 36) counter-clockwise and set the clearance specified in the
following table.
5. Hold the adjusting screw (4, Figure 36) in position with the hexagonal socket wrench and lock with
the lock nut (5).
6. Mount the screw cap (6, Figure 36) and tighten as far as possible manually.
7. Actuate the brake valve several times and check the braking efficiency of the parking brake on slope.
Type Adjusting Screw Clearance (mm) Revolutions
Small M 16 (size 8)
min. 0.5 1/4
Rated clearance 1.0 1/2
max 1.5 3/4
Large M 20 (size 10)
min. 1.0 2/5
Rated clearance 2.0 4/5
max 3.0 1 1/5
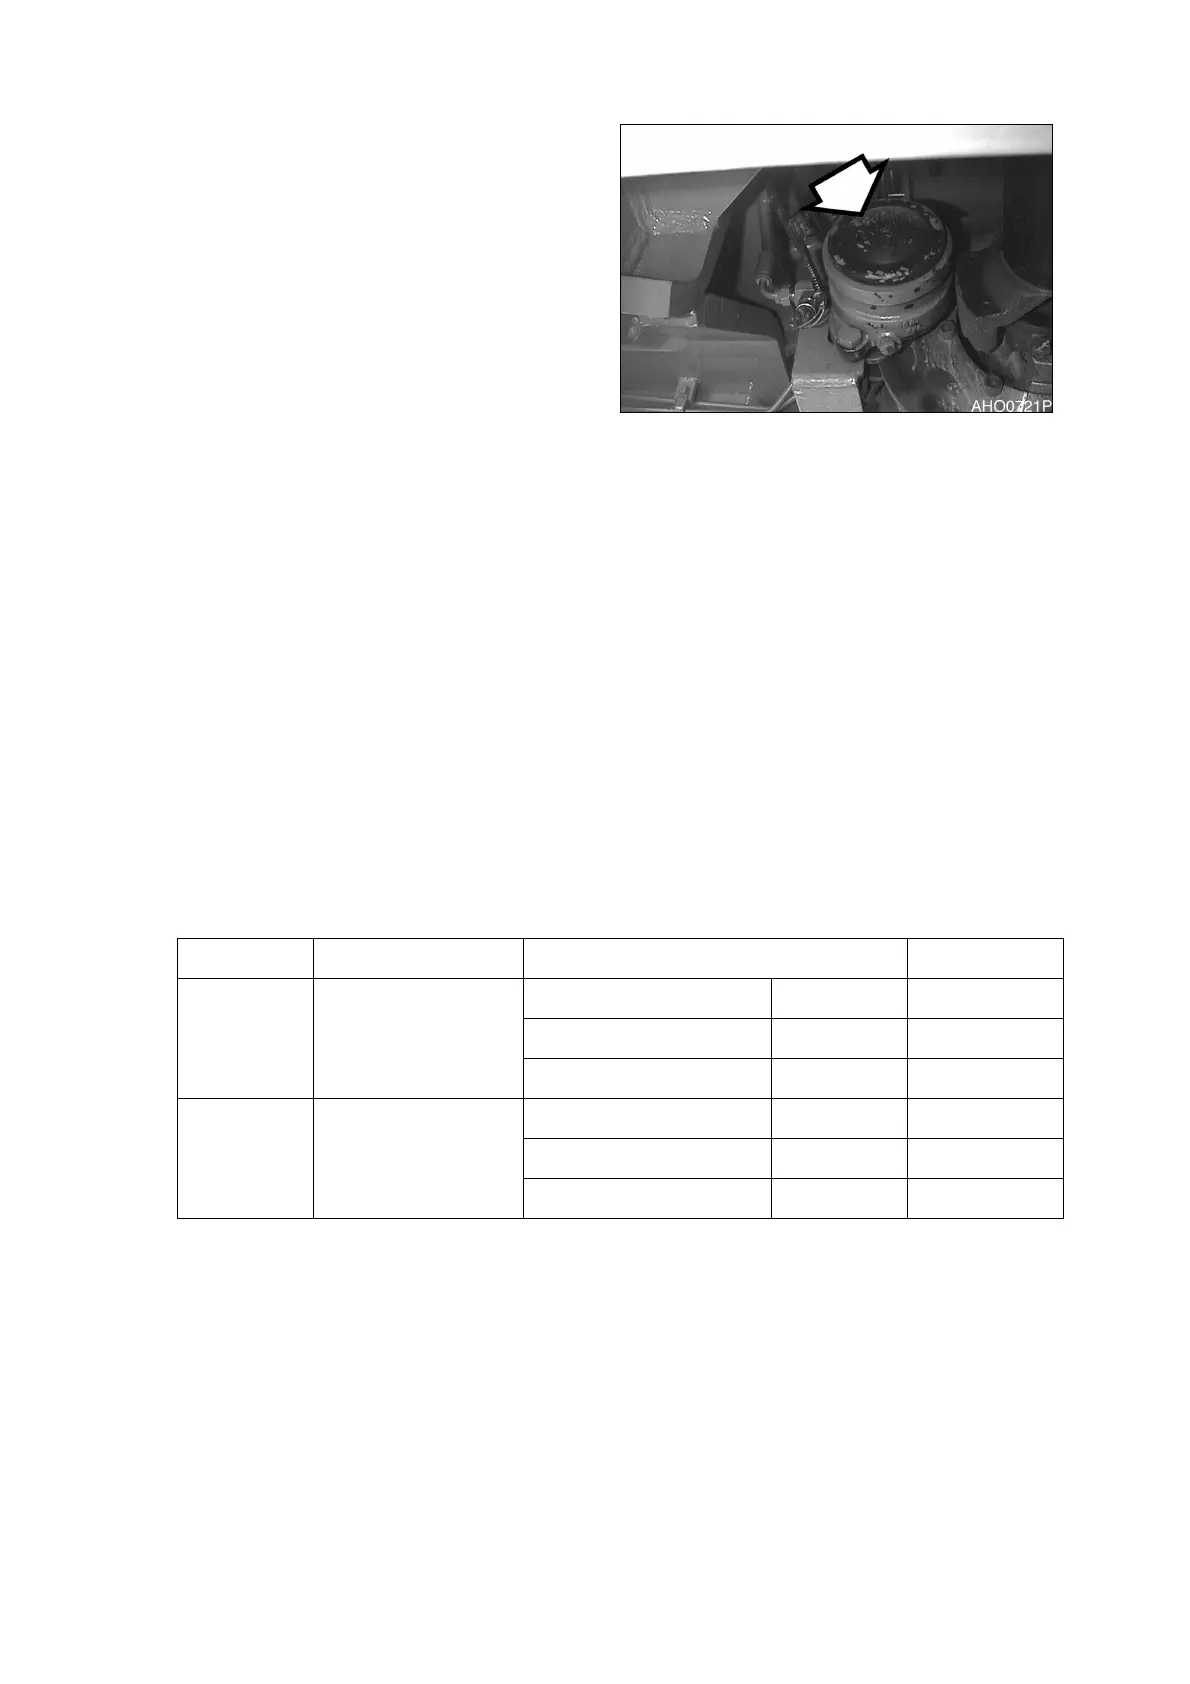
Figure 38



 To Next Page