AEF-A.DOC 02/2003
14
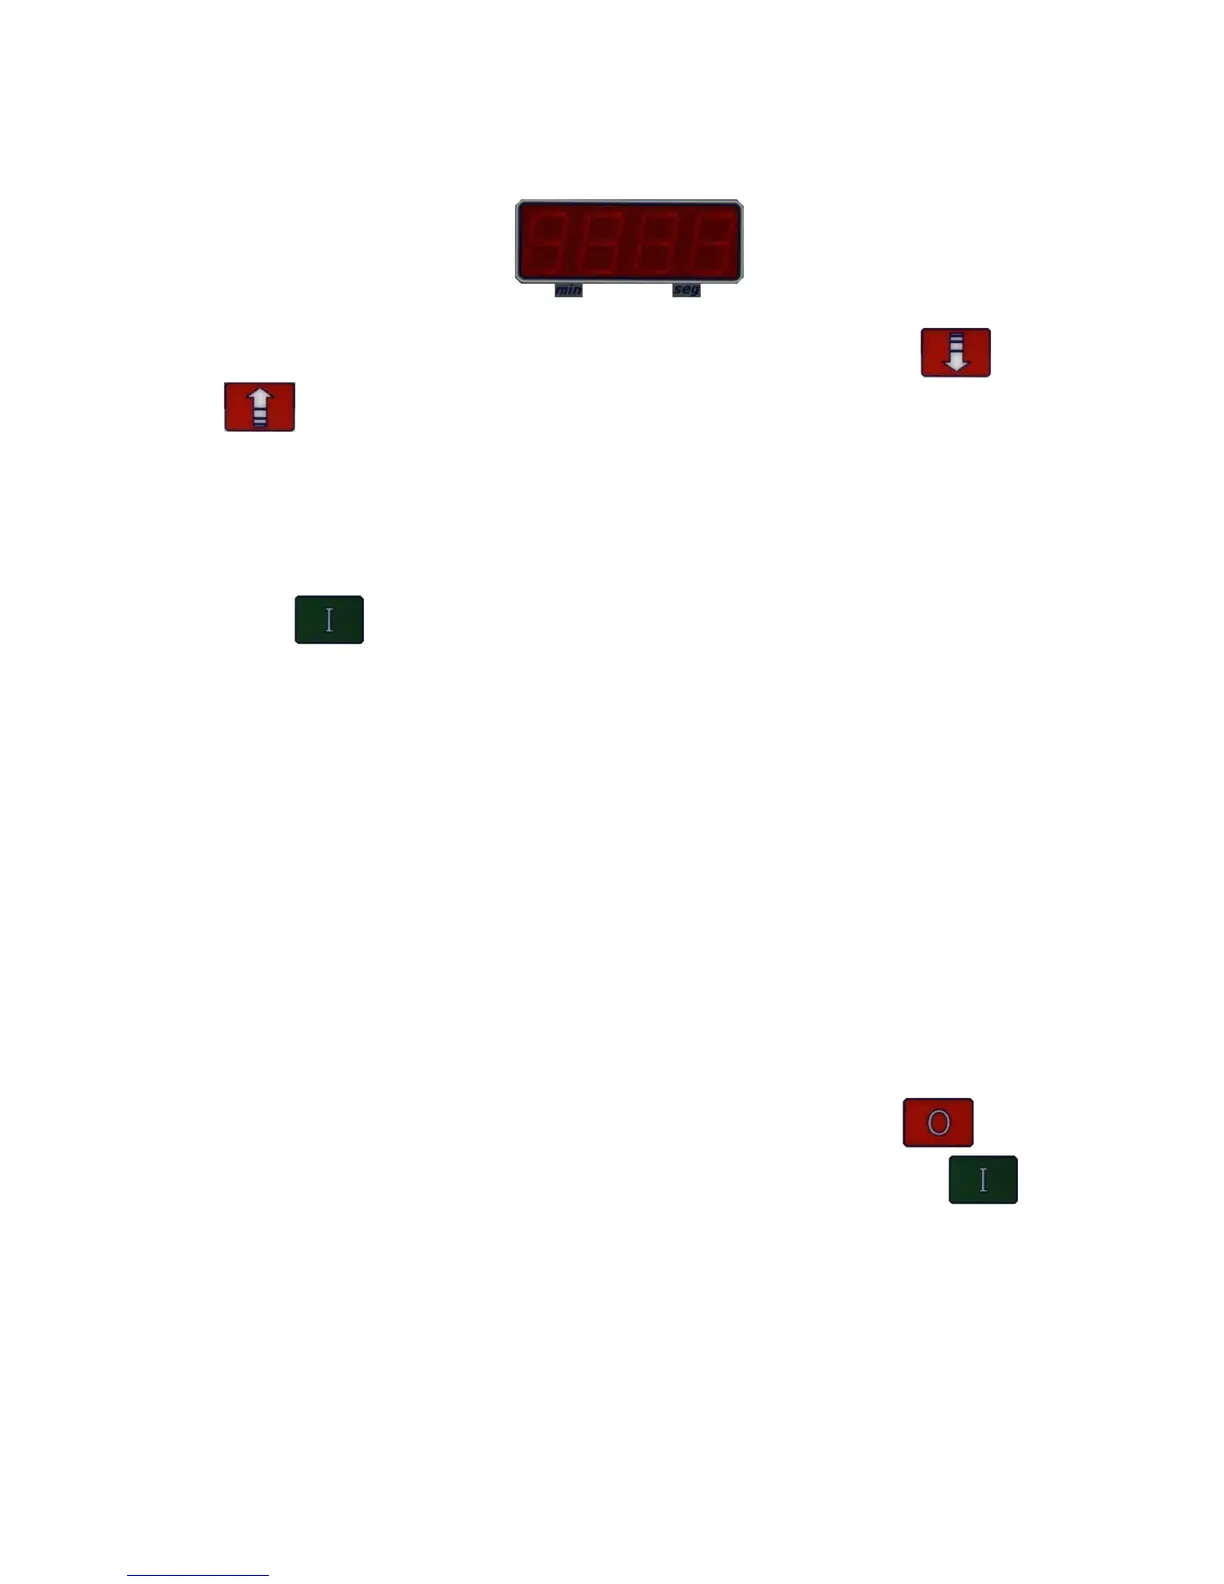
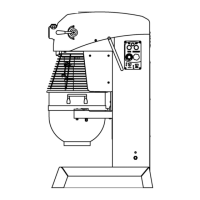
• The display (point 2 and 3, fig.4) shows the elapsed time of the active speed. Display
(point 4 and 5, fig.4) shows the active speed.
• It is possible to adjust the programmed time by using the buttons 11[ ] and 12
[ ]. This change will not be programmed.
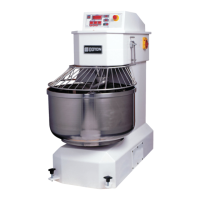
4.5.1 –WORKING CYCLE
• To start the working cycle, you must select the desired program, and then press the
button [ ] (point 15, fig. 4).
• The machine starts and lights at 1
st
speed. In the principal display (point 2 and 3, fig.4),
you will visualise the elapsed time and in displays (point 13 and 14, fig.4), the
programmed time.
• When the working time is the same as the programmed time, the machine will change
speed automatically. The 2
nd
speed lights the display (point 4, fig.4) and in display (point
2 and 3, fig.4), you will visualise the elapsed time of the programmed time (point 13 and
14, fig.4).
• When the working time is the same as the programmed time, the machine will stop
automatically. That is the end of the working cycle.
• At the end of the working cycle, press the red Stop button (point 16, fig.4) and the
display (point 2 and 3, fig4) comes to zero, so you can resume the work or start a new
cycle.
• You may stop the machine at any time, by pressing the stop button [ ](point 16,
fig.4), and resume the work by pressing the start button (point 15, fig.4) [ ]. The
working cycle will start from the stop point.