VigorAP 700 User’s Guide
7
Chapter II: System and Network Setup
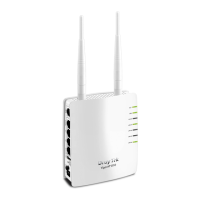
2-1 Installing VigorAP 700 to your Network
Please follow the following instruction to build the network connection between your new
VigorAP 700 and your computers, network devices:
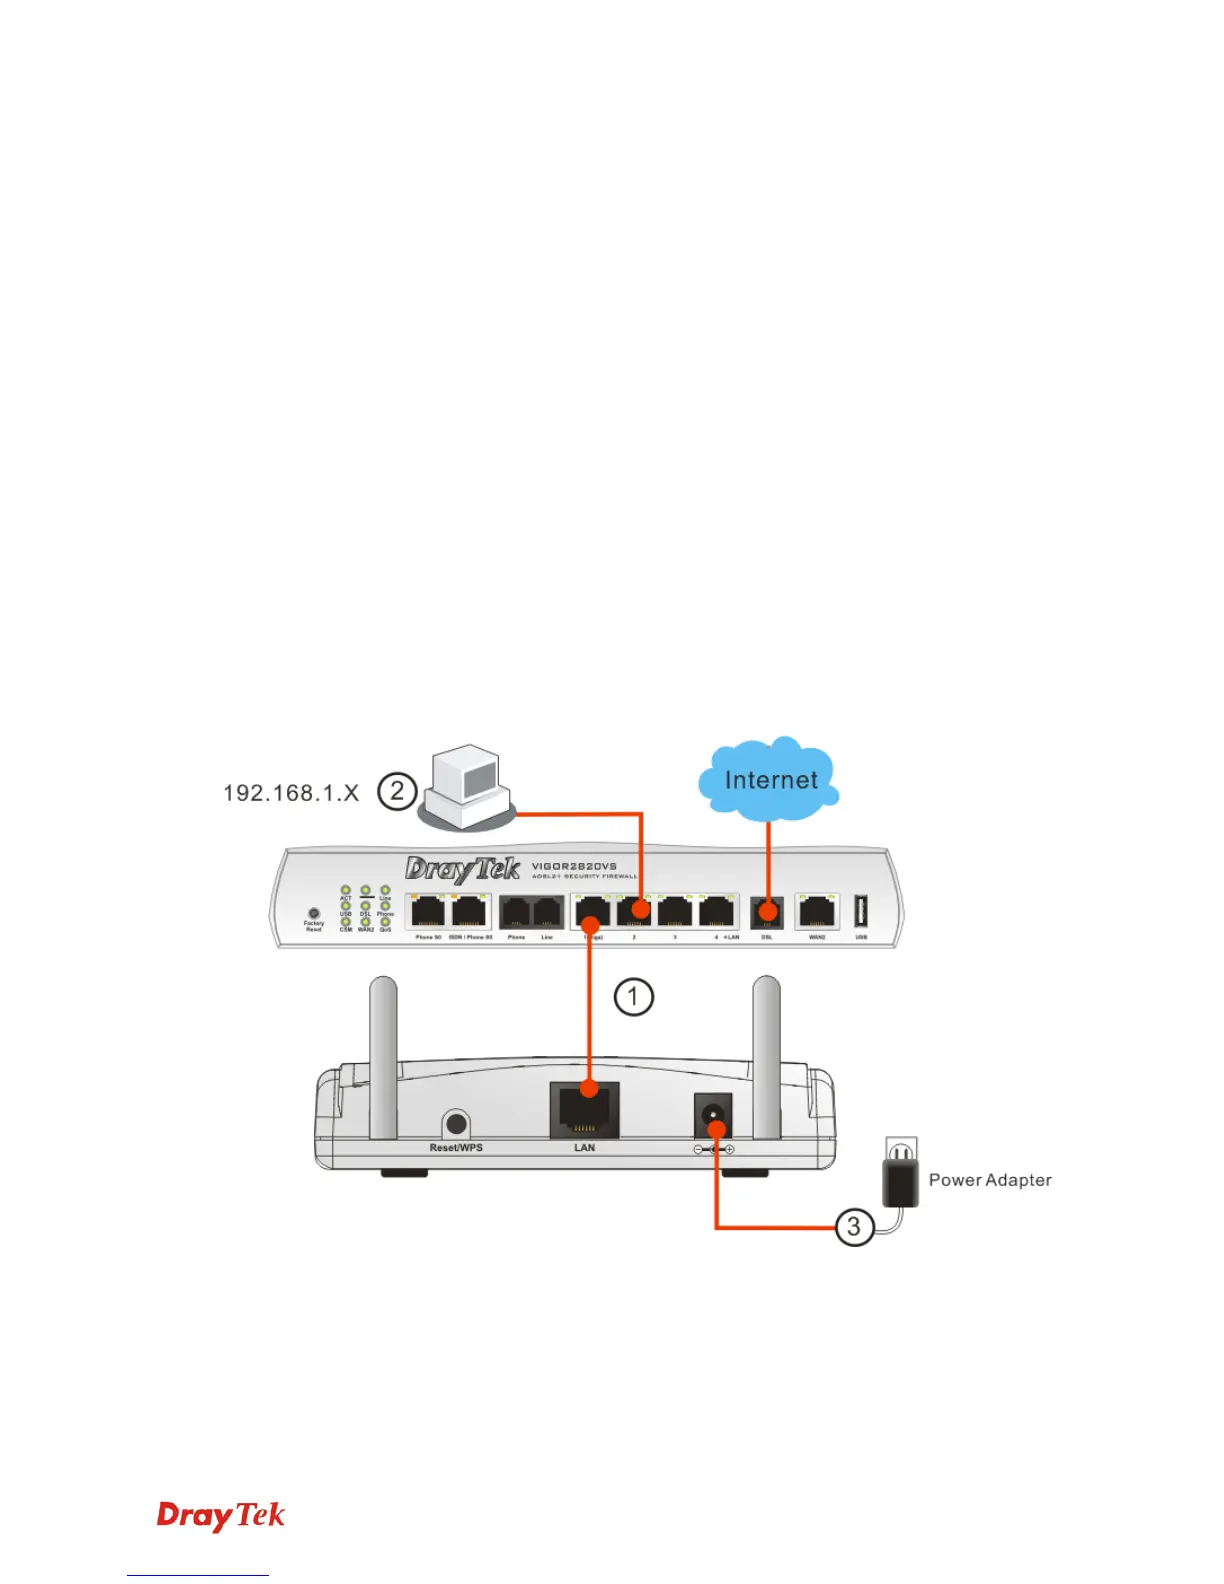
1. Connect VigorAP 700 to ADSL modem, router, or switch/hub in your network through the
LAN port of the access point by Ethernet cable.
2. Connect a computer to ADSL modem, router, or switch/hub. Make sure the subnet IP
address of the PC is the same as VigorAP 700, e.g., 192.168.1.X.
3. Connect the A/C power adapter to the wall socket, and then connect it to the PWR
connector of the access point. Power on VigorAP and check all LEDs on the front panel.
PWR LED should be steadily on, LAN LEDs should be on if the access point is correctly
connected to the ADSL modem, router or switch/hub.