EasyManuals Logo

Draytek VigorAP 912C User Manual

Draytek VigorAP 912C
22 pages
To Next Page IconTo Next Page
To Previous Page IconTo Previous Page
Page #11 background imageLoading...
Page #11 background image
4. Attach the T-Rail brackets to the ceiling frame:
3
3
.
.
4
4
W
W
a
a
l
l
l
l
M
M
o
o
u
u
n
n
t
t
i
i
n
n
g
g
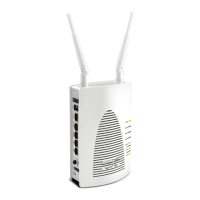
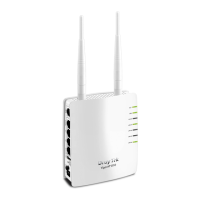
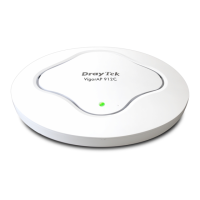
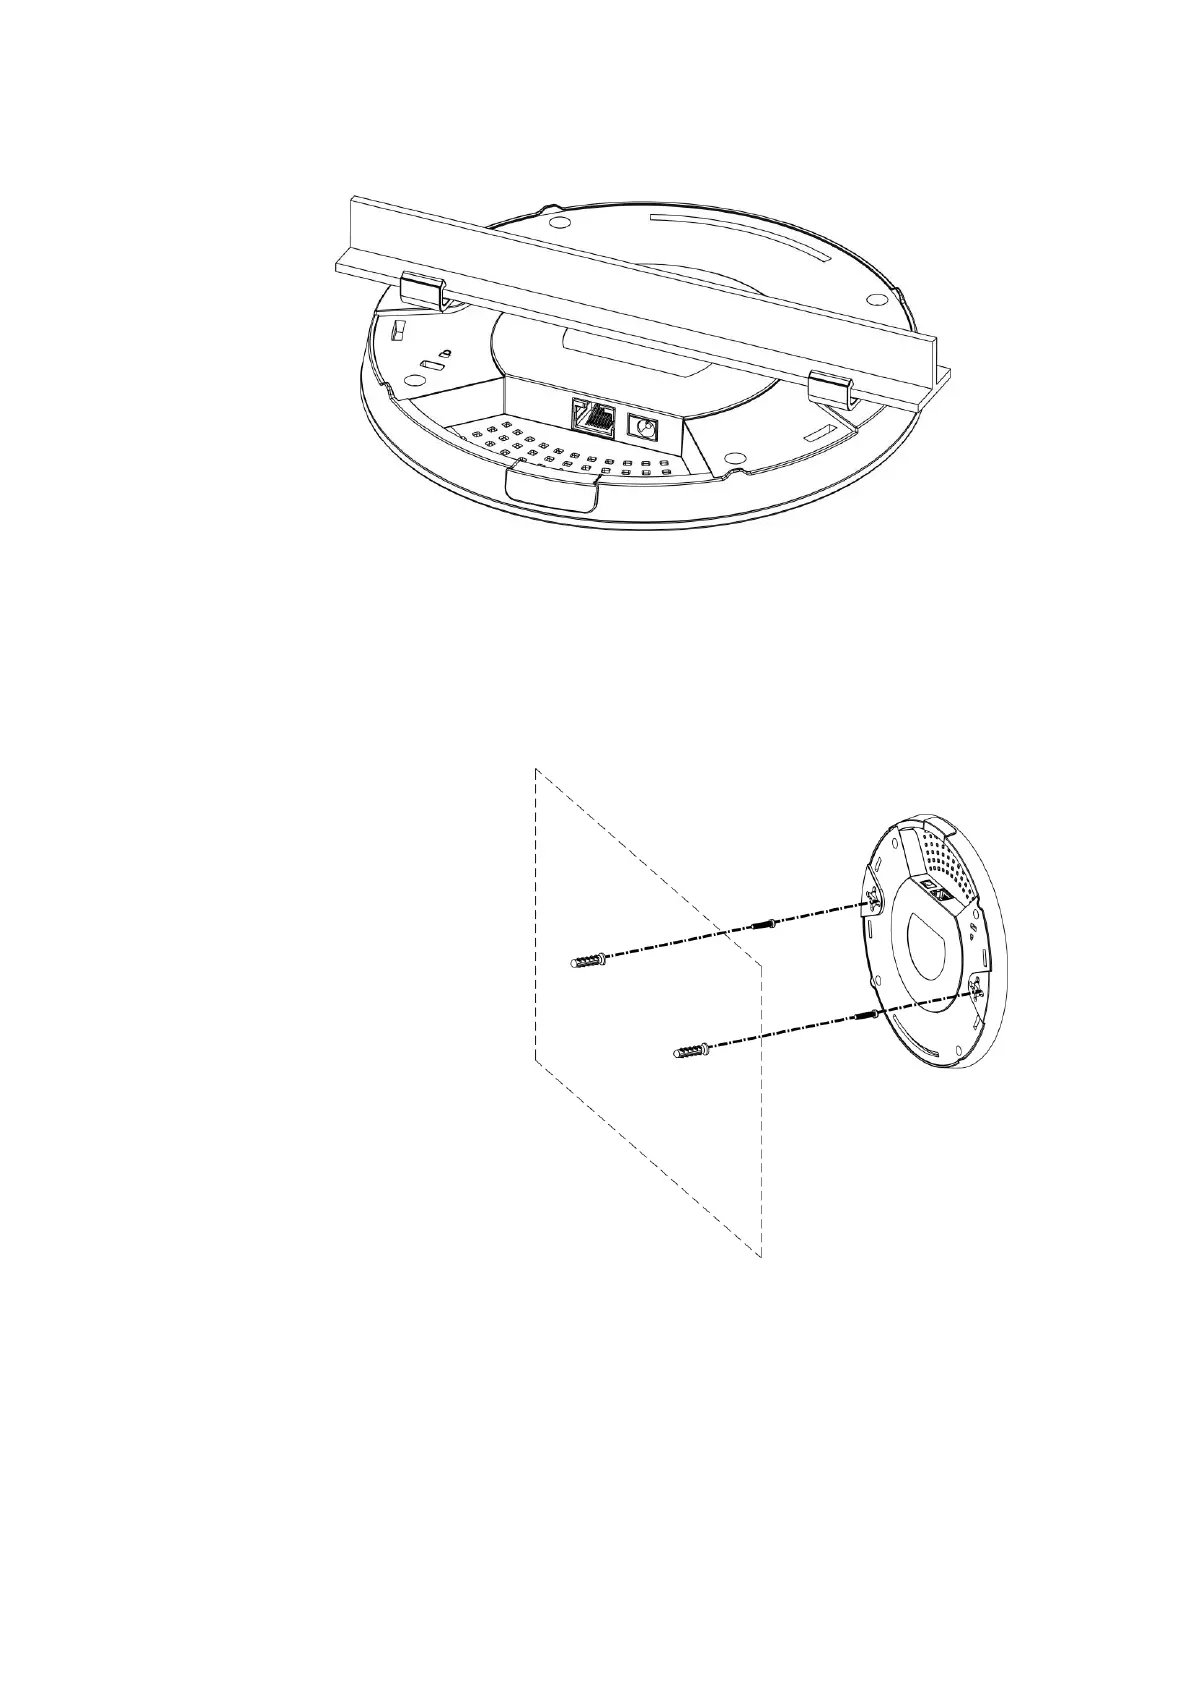
For wall-mounting, the VigorAP
has keyhole type mounting slots
on the underside.
You can fit the AP at any axis (i.e.
12, 3, 6 or 9 O’Clock) to allow for
cable entry from the most
convenient location if you are
using side entry note the
position of the side entry cable
cutout.
A printed template is provided on
the VigorAP’s packaging box to
enable you to space the screws
correctly on the wall.
Fit screws into the wall using the
appropriate type of wall plug but
do not use the ceiling bracket
the VigorAP hangs onto the
screws.
Wall Mounting

Questions and Answers:

Question and Answer IconNeed help?

Do you have a question about the Draytek VigorAP 912C and is the answer not in the manual?

Draytek VigorAP 912C Specifications

General IconGeneral
BrandDraytek
ModelVigorAP 912C
CategoryWireless Access Point
LanguageEnglish

Related product manuals