7
3
3
.
.
4
4
W
W
a
a
l
l
l
l
-
-
M
M
o
o
u
u
n
n
t
t
e
e
d
d
I
I
n
n
s
s
t
t
a
a
l
l
l
l
a
a
t
t
i
i
o
o
n
n
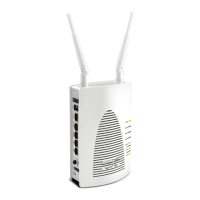
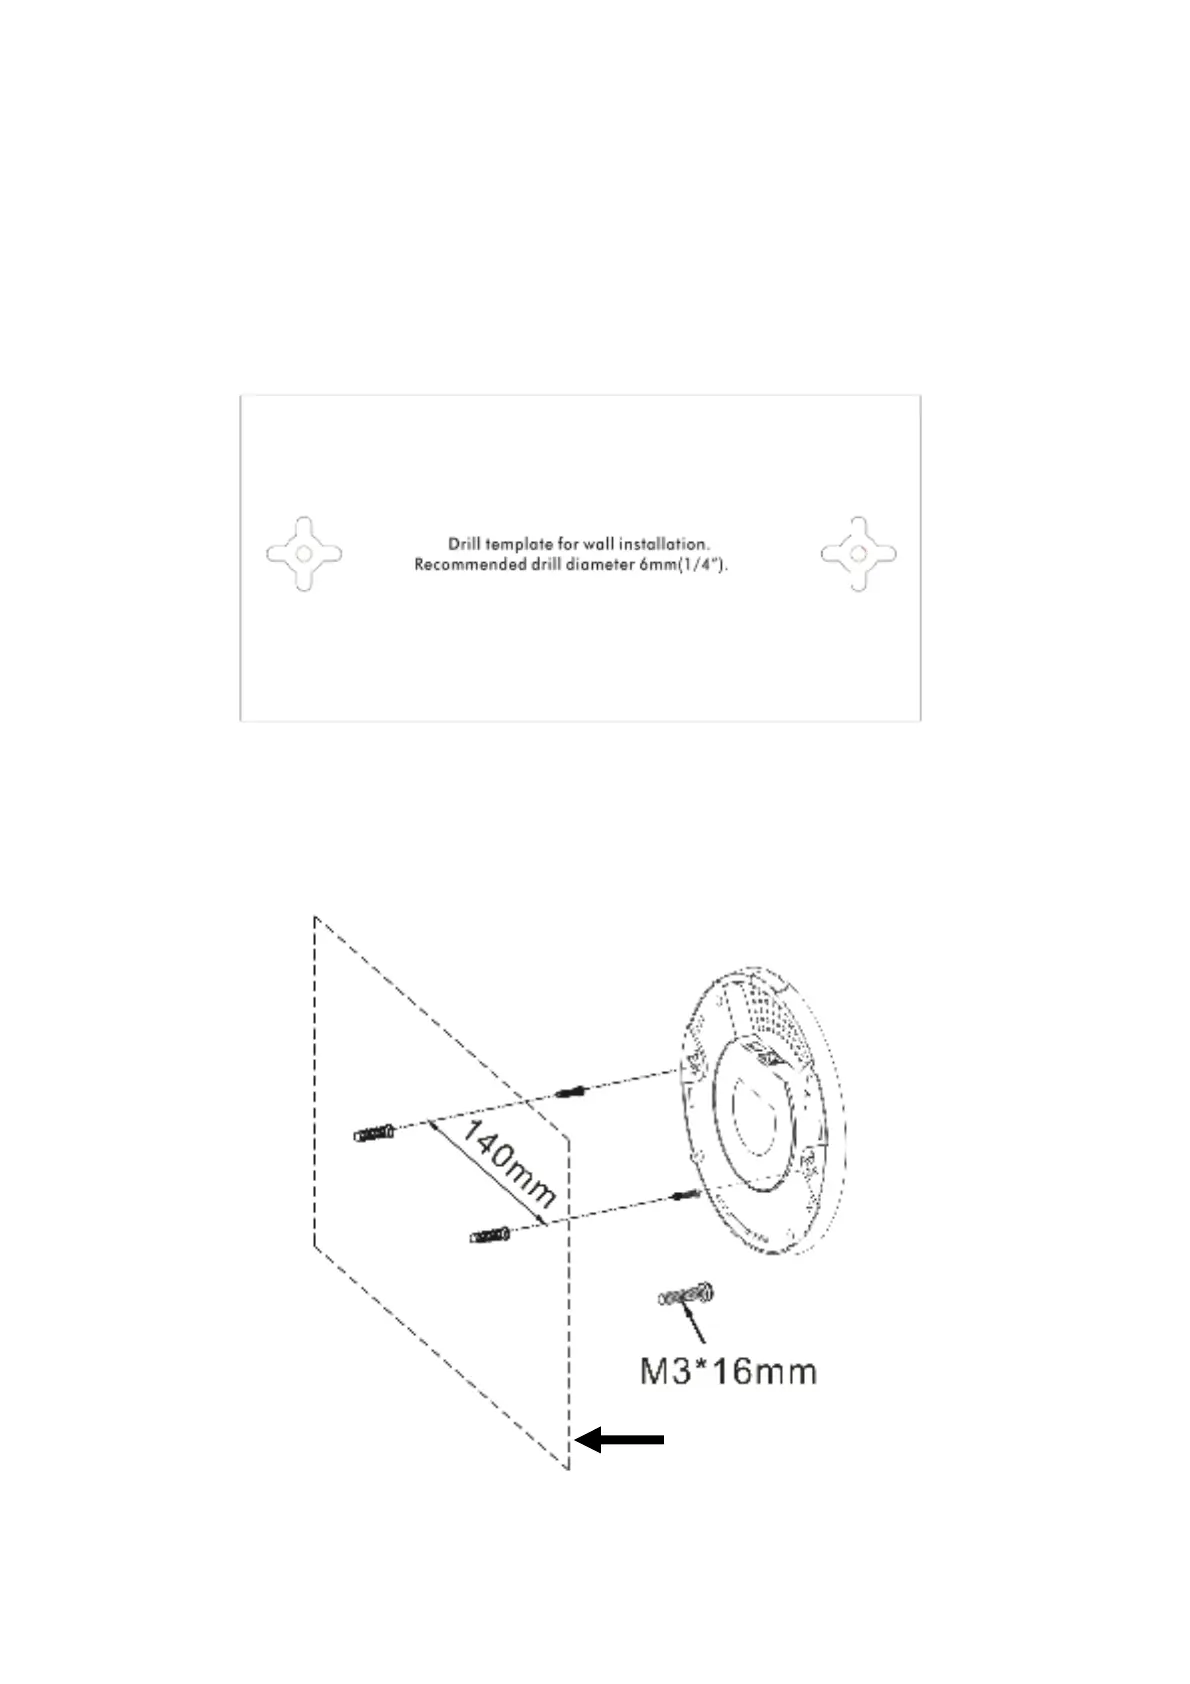
For wall-mount ing, t he VigorAP has keyhole t ype mount ing slot s on t he underside.
You can f it t he AP at any axis (i. e. 12, 3, 6 or 9 O’ Clock) t o allow f or cable ent ry
from t he most convenient locat ion if you are using side ent ry – not e t he posit ion
of t he side ent ry cable cut out .
1. A t emplat e is provided on t he VigorAP’ s packaging box t o enable you t o
space t he screws correct ly on t he wall.
2. Place t he t emplat e on t he wall and drill t he holes according t o t he
recommended inst ruct ion.
3. Fit screws int o t he wall using t he appropriat e t ype of wall plug (as shown in
t he ceiling sect ion) but do not use t he ceiling bracket – t he VigorAP hangs
direct ly ont o t he screws.
Wall (wooden, concret e,
plast erboard or ot hers)