11
Warning
For important precautions, see pages three and four
Caution
Do not place the control unit on the oor. Position the power cord to prevent tripping hazards
1) Remove all existing covers, sheets and mattress from the bed.
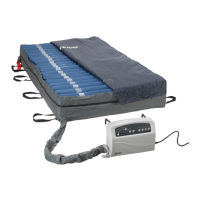
2) Unpack the Med Aire Plus 10” system and inspect all components for damage. Do NOT use the
system if any component is damaged.
3) Conrm there are no sharp objects in the immediate area which may risk damage to the Mattress
Replacement.
4) Position the Med Aire Plus 10” Mattress Replacement on top of bed, printed top cover facing upwards
and air hoses towards the foot end of the bed.
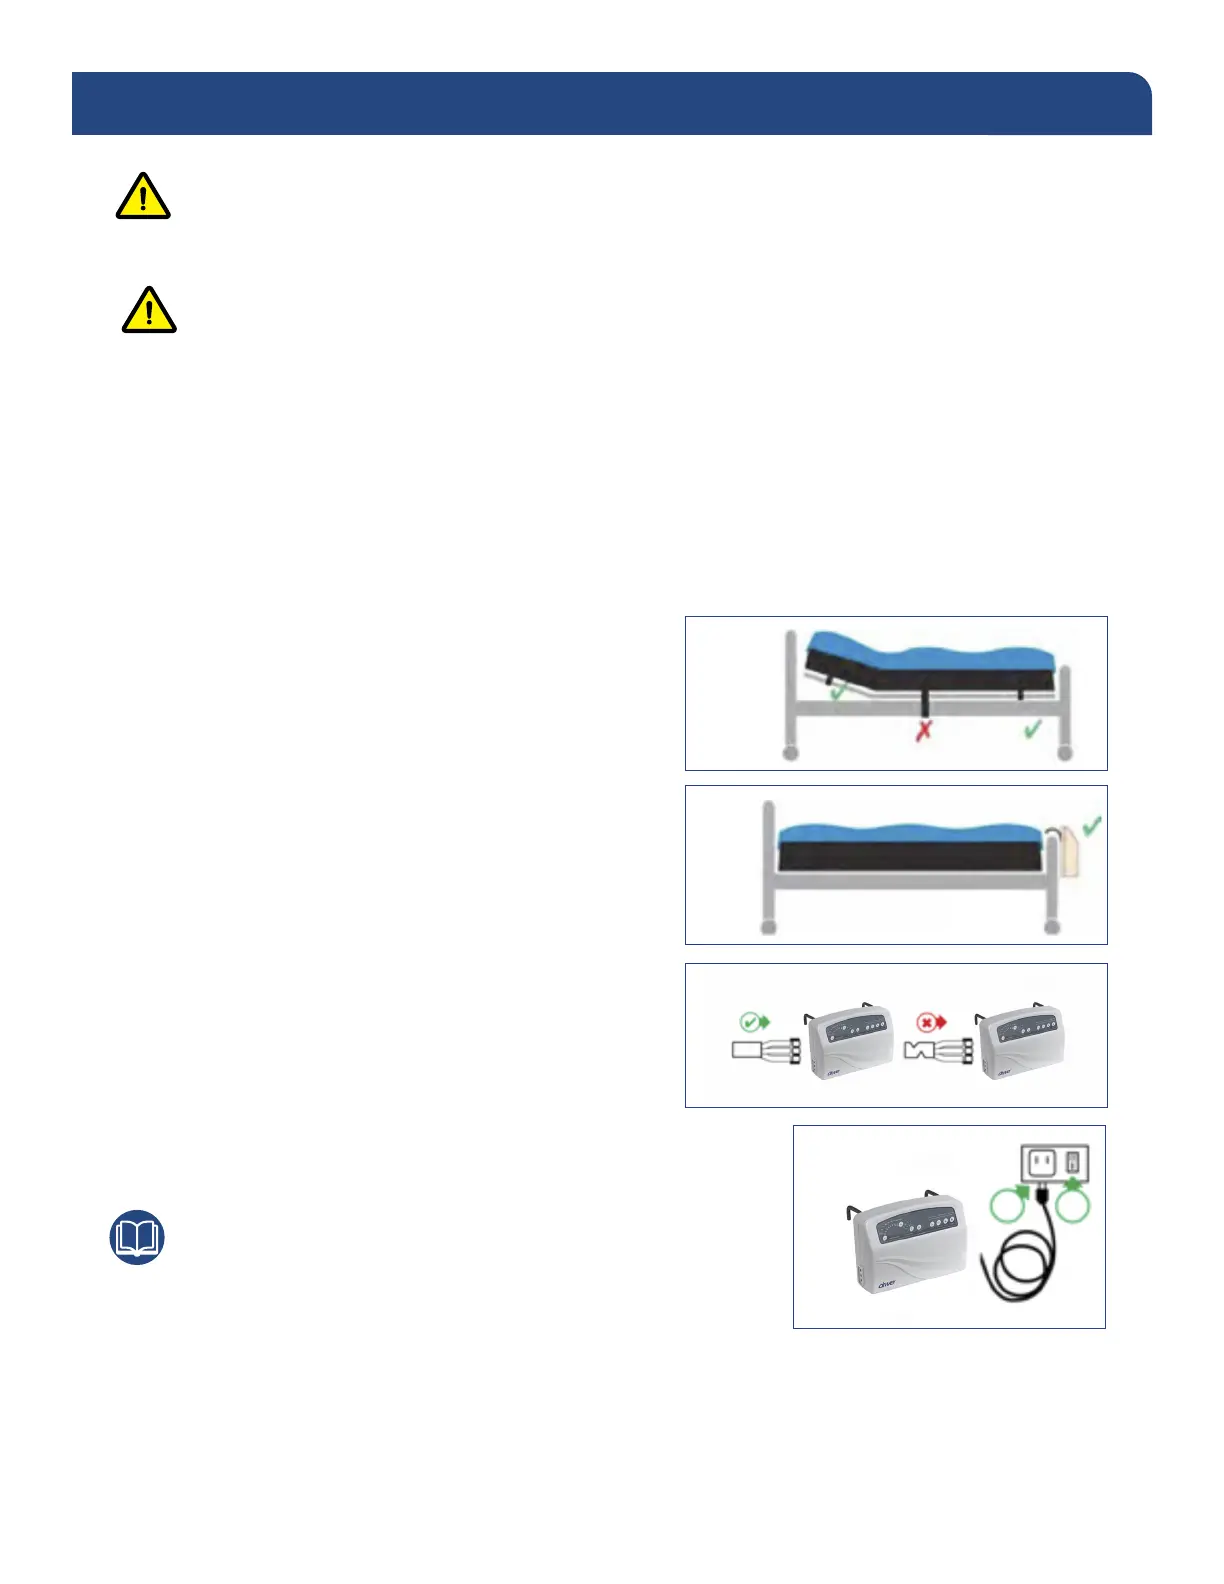
5) Secure the therapy mattress to the movable parts of
the bed frame or bed deck. Ensure buckles are
securely fastened and straps are pulled tightly.
DO NOT SECURE TO THE SIDE RAILS - STRAPS
WILL TEAR OFF.
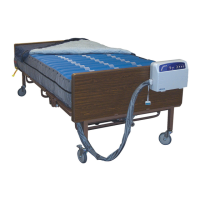
a) Position the control unit by hanging hooks
over foot board of the bed.
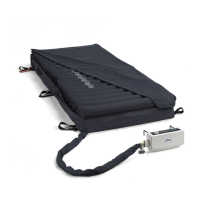
b) Attach the air hoses to the therapy mattress
securely using the quick connector. When
properly installed, the quick connector will
audibly click into place. Ensure air hoses do
not kink between mattress, bed frame and
control unit.
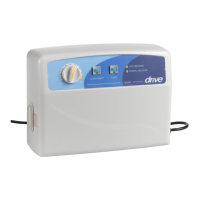
c) Plug the power cord into an electrical outlet
with grounded AC power.
Note
Before inserting the plug into the outlet, make sure the voltage
is compatible and the product is well grounded.
d) Switch the power switch on the side of the control unit on. The mattress replacement system may
take up to 40 minutes for full ination regardless of the control unit being used. For rapid ination
an external pump may be used such as Drive’s electric quick ll pump, item #: 14427QF.
PRODUCT FUNCTION
5)
a)
b)
c)