GraphicProducts.com | 800.788.5572
4. Connecting the Printer | 11
4. Connecting the Printer
When connecting your Bronco to a computer for the first time, follow these steps.
NOTE: You may need IT administrator privileges to install a driver.
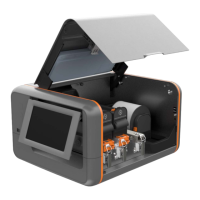
1. Connect the power supply from the DuraLabel Bronco printer to an electrical outlet.
Next, connect the USB cable from the DuraLabel Bronco to your PC. Turn on your
Bronco using the power switch on the back of the printer.
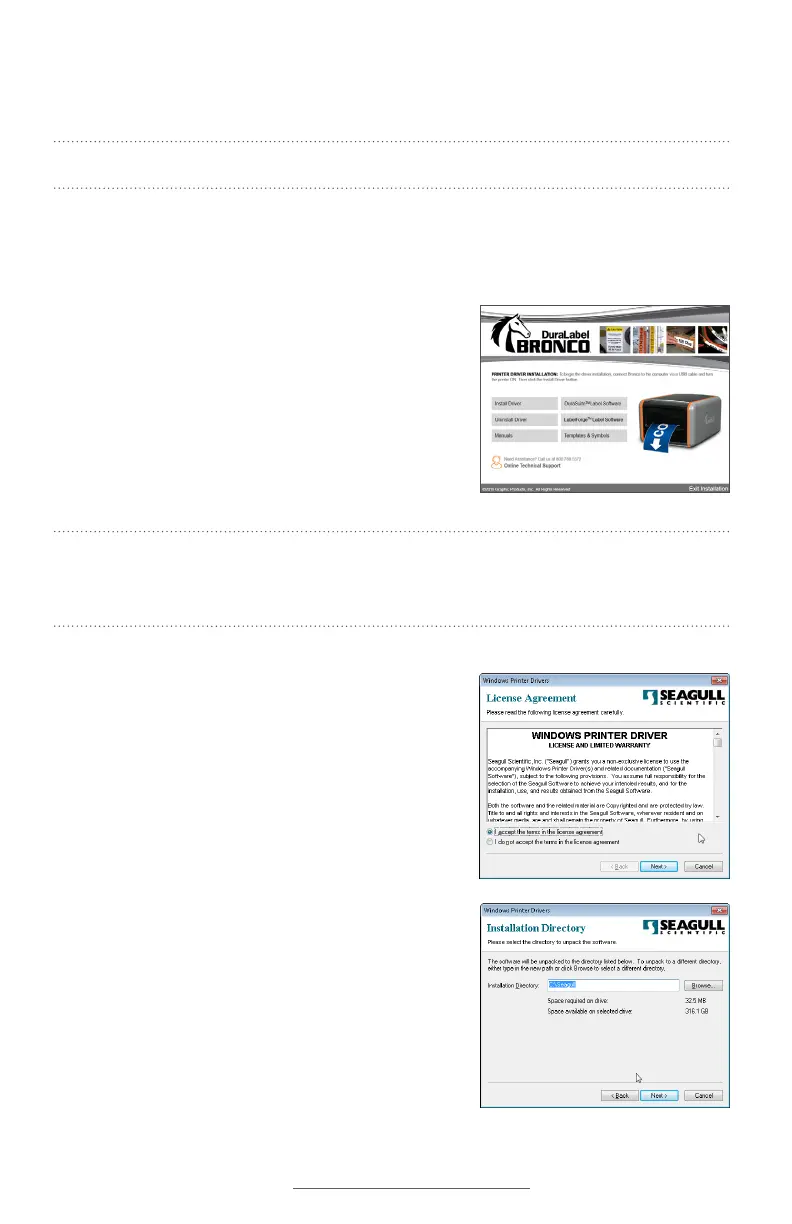
2. Insert the DuraLabel Bronco Installation CD into
your computer’s CD drive. When the DuraLabel
Bronco startup screen appears, choose Install
Driver. (If your computer does not have a CD
drive, you can download the driver installer from
GraphicProducts.com/support, and run that
program to continue.)
NOTE: If inserting the CD does not automatically show the DuraLabel Bronco screen,
go to Start > Computer and double-click on your CD/DVD drive, which should show the
DL icon.
3. Accept the license agreement and click Next.
4. Choose an installation directory; by default, this
will be “C:\Seagull.” Then, click Next.